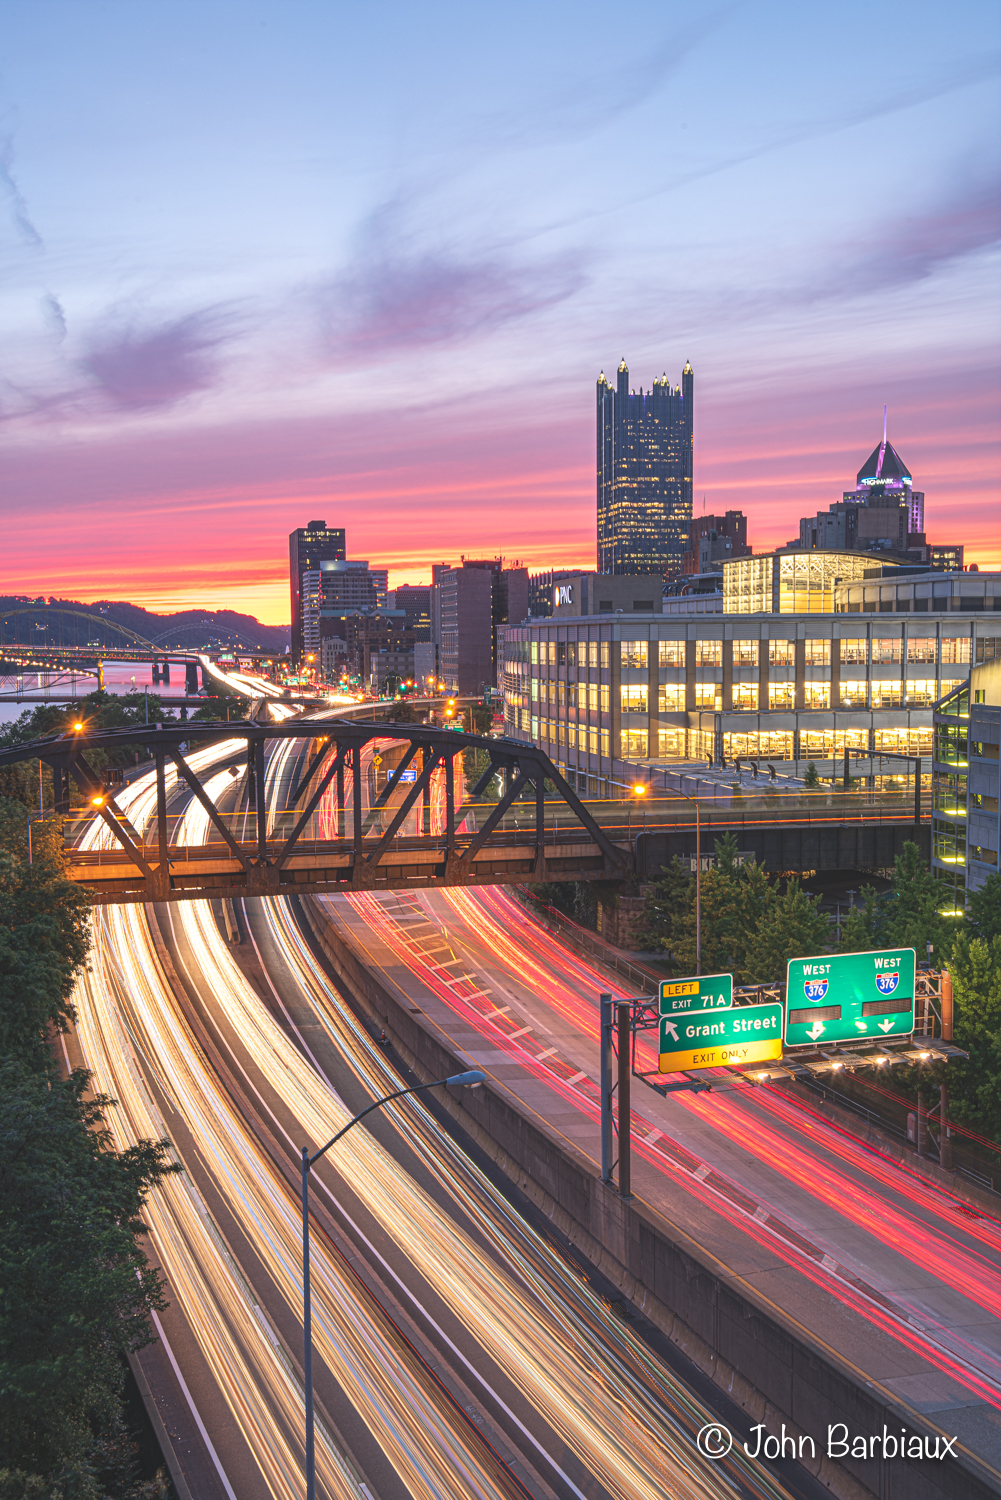
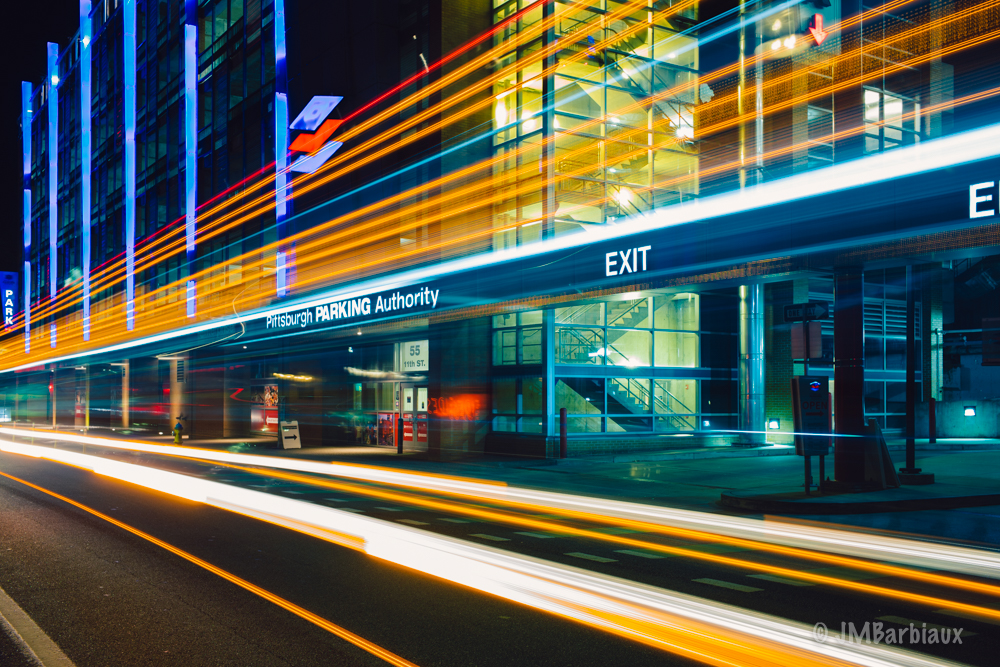
If you search for images of light trails in your city you’ll likely find many of them have short dashes of light rather than continuous trails of light throughout the frame. This could be because the ambient light in the city is such that a longer exposure couldn’t be used because it would overexpose the image or because there is a traffic light/stop sign that would cause cars to show up rather than be sleek looking trails of light. Either way, there is a quick and easy work around to walk away with beautiful continuous light trails in just about any situation.
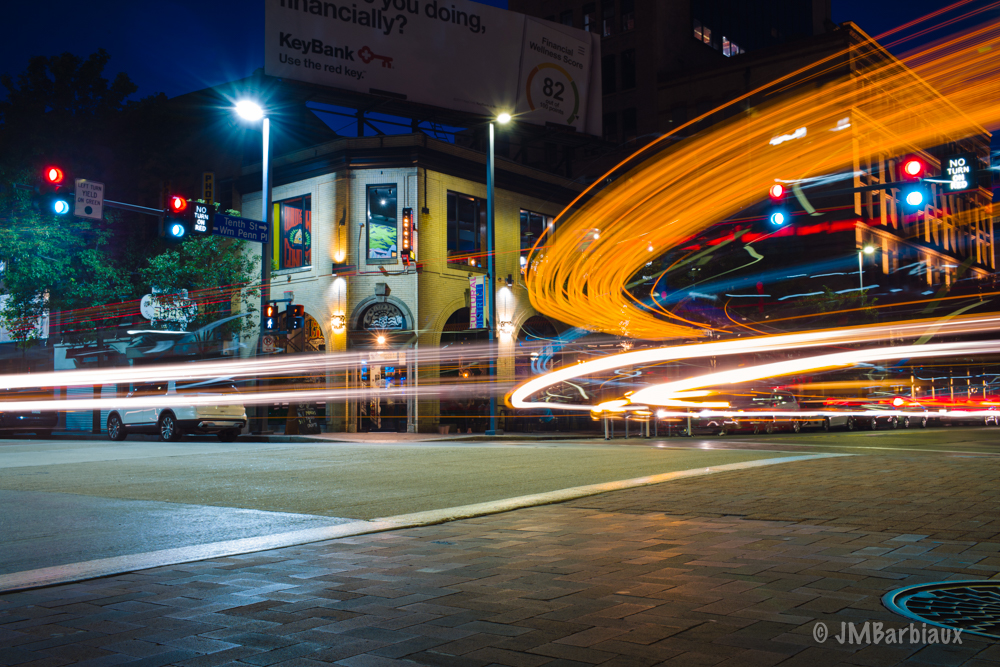
About 99% of the time, you won’t be able to get away with a really long shutter speeds alone. I’ve taken this approach out of principal, I didn’t believe in layering images and wanted to catch everything in one single frame… I still do this when possible but I’m not married to it. Seriously, I used to spend hours waiting for the stars to align and a car to make all the green lights with my exposure set to 10+ seconds. Principal aside, there are always going to be scenarios that are just simply impossible with a really long exposure alone. Take the image below for instance, this was taken at a four way stop light, an impossible feat without layering the images. If I’d have tried using just one frame I would have always ended up with a stationary car at whichever intersection had the red light.
How-To
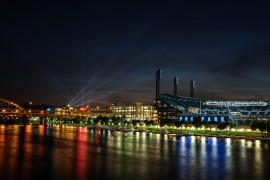
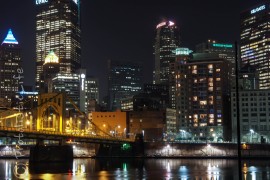
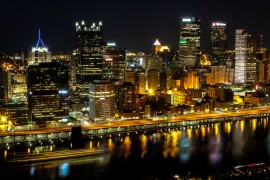
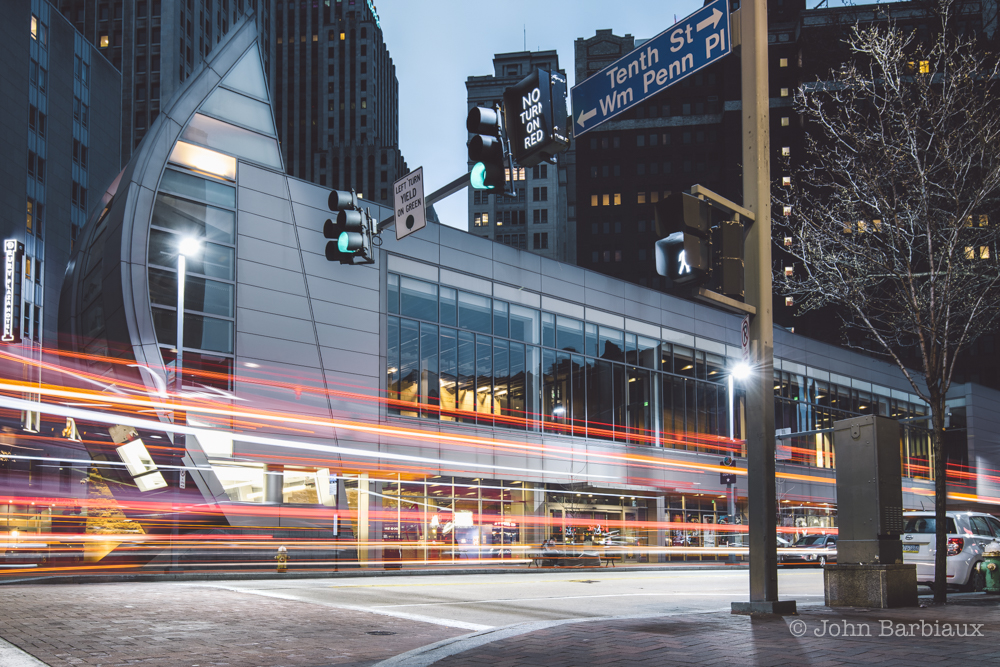
The first step to continuous light trails in the city is finding good composition (duh!). Light trails are neat and all, but they’ll rarely redeem a poorly composed frame with uninteresting subject matter. With that said, there are some tricks you can use to make your light trails more interesting. When I shoot in the city I like to find areas along the bus routes because the buses give me some really neat light trails with various colors and height. This also creates potential issues as buses will stop at… well, bus stops (either don’t set up near the stop or accept that you’ll have to delete a number of your frames where a bus stopped).
Once you’ve got your composition set up you can choose your camera settings. You’ll want an exposure of 2 seconds or longer depending on the rate at which traffic is stopping and the amount of traffic. I generally try to get around 4 seconds where there are lots of signal lights and higher if there is a freeway involved with little to no stops. Your aperture can be narrow (the first shot at the top of the page was shot at f/16) for maximum depth of field. Your ISO should be set as low as natively possible. Need I say tripod?
It’s important to remember that you don’t need to capture a long continuous light trail in one single frame here. That is the ideal scenario but it’s not always possible. Shorter shutter speeds like 2 – 4 seconds are perfectly fine because we are going to combine multiple frames in post processing to quickly and easily stack the light trails which will make them look continuous.
Tip: You will want to capture many different frames of the same scene to make sure you have good coverage of light trails. You can either manually press your shutter release after each and every shot like a peasant or simply use a remote and set your camera to continuous and then sit back and wait. I opt for the second approach and only stop it once in a while to make adjustments to my shutter speed as the sky gets darker and darker (or lighter if you’re shooting in the morning like a boss).
Post Processing
Now that you know how to capture multiple frames with some baby light trails in them, let’s talk about how to combine these frames to create full grown continuous light trail photography. I promise, it’s incredibly easy and takes far less time than you probably think. I’m going to discuss doing this with Lightroom and Photoshop since that is my workflow but you’re welcome to do it on any post processing program with similar features.
Step 1: Find the best image you captured that is sharp and well exposed. Edit it to your hearts content but don’t mess with lens correction or any type of cropping (if you jack this up it makes it difficult/impossible to merge the photos together in Photoshop).
Step 2: Highlight all the images with partial light trails that you want to include in your final image. Try not to include any images with drastically different color. You must only include photos composed the exact same way (again, must I say tripod?). Once you’ve selected all of the photos you’d like to use simply click the Sync settings button on the bottom right of the Developer module in Lightroom, this will copy all of the settings from the first photo you edited to the rest of the images without you having to manually do it and waste precious time.
Step 3: Right click the highlighted images after the settings have synced and scroll down to Edit In and select “as layers in Photoshop”. Now sit back and eat some beef jerky while you wait for the layers to load.
Step 4: Set your favorite image as the background layer, all you’ll be pulling from the rest of the layers is the light trails.
Step 5: While all the layers are highlighted in Photoshop, go to edit>align layers and auto align the layers to make sure they are perfectly lined up. This will often cause small empty space around one or all sides of the border (even when using a tripod), simply crop the empty space off.
Step 6: Now, set the blend mode on each of the images to Lighten and your light trail will magically turn into a continuous light trail in the city. You can layer mask out the sky on each of the images if you need to (depending on when you shoot the sky is either getting lighter or darker as you take your images for the stack.
Step 7: Flatten your image in Photoshop and simply save it back to Lightroom to make any final edits. Now, pat yourself on the back for a job well done.
Conclusion
See, that was much quicker than you thought. Now, you can create professional looking light trail photographs without spending five million hours trying to wait for the stars to align in the city. In fact, you can spend all that extra time searching for interesting places to shoot your light trails around the city… Try to find unique perspectives.
Feel free to leave your thoughts in the comments section below and you can keep up with my current work by following me on Instagram @PhotolisticLife. Thanks for reading!