

It used to be I’d just head out with my camera and let serendipity take the wheel. If you know anything about serendipity you are probably equally familiar with her surprise and delight as you are with her evasive nature. I’ve been experiencing more the of the last trait recently. Apparently I upset her at some point and now she eludes me like the plague. This can be extremely frustrating and cause one to question their artistic merit after a while. So… I did what any rational photographer would do… I slowed the car to a cautious 80 mph and pushed serendipity out of the window.
Now, I take the wheel and I meticulously plan most outing to ensure I walk away with something usable and stoke the creative fire for future adventures. I like success as much as the next guy and it has a way of encouraging me to do more of the same behavior that brings it about. That’s just a long way of saying it makes me want to practice photography more.
In fact, it’s actually gotten to the point where I enjoy planning the photos I’m going to take almost as much as I enjoy taking them. I have always enjoyed the business aspect of photography (or life in general) and approach my images the same way… Like a puzzle needing to be solved. Where is the light, what’s the best season to get the shot I want, what time of the day, is there a unique approach, are weather conditions right, etc…
How I Plan My Shots
There are two main scenarios that I typically run into when planning my photography shot list. First, there are places I shoot where I’ve visited them time after time and have a good mental image of the area. Second, every year I’m visiting new places where the only mental picture I have is one I’ve constructed from viewing others work through sites like Instagram, Flickr, and 500px (as well as Google Images). Depending on which scenario I find myself it determines the first step. After that, the remaining steps are pretty consistent no matter where I’m shooting.
Unknown Area Approach
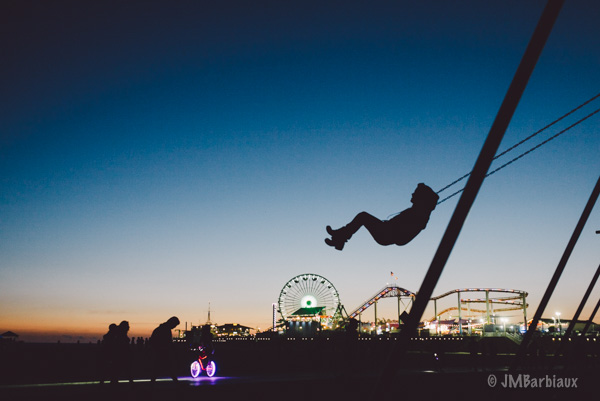
Step One: The first thing I do when I know I will be traveling someplace new is study, study, study. I’ll jump onto the Google machine and search images of the area to see what has been done and what has not. I’m not interested in creating the same image that has been done hundreds of times before so it’s helpful to know what’s been overdone and how. That way, if it is something that I absolutely want to photograph I can see how others have approached it and work diligently on finding a new perspective. For instance, the image above was taken at the Santa Monica Pier. It has been photographed a billion times and generally with the sun setting behind it or something similar. So, I approached it a little differently and came up with something different.
There is nothing wrong with using others work for inspiration and reference, but try to find your own vision rather than carbon copying others work. Replicating others work is a surefire way to stunt your growth as a photographer.
Familiar Area Approach
Step One: It’s a good idea to keep your finger on the pulse of the photographic work being done in the area you most frequently visit. This is an important step because you can make a mental note of areas that are over shot or under represented. My goal, in my home town, is to create as unique of an image as I can as opposed to taking the same shots over and over again. You can also find out who is emulating your work and make sure you are giving them a challenge.
There is no sense in getting upset about photographers who will copy your images, style, or approach. It is inevitable. Think of it as a challenge and work hard to create images that are difficult or impossible to reproduce and you can thank them for helping you to grow as a photographer.
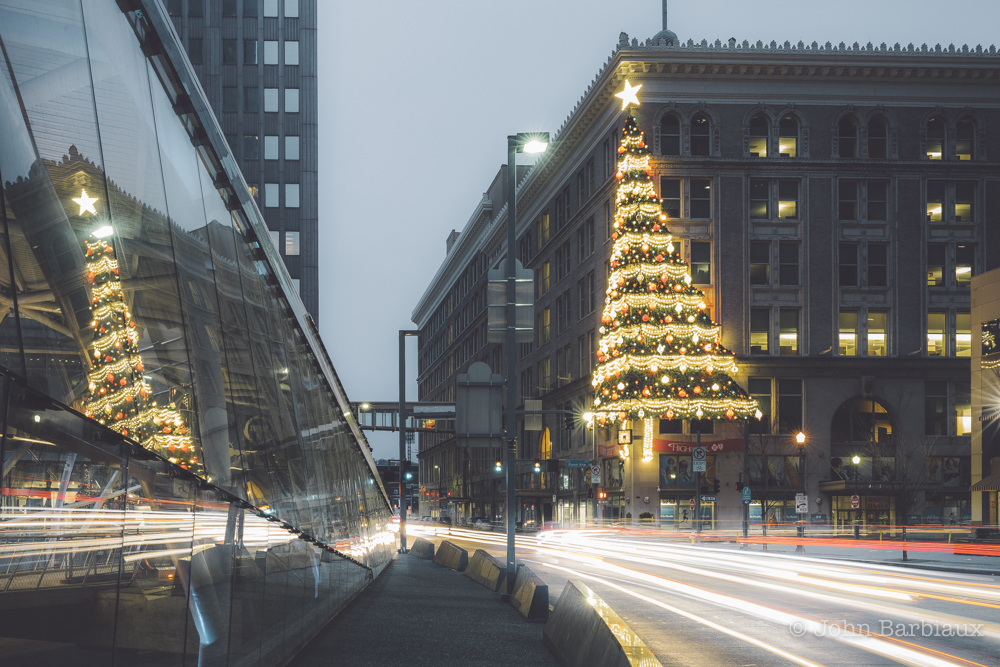
The other part of this step is to frequently visit your mental image of the area you are most familiar with. The image above, with the Christmas Tree, was the result of me laying in bed one night mentally driving through the city and searching for interesting perspectives. I’ve seen hundreds of photographs of the subway station (the glass you see in the left part of the image) and hundreds of shots of the Christmas tree… But I’ve never seen a perspective with the tree reflected in the glass so I wanted to create it. Now, I didn’t pick that spot in my head, I knew a general idea of what I wanted to create and it took a good 20 or 30 minutes to actually find that spot (I tried from down the road a ways with a 70-200mm first b/c I thought it would look better with the foreground more condensed but ended up using a 35mm from up close to create a more immersive image).
Combined Steps
The following steps are used interchangeably between familiar and unfamiliar areas.
Step Two: Know your light. Light is the single most important aspect of photography, next would be the story or subject. With that being said, there is no perfect time of the day for every subject you’ll shoot. Some subjects or scenes look great in golden hour, or blue hour, or in the middle of the afternoon, etc… Here are a few examples of using different types of light to enhance a scene or subject.
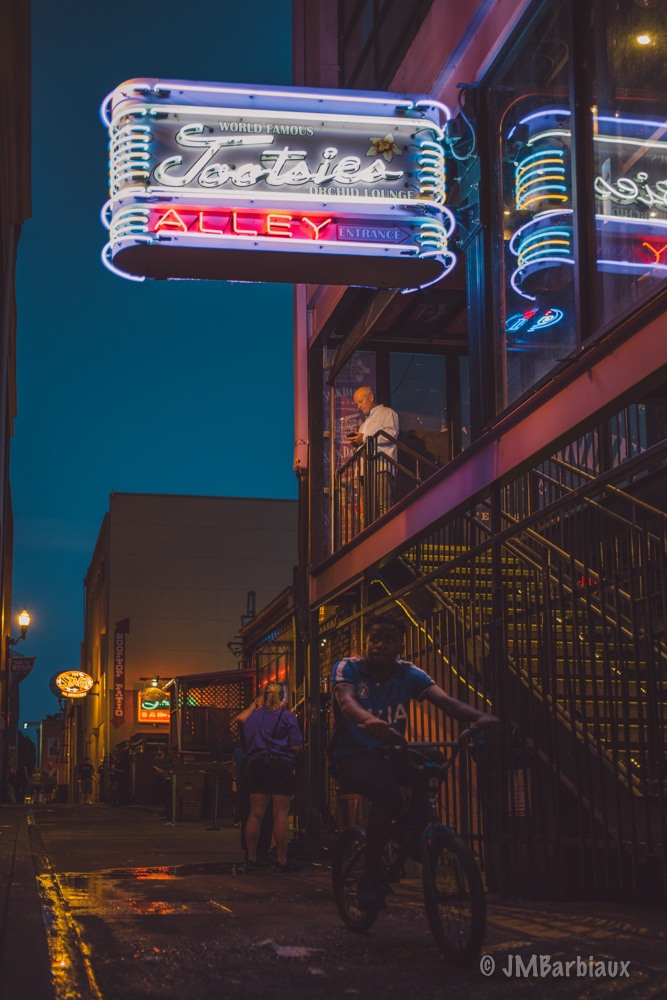
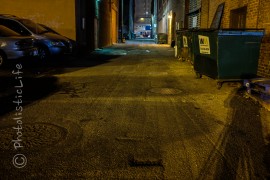
Blue Hour – Had I taken this shot 45 minutes earlier it would have been real okay. The alley was gross looking and distracted from the neon sign which didn’t pop against the lighter sky.
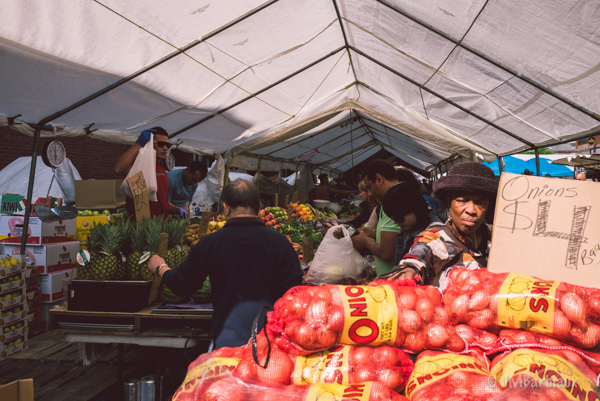
Mid-Day – I use harsh mid-day light often in my street photography because I like the way it makes color pop and emphasizes my subjects.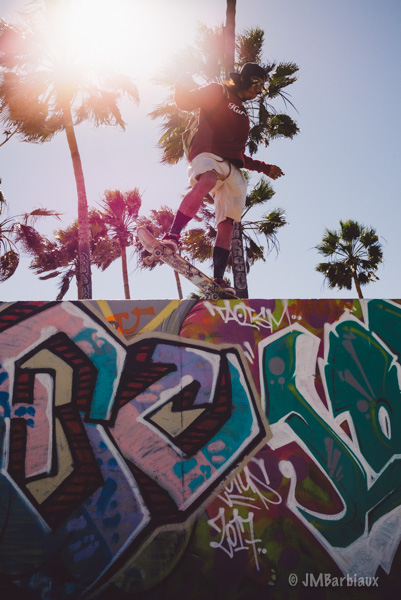
Golden Hour – Admittedly, most people would show you an image where the sun is behind them and painting their subject or scene in soft golden light. Instead, I’m showing you my favorite part of golden hour, the sun is at the perfect angle to create images with sun flare like the one above.
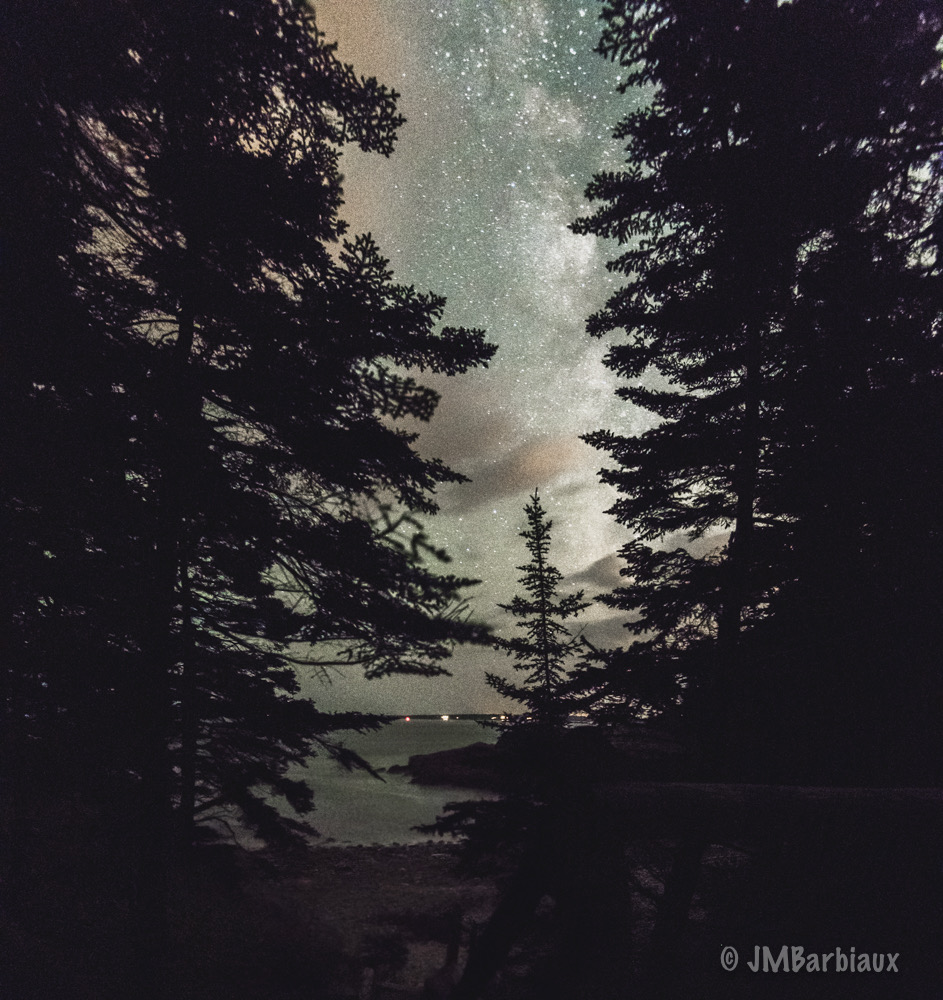
Night Time – When the sun goes down your possibilities increase. You can create landscape astrophotography, light trails, street photography lit by street light, etc.
Step Three: Location, location, location. I like to spend a considerable amount of time learning about popular locations in areas I’ll be photographing. Instagram, Flickr, 500px, Google Images, etc. are all good resources to tap. For landscape photography this approach gives me a good idea of the topography and I can begin to build a mental image of where I’ll be which helps me to know what time of the day to visit each area.
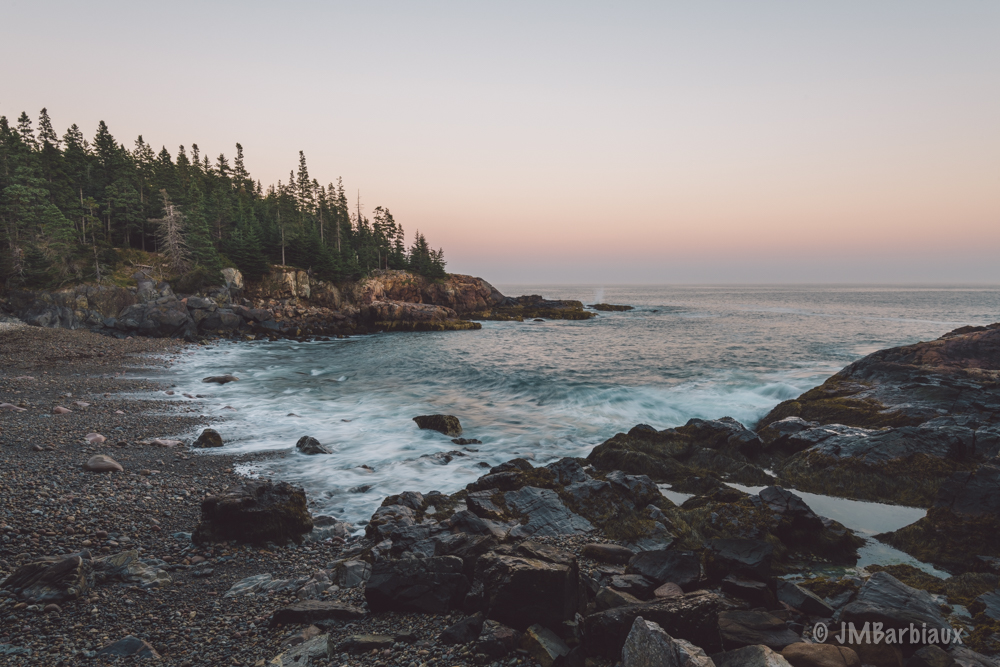
I spent hours on the internet pouring over the different images of Acadia National Park to find this small, barely marked, beach. The beach ended up being fantastic for creating some of my best landscape images from that particular trip… None of which looked like what I researched (my goal).
Step Four: Logistics! I touched on this one in step 3 but I would be remiss not to go into further detail as this is one of the most important steps. Knowing where to be and when is key if you want to make the most of your time. If you know where you want to be for sunrise and sunset you can plan the rest of your day around that in order to cover the most ground and not bounce around like a ping-pong ball wasting precious light. Not having a plan means you’ll waste time and energy. Create a shot list for each day and make alternatives for various types of weather. For instance, you could have spot 1, spot 2, spot 3, spot 4 on your list in one column and a second column could have an alternative for spot 1 if there is fog in the morning (you’d obviously insert an area that would look great in fog here), or an alternative for each one in a third column for rainy weather.
Step Five: Leave some time unplanned if you can. If I’ll be on location for 3 or more days I like to leave at least 8 hours of unplanned time in order to circle back and cover something I saw along the way… Or rest… But mostly I shoot something that I saw, but didn’t have time to photograph it, otherwise it sticks in my head and drives me crazy.
This five step list is by no means exhaustive. I use specific programs to track light and see where the sun will be at certain times of the year. Knowing what part of the season is the rainy season for a specific location is key as well. For instance, Red Wood National Forest is on my short list for photographing but I know that if I went right now I may not have the dense fog that the summer months have and that it’s likely to rain most of the time.
Finally, planning my shots the way I do does not mean I’m not open to serendipitous moments, there are many days where I’ll walk around aimlessly waiting for the right light to work my way back to where I planned to be. In the meantime, if I find something I think will be better I will simply work that image until I’ve got what I want and then move on. If the time has passed for the shot I planned for there is always next time. If I’m someplace where there may not be next time I will make a game day decision and choose whether the shot I’ve stumbled upon is worth passing on the one I planned for.
Please feel free to leave your thoughts in the comments section below. You can follow my current work on Instagram @PhotolisticLife where I post images that may eventually make it into an article here as well as images from the current projects I’m working on.
Good tips, John. Thanks.
Thank you!