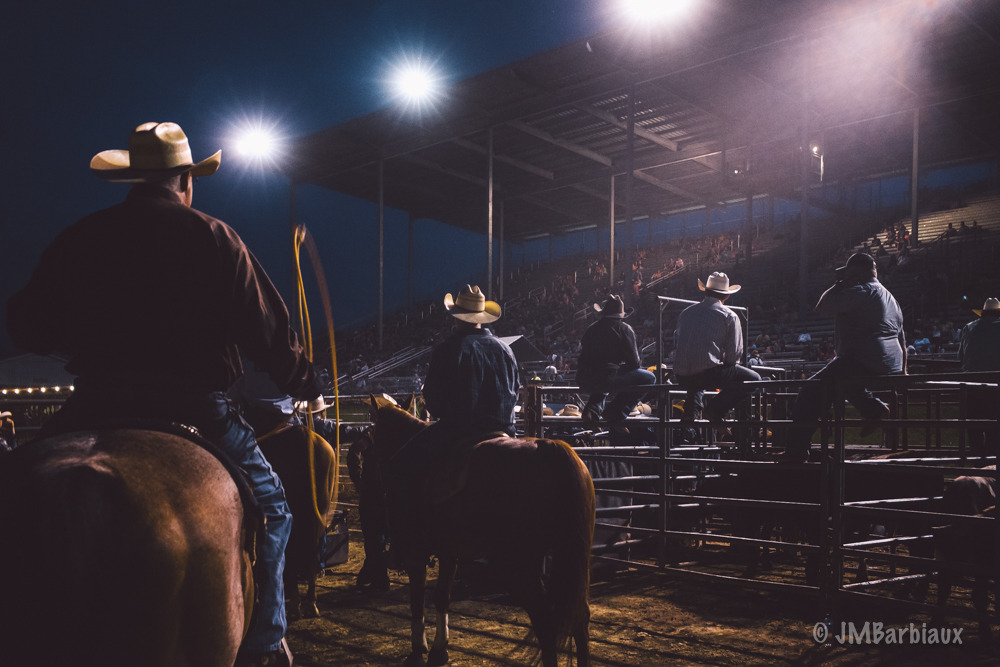
Stacking, combining, merging, call it whatever you want so long as you give it a try. The quick tutorial I’m going to share with you below was done using Lightroom and the free photo editing web application called Pixlr. The goal was, as it always is, to find a way to create a great image as quickly as possible so you can spend less time at your computer and more time behind your camera. This shot took less than ten minutes to post process and upload to Flickr.
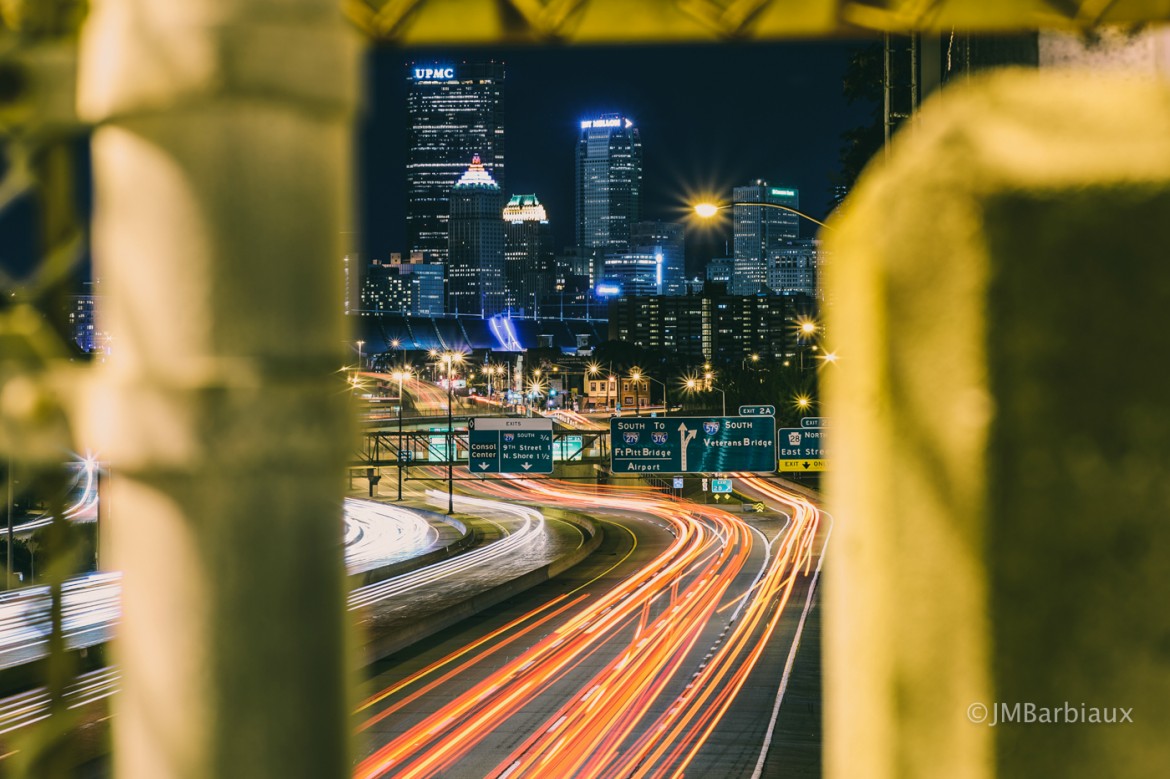
There are a number of reasons to combine images and just as many different ways to do it. For this example I’m going to show you how to simply stack a couple of images using layers. The goal is to simply take the light trails from both images and combine them into one so that the image has the maximum amount of light trails. The two images we will be using are below.


The reason I’m using Pixlr for this demonstration is that I know not everyone has Photoshop, Pixlr is free to use, and you don’t need to download any software. I used Lightroom to convert my image files from DNG to JPEG’s but you can use whatever software you’d like (most cameras come with simple software to do just that). You’ll definitely need to convert the images to JPEG if you intend on using Pixlr, it won’t recognize the DNG files (DNG are Nikon’s version of RAW files).
You’ll need a series of light trail photographs like what you see above. Make sure you use a tripod, any movement at all and this won’t work. I took each shot using a secure tripod at 20 sec, f/9, and 85mm using the Nikon Df.
After Pulling Photos From Your SD Card
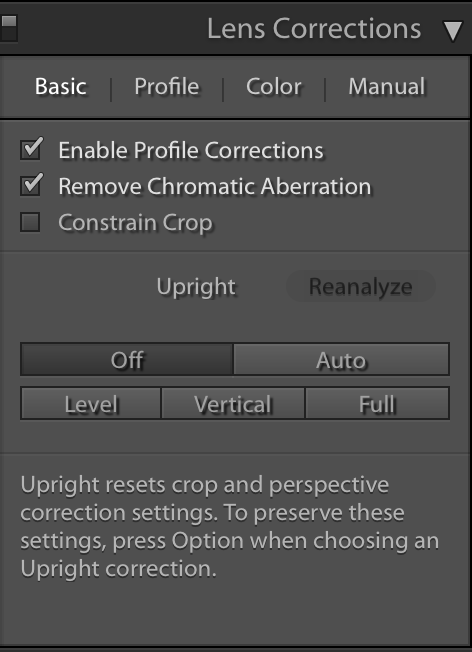
If you use Lightroom or any other photo processing software that gives has lens correction settings you’ll have to experiment a little. I found that I could do “Enable Profile Corrections” and “Remove Chromatic Aberration”, something I do for every shot as a reflex, without causing problems when it came time to overlay images. If you do auto upright you may hit a snag as the software may adjust slightly differently even though on the surface it looks as if the images are exactly the same (and they very well may be). I’d recommend saving auto upright, if you use it, for after you’ve combined the images you want.
 Next, you need to reduce your highlights. For the images you see here I reduced the highlights by 100%. Once you combine the images as layers in Pixlr you are going to use a setting called “Lighten” and this just pulls the brightest pixels from each layer forward so they show in the final image. If you don’t reduce your highlights you’ll end up with crappy looking blown out light trails and a feeling of disappointment.
White balance is the next setting that I adjust, I usually use the little eye-dropper in Lightroom to sample a grey area in the frame for a custom, more accurate, white balance setting. Again, sometimes the software can sample the same place in the same image and come up with a different white balance setting. I’d suggest that once you get a white balance you like on one image just enter it manually for each of the other images you are going to use.
Finally, export the full size images to a folder you can easily find on your desktop (or directly to the desktop), these are the files you will open in Pixlr. If you have Photoshop you can simply highlight each image you want to stack and open them in Photoshop Layers.
Using Pixlr To Combine The Images
We aren’t going to photo-chop the images here. All we are doing is combing multiple images in an attempt to pull the lightest pixels forward into a final image. The result will be the same as if you had taken a really long exposure with an ND filter. The reason I don’t use longer exposures anymore is because the longer the exposure with a digital camera the more noise that gets introduces to the image, even at base ISO’s.
When you navigate to Pixlr you are going to click the “web app” link at the top of the page (or just hit this link) and it will give you this splash screen:
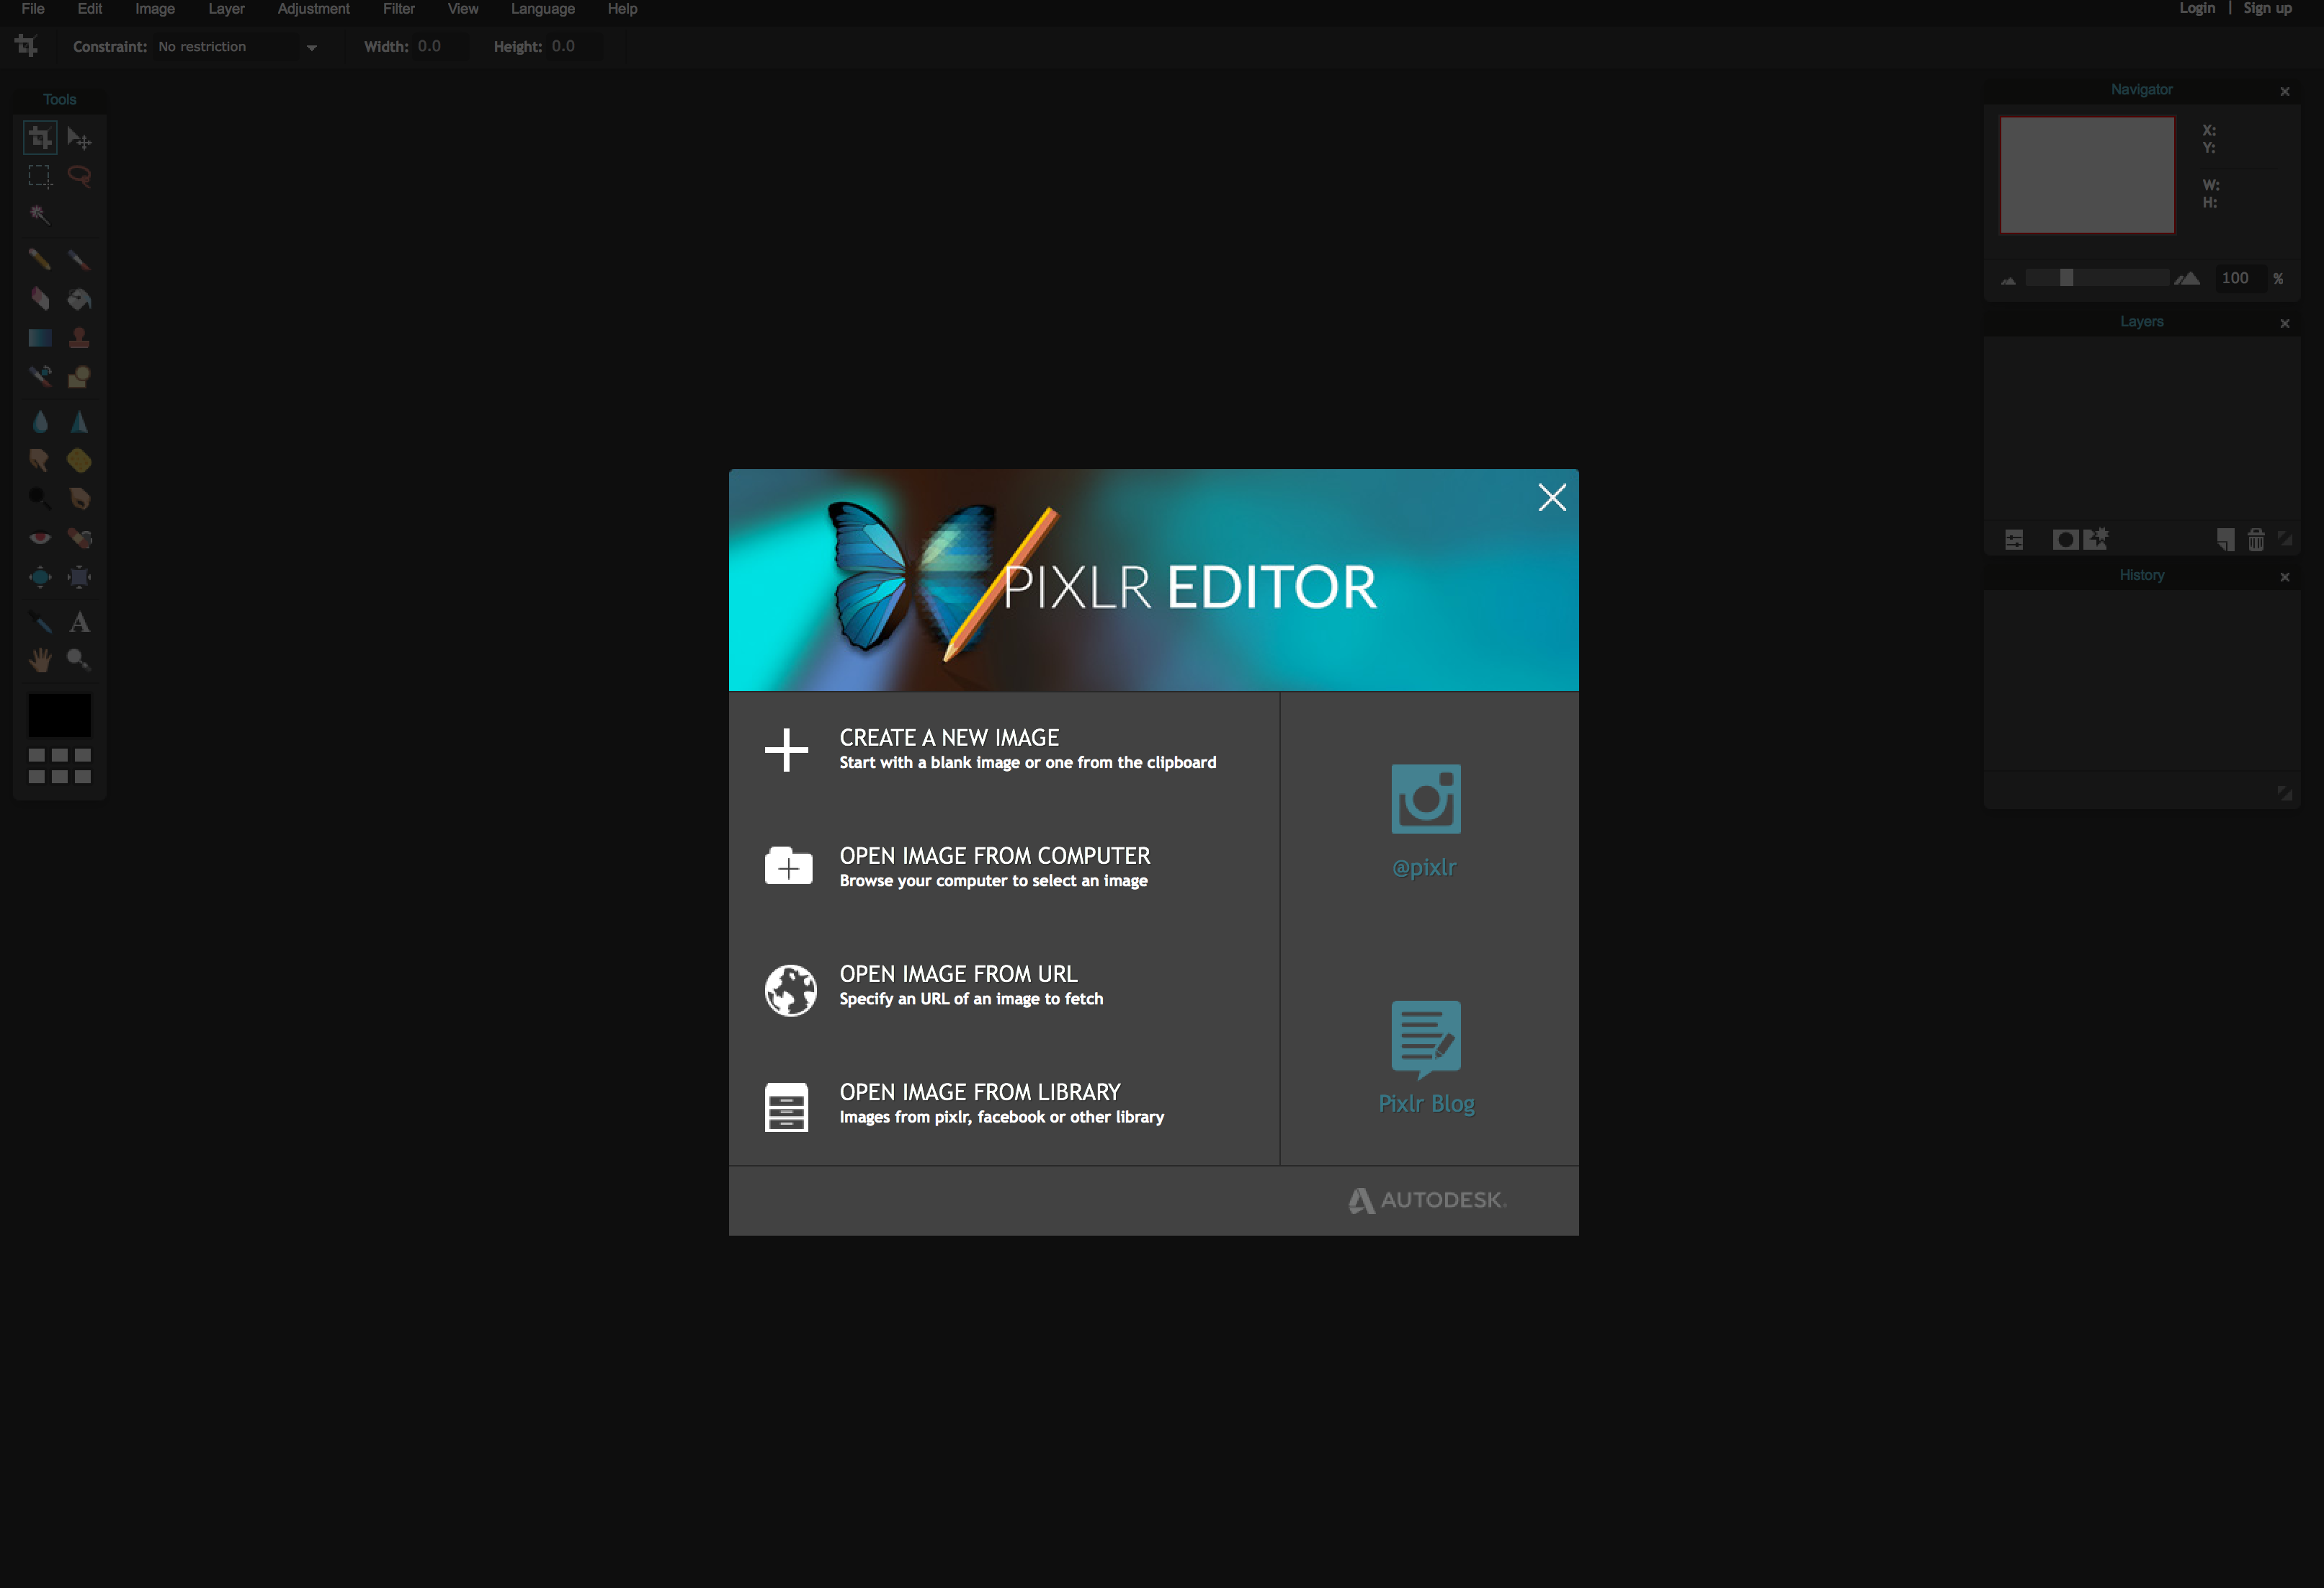 Once here you are going to hit the “Open Image From Computer” link you see above. That will open up a folder allowing you to find and choose one of the JPEG files you created using the steps above.
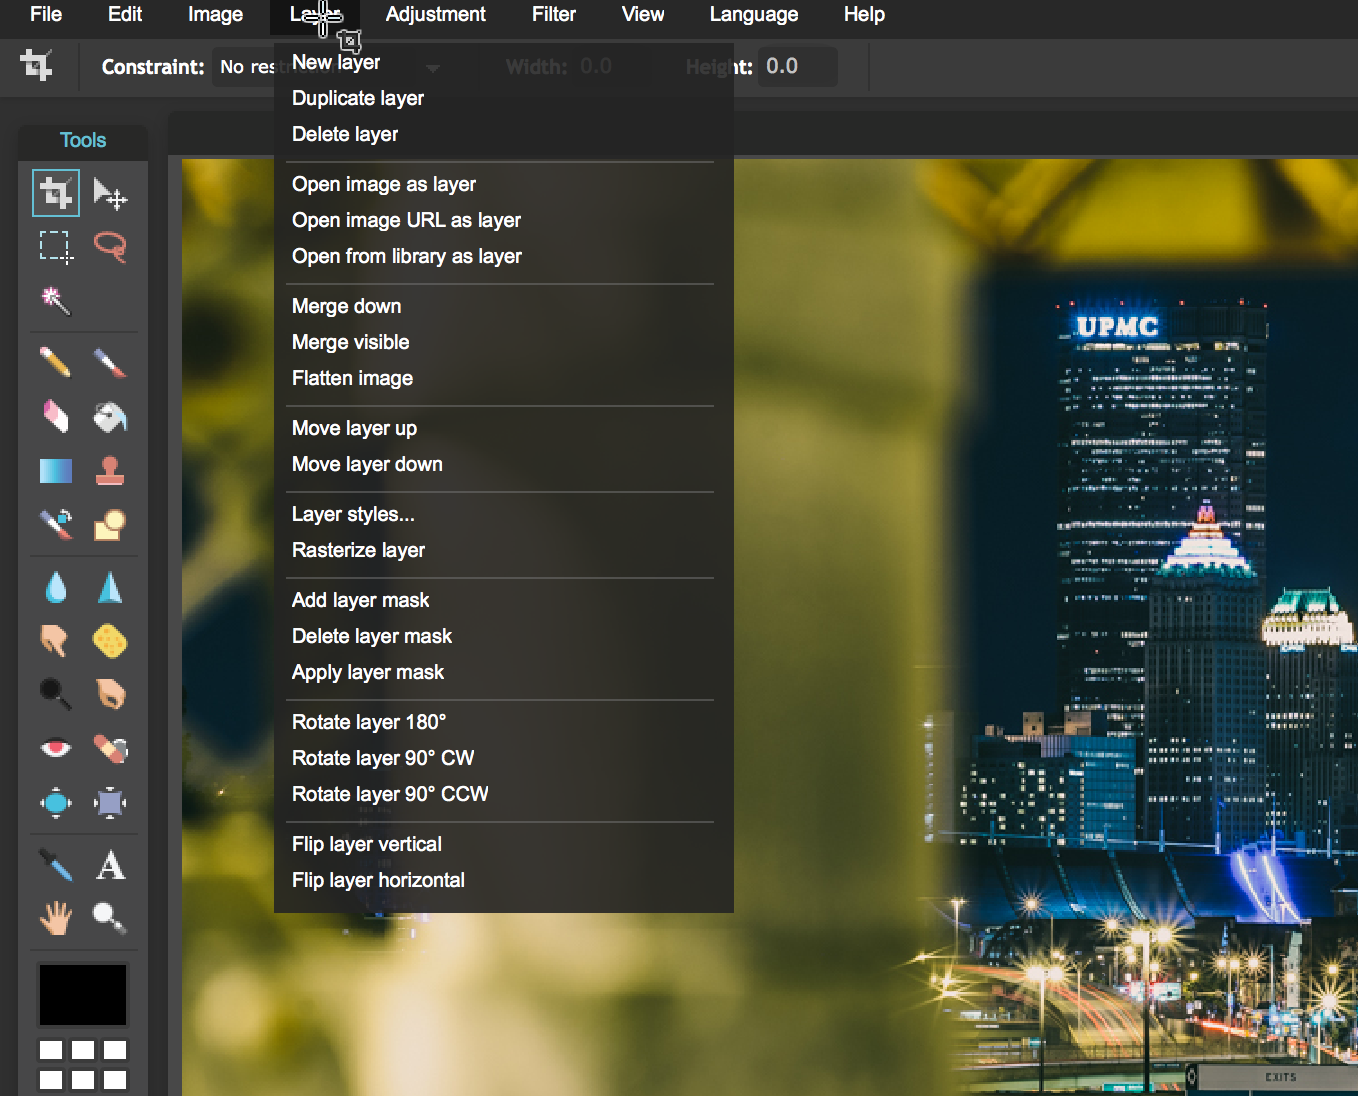
Once you open the first image you can open the remaining images as layers by using the layer menu at the top of Pixlr… Once you click layers you’ll get a drop down and you want to choose “Open image as layer”. Once you do that you’ll see that you’ve got an additional box (or many if you opened many images as layers) that represents each layer in the box on the far right of your screen.
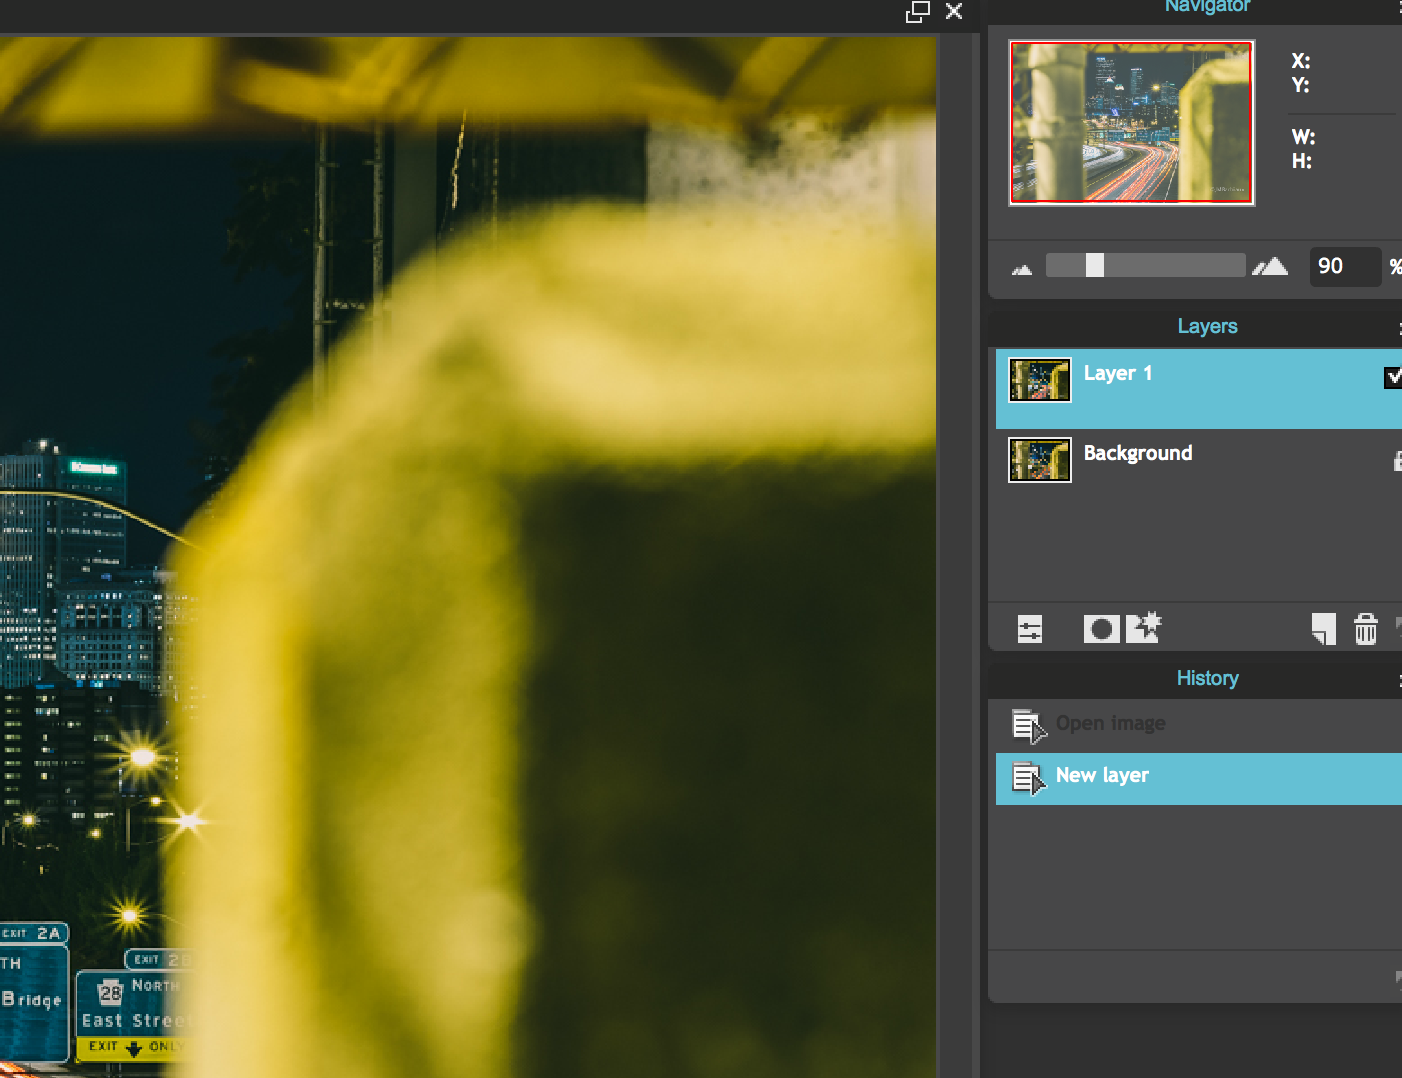 Once you’ve got all the images you want to stack opened as layers it’s time to bring the brightest pixels forward to fill in the gaps in your light trails. In the images that I combined for this example the light trails were a little sparse when separated but once I combined them it filled in the empty lanes in the road with light trails for a more interesting shot.
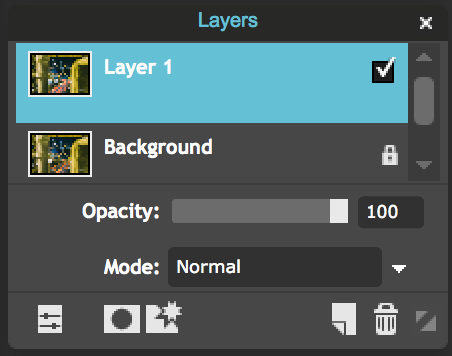
To bring the lightest pixels forward you click on the little white box at the bottom of the larger box with the small layer squares (where I have Layer 1 highlighted in the image directly above). Once you click on the little box it should look like this:
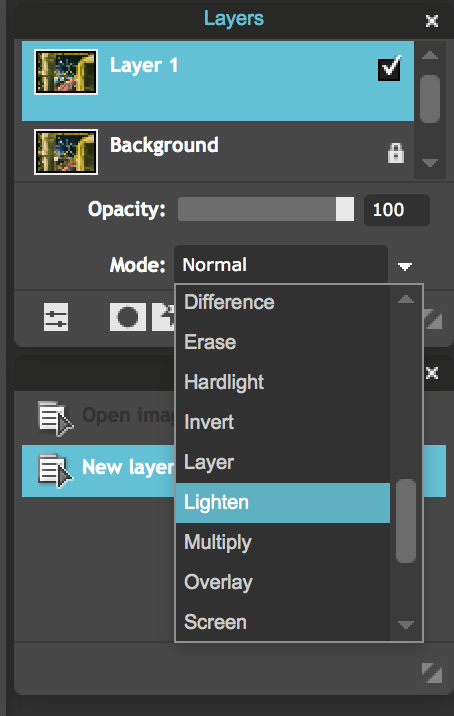
 Where it says normal you want to click and scroll down until you see “Lighten”… click that for each layer and you should have a robust looking light trail image. Now it’s time to save your image by going to File – Save.
 Once you’ve combined all of your layers you can pat yourself on the back, but your job isn’t done yet. Head back into Lightroom and import your newly created Frankenimage and finish developing it. Make sure everything looks sharp and there aren’t any double stars (if you combine multiple 20 second images you may end up with many of the same stars scattered closely together in the image… You can simply spot remove undesired stars rather than messing with more advanced methods in Photoshop).

That’s it! Super easy and quick, right? Give it a try and be sure to share your images with us on Facebook or through the PhotolisticLife Flickr Group. Leave your thoughts in the comments below.