

Street photography is one of the most rewarding genres of photography… It’s also one of the most frustrating. Believe it or not, strangers don’t care if you get a great shot of them. Selfish right? Maybe. Street photography is fast paced, you’ll be walking along and then, BAM, a great shot presents itself. One of the most disappointing mistakes you can make is blurry images caused by camera shake.
There are a couple of different approaches you can take to be ready for quick shots while ensuring the images will be as sharp as your keen eye, Increasing your ISO and shooting with a wider aperture. There is another, more advanced, strategy called zone focusing that I’ll touch on at the end of this article.
Even the most advanced photographer is no stranger to camera shake, we try everything we can to avoid it but every now and again we forget to monitor the shutter speed and end up capturing disappointment.
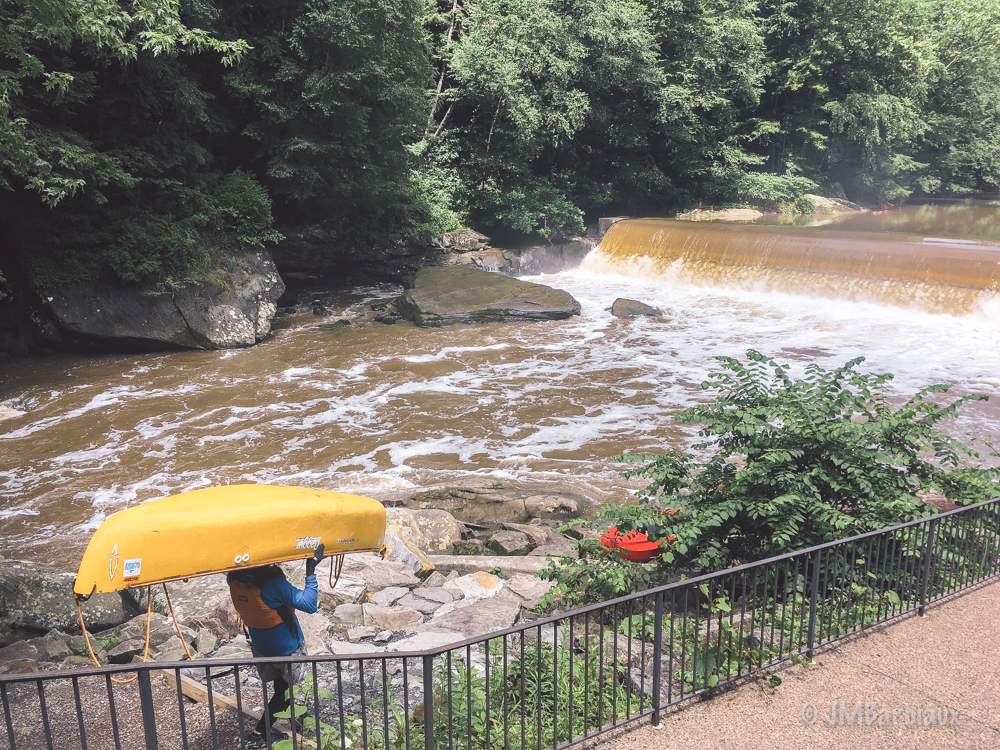
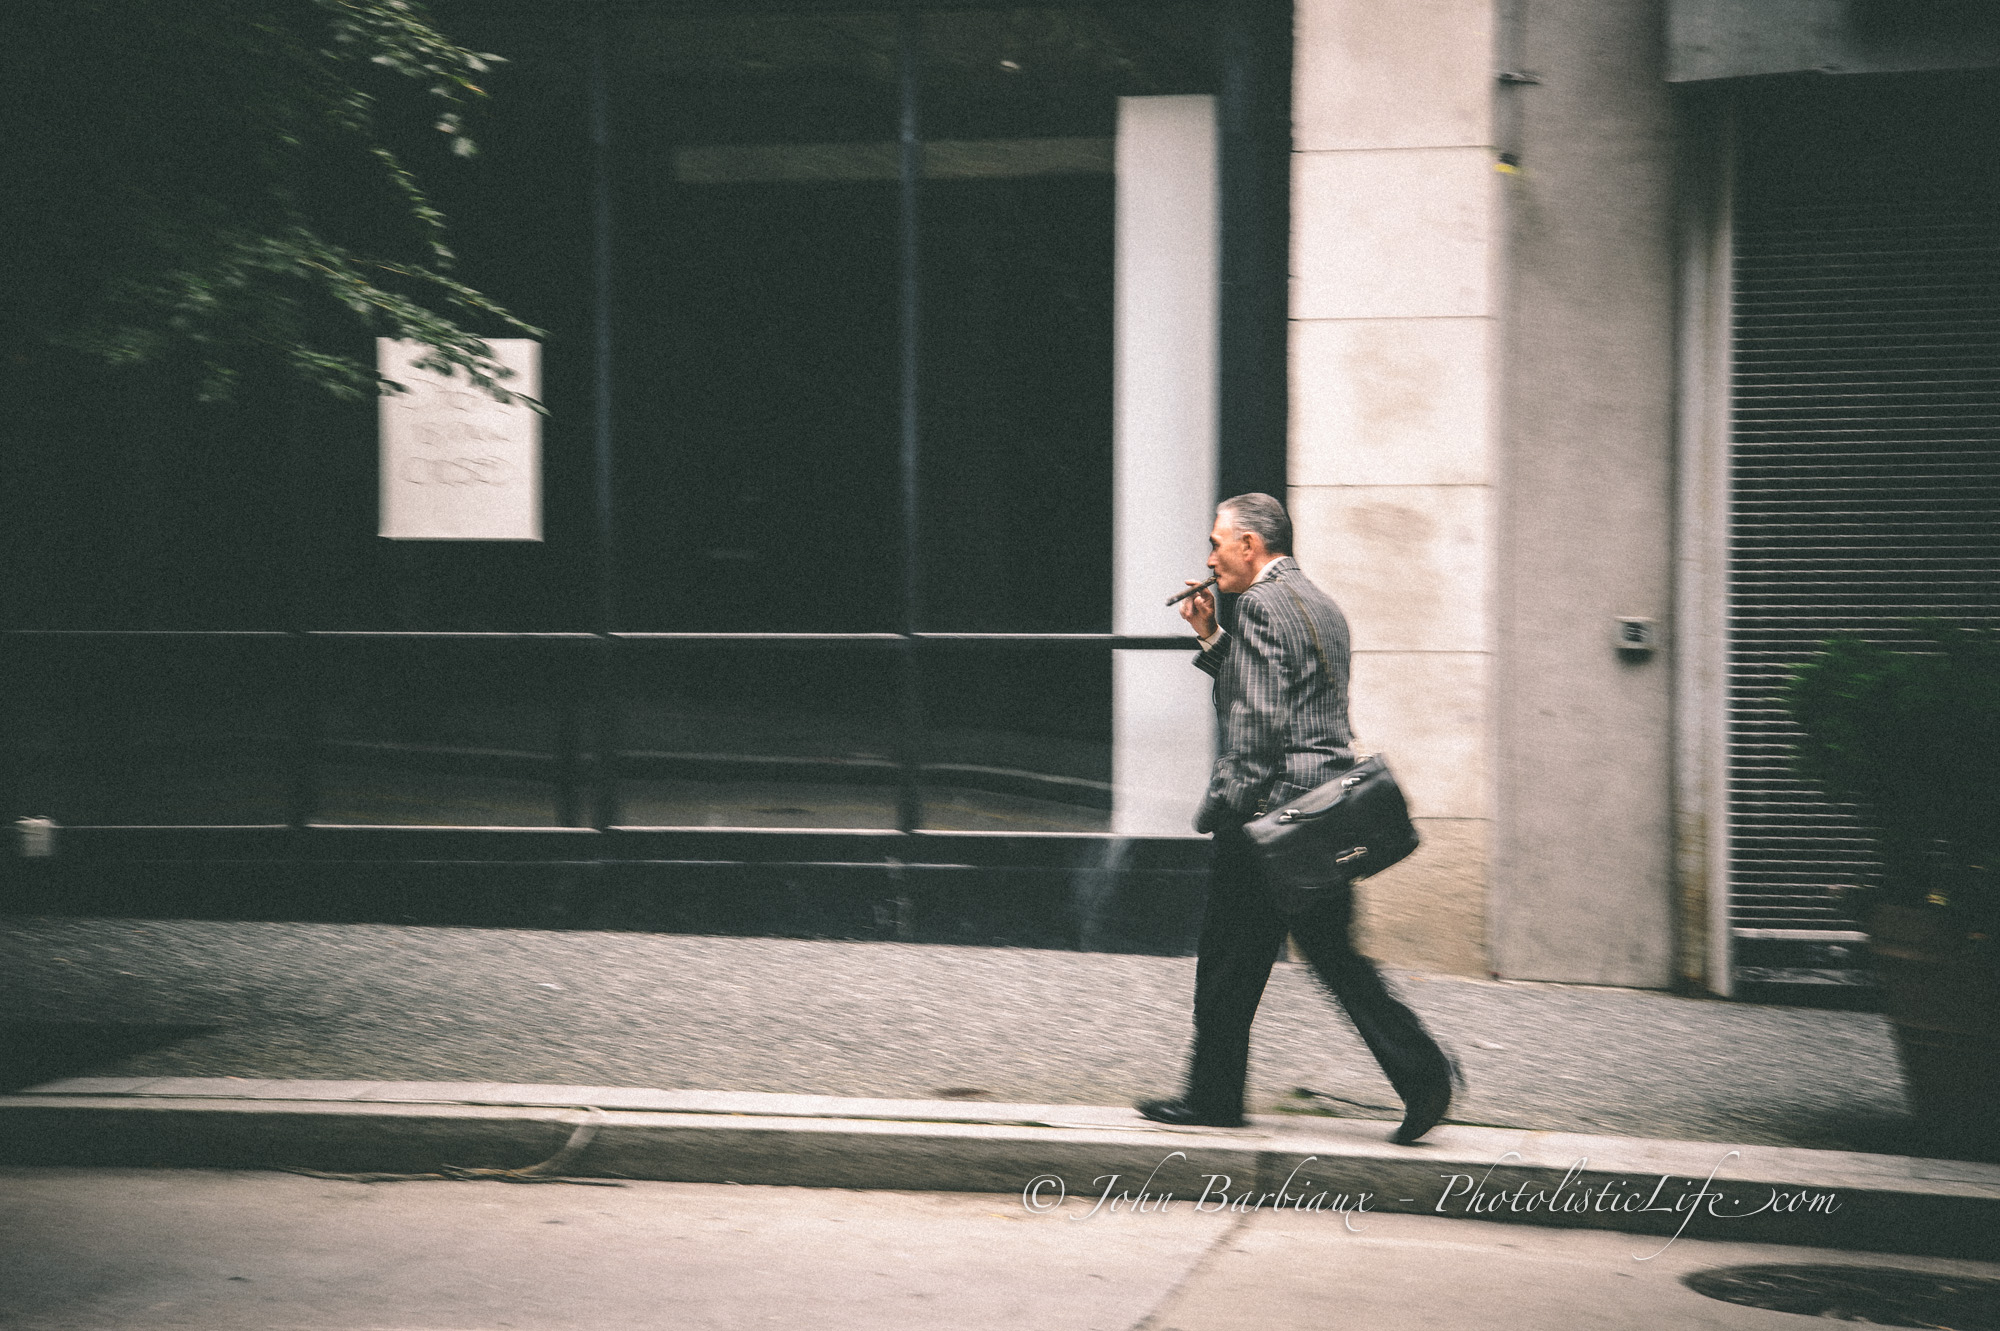 This image is one of my favorite street photography shots I’ve taken but I consider it garbage because I botched the shutter speed and the image ended up blurry. ISO 200, 85mm, f/10, 1/15 sec..
Increasing ISO
ISO is one of the three pillars of exposure, the other two being shutter speed and aperture. Increasing the ISO is generally a photographers last resort because doing so can add noise to your images. Increasing the ISO by double will half the amount of light needed by your camera allowing you to shoot with a higher shutter speed (assuming you didn’t adjust your aperture).
Exposure Triangle – Easy Graph To Learn Exposure Relationships
When I set out to do street photography in the city I immediately increase my ISO… I don’t wait until I’m in the shadow of a building. I sure used to, but then I got burnt about half a dozen times when I shot a photograph I really like… like I was really excited to get back to my house and check it out like a kid with a box of Crackerjacks ready to rip the box apart for the toy… Only to find out that my shutter speed was just slightly too slow and the image was garbage. If that happens to you a half-dozen times you’ll be a believer in increasing the ISO from shot one.
One of my favorite photos that never was…
 Because I didn’t have my ISO increased (in essence, I wasn’t ready) I missed a beautiful shot.
Open Your Aperture
Using a wider aperture is a great way to allow yourself the ability to increase your shutter speed without having to go crazy with the ISO (I would still recommend increasing your ISO because of the variable lighting in cities). Opening your aperture will also help you isolate your subject in areas with lots of distractions.
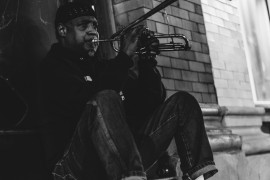
One of the questions I frequently get is “if I open my aperture too wide, won’t I risk blurring parts of my subject unintentionally?”. That’s a good question and it means you’ve been reading up on depth of field… but what some sites gloss over is the fact that as you increase your distance from your subject your depth of field increases. For instance, the shot below was taken at f/1.8, a really wide aperture that most of us would suspect would render only a tiny sliver of the focal plane in focus.
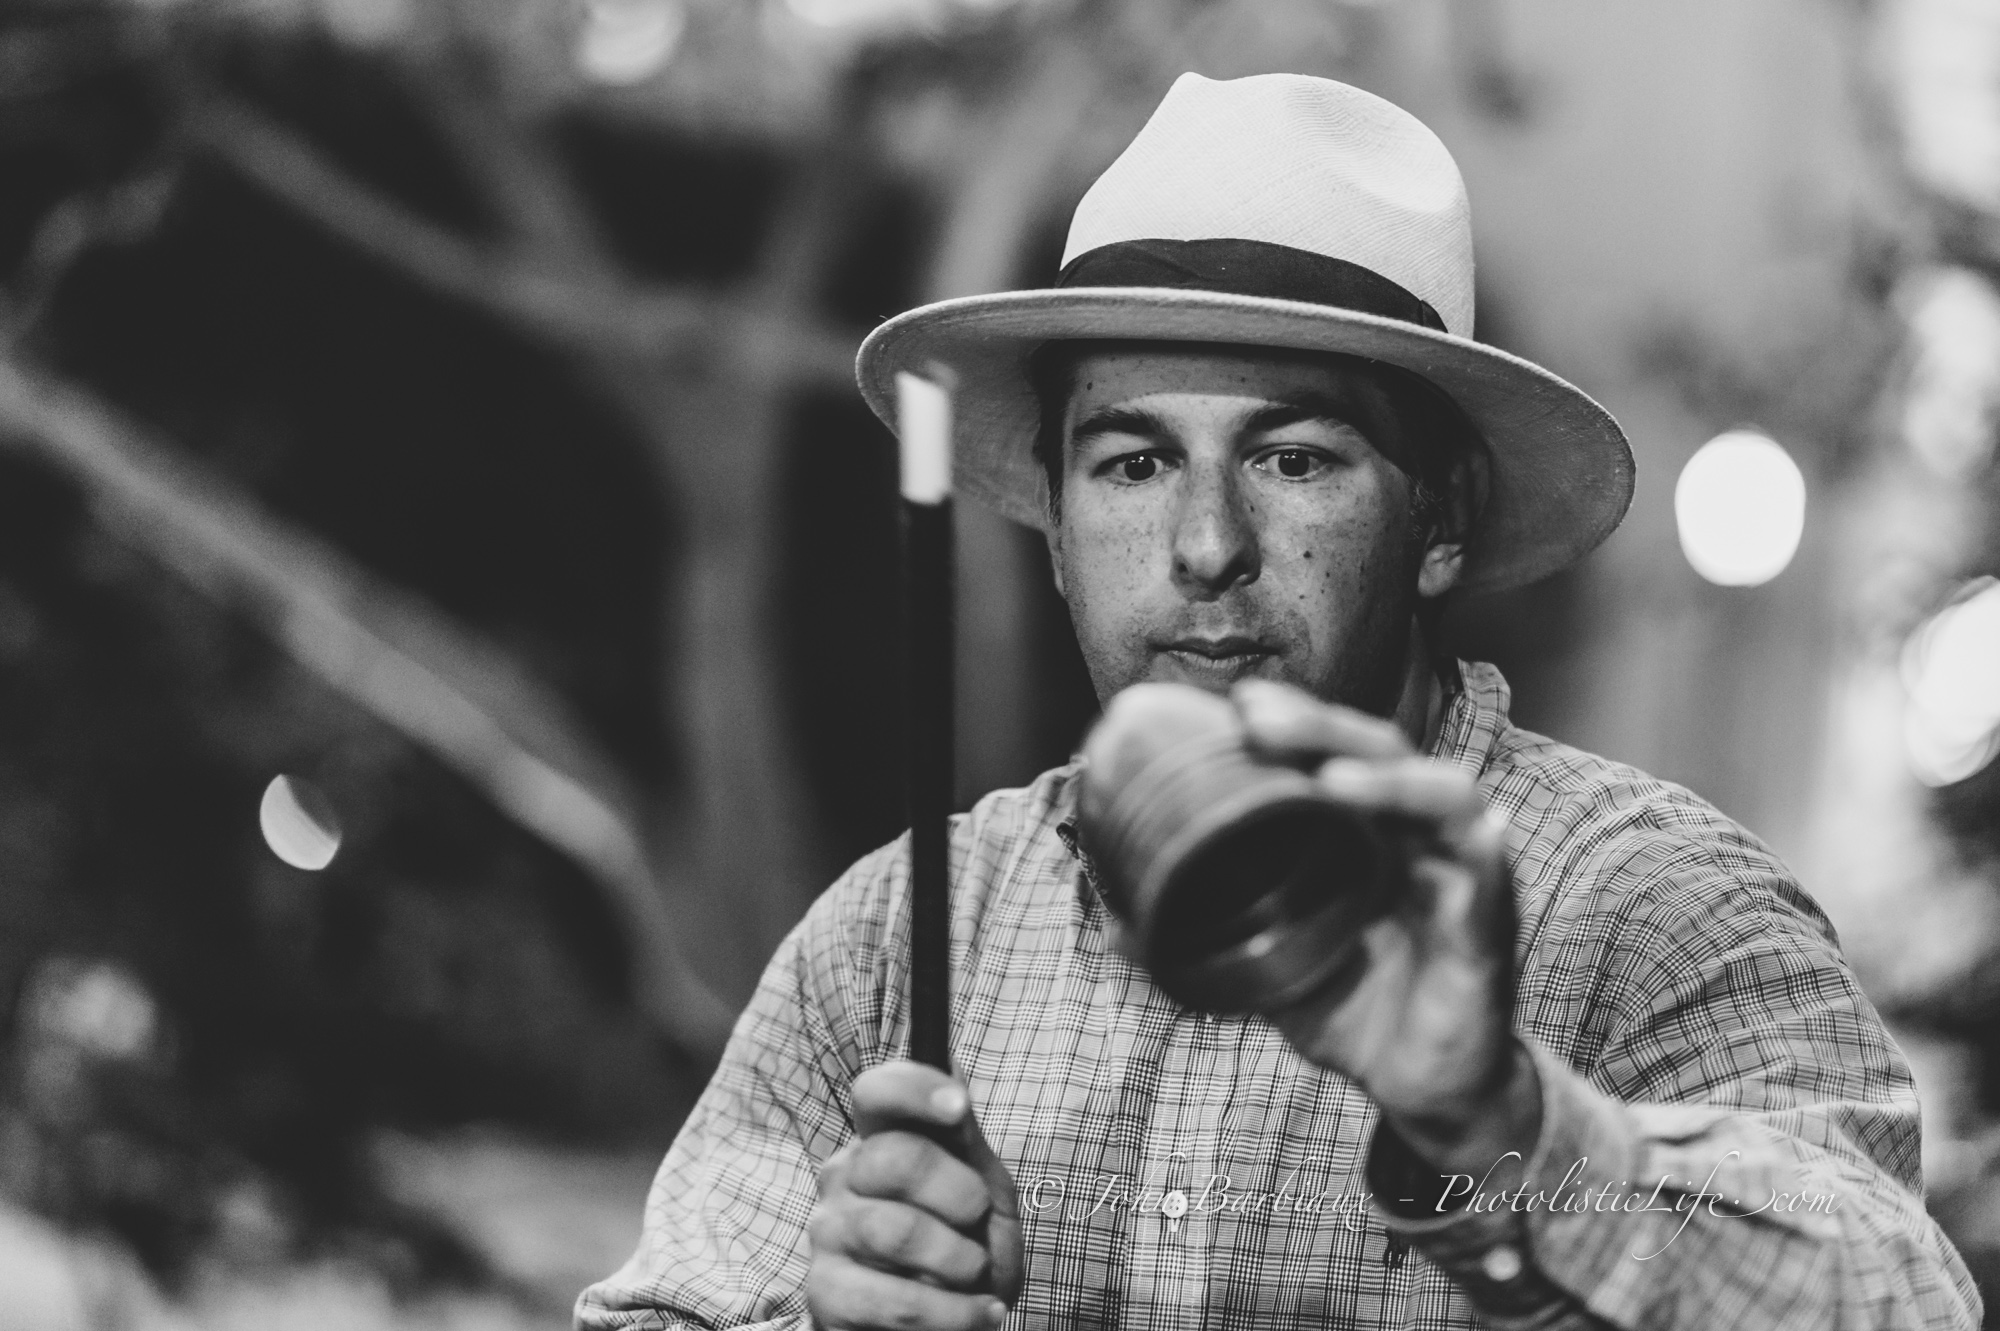 Shot at 3200 ISO, f/1.8, 85mm, 1/125, Shutter Priority
As you can see in image above, a wide aperture of f/1.8 is not only adequate but desired. I imagine this is Harry Potter in twenty years, literally turning tricks in the park to pay his bills…
Zone Focusing
I wish I could say this is a super difficult technique that takes years to master but in reality it’s incredibly easy and just what it sounds like. You dial in a “zone” with your camera in manual focus and wait for unsuspecting strangers to walk into it like a unicorn into a mythical trap.
The zone is really just the acceptable depth of field (DOF) that you choose. What this means is that you choose an aperture and manually focus the lens to the point where say 10ft. in front of you is acceptably sharp as well as 2 feet in front of that to 4 feet behind… Your DOF then is 8 – 14 feet, you should be able to quickly snap a picture of anything or anyone that travels through your DOF.
The reason zone focusing works so well is because often the reason you miss great opportunities is because you are too slow to focus your camera manually or your auto-focus misses the target/timing. Zone focusing will allow you to essentially “shoot from the hip” because you won’t even have to peer through the viewfinder if you are in a hurry, you can snap a shot while the camera still hangs around your neck without anyone knowing you just took their photograph.
Hopefully some or all of this article will help you keep things sharp next time you are out and about with your camera. If you have other tips you’d like to add you can feel free to comment below or head over to our Facebook page and leave a comment. Enjoy!
Thank you for submitting this article. It is very well done. Brief and to the point. I had almost forgotten about the zone photography. Used it a great deal years ago when using manual cameras. Refreshing to be reminded of a technique I haven’t used in a long time, and realizing it is still a pertinent method in everyday photography if one is out and about or on the street.
Thank you for the feedback, I’m glad you found it interesting. Take care.
Hi John, another thought-provoking and useful post; thanks!
I have a question about this issue, since it is one that I wondered about for a while – Why not just go with Shutter Priority mode, and let the camera determine the Aperture?
You still have the option to adjust ISO in advance to give as much leeway as possible, but this way you can set the speed around the minimum necessary to avoid hand-shake, so generally producing clean, crisp shots.
What am I missing with this approach?
– I can see that if you are working to get a very specific DoF and want to set your Aperture that way in advance, then the variability in shutter speed set by the camera could be an issue; Surely in a case like that, where you already have an artistic vision of the scene and are just waiting for your vict..err… subjects, to move into it, wouldn’t full manual be the answer, along with your zone focussing technique?
Looking forward to your thoughts!
I would def recommend Shutter Priority mode when doing street photography because of the large differences of light throughout the city. You are right, I didn’t really talk much about shooting modes… good catch. Shutter Priority mode, increased ISO, and zone focusing in manual focus would be ideal. As for aperture in street photography… if the lighting is ideal then sure but in most cases I’d rather have a tack sharp shot than a blurry photograph with bokeh. Thanks for chiming in!
Shutter priority, super smart there – I’ll give that a shot. 🙂 thanks, love this blog! I’m making my way through Spain right now doing some street photography so this is very helpful.
Awesome! Would love to see some, feel free to submit an article to the site or post some on our Facebook page of you’d like. Safe travels!
Great article, John, thanks. Will give it a try.