Okay, so you’ve decided to go out and shoot a band, great! I suggest Nickelback… Wait, we’re talking “shooting” in the photography sense :). So, what gear should you bring? It’s gonna be dark, should you use a flash (No)? We’ll discuss all of this and more as we get in to the technical side of shooting live music in this column.
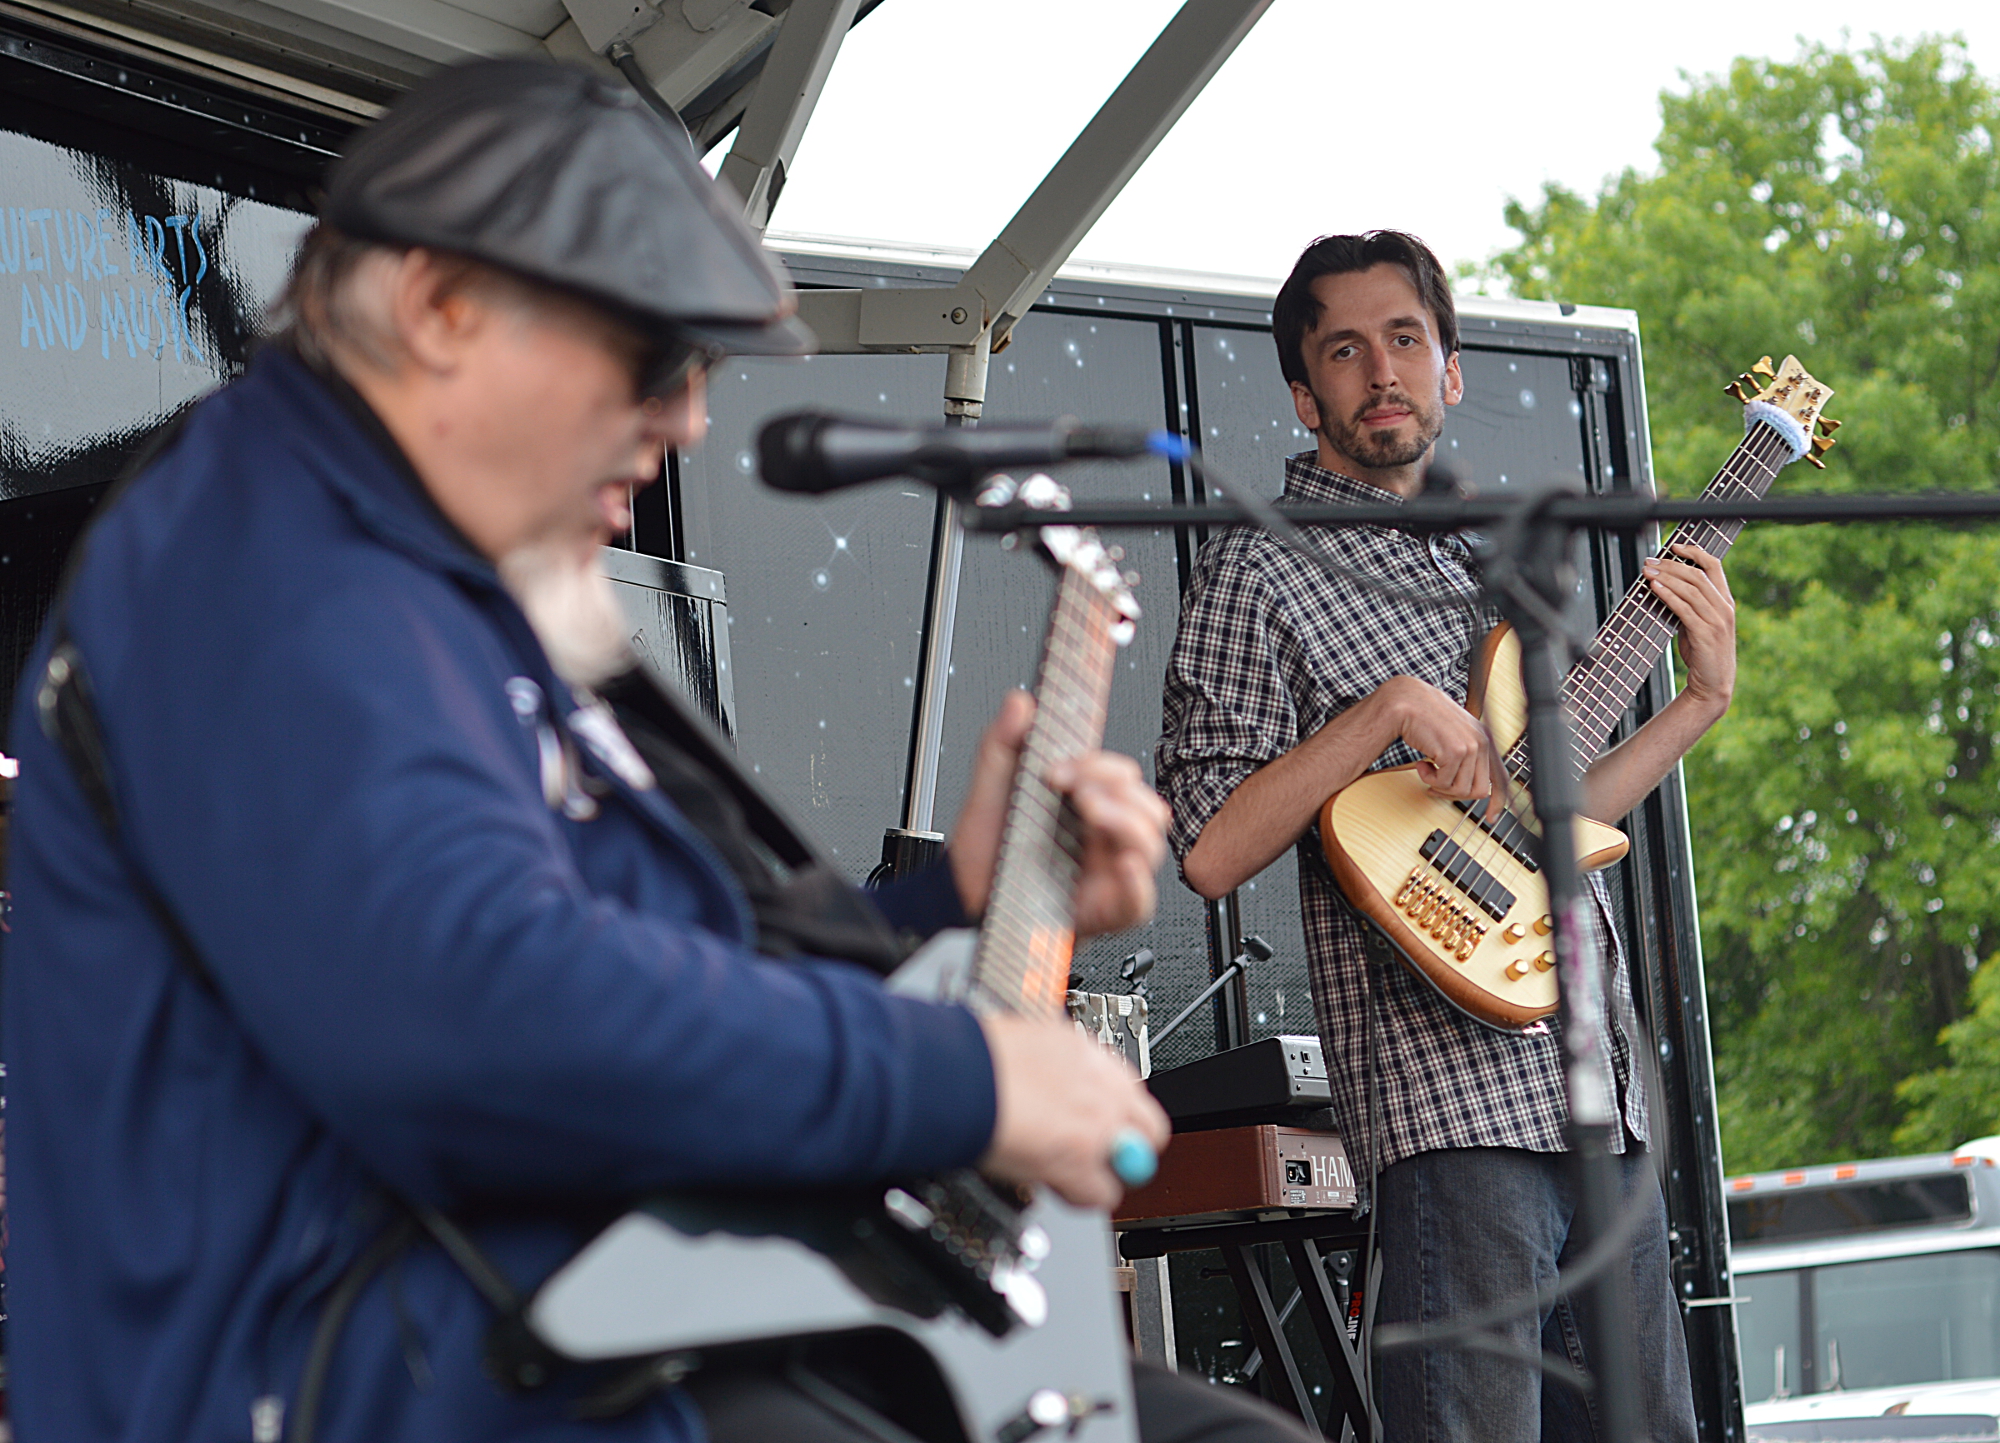
The biggest obstacle, at least on the technical side of shooting bands, is the lighting. Now, if you’re taking photos at an outdoor festival, in the middle of the day, this won’t be an issue. Just keep an eye out for slight changes in lighting from the sun going behind clouds and the such, and you’ll be golden. But most of the time you’re going to be either heading to a dank little pub to catch your local heroes or, if you’re lucky, perhaps to a stadium or arena where there will be more light on stage. Anywhere you go the lighting is also likely to be constantly changing.
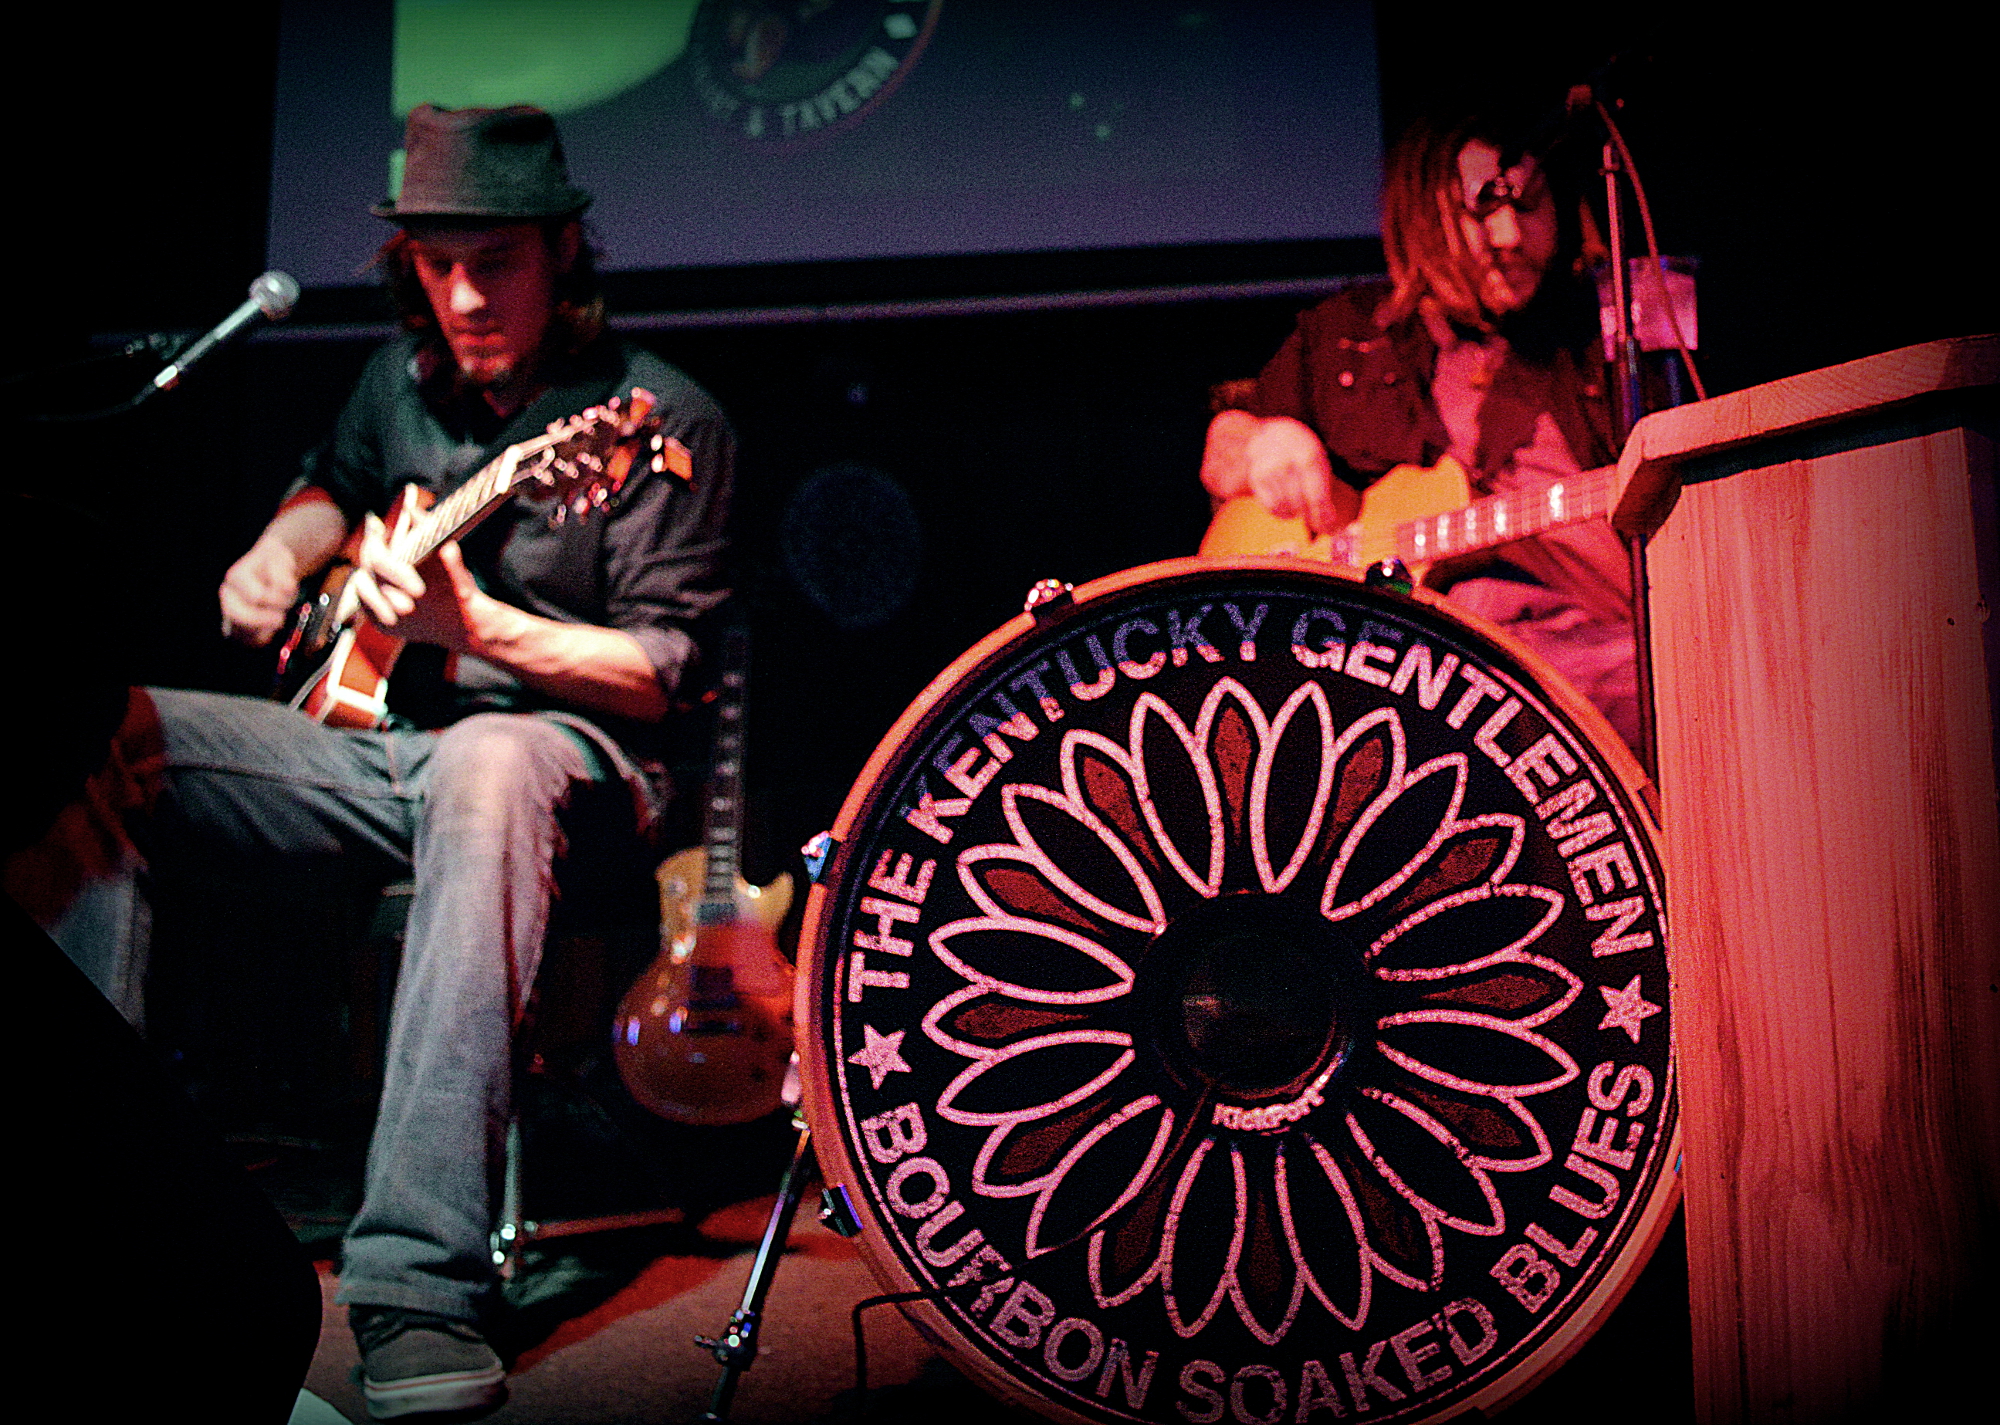
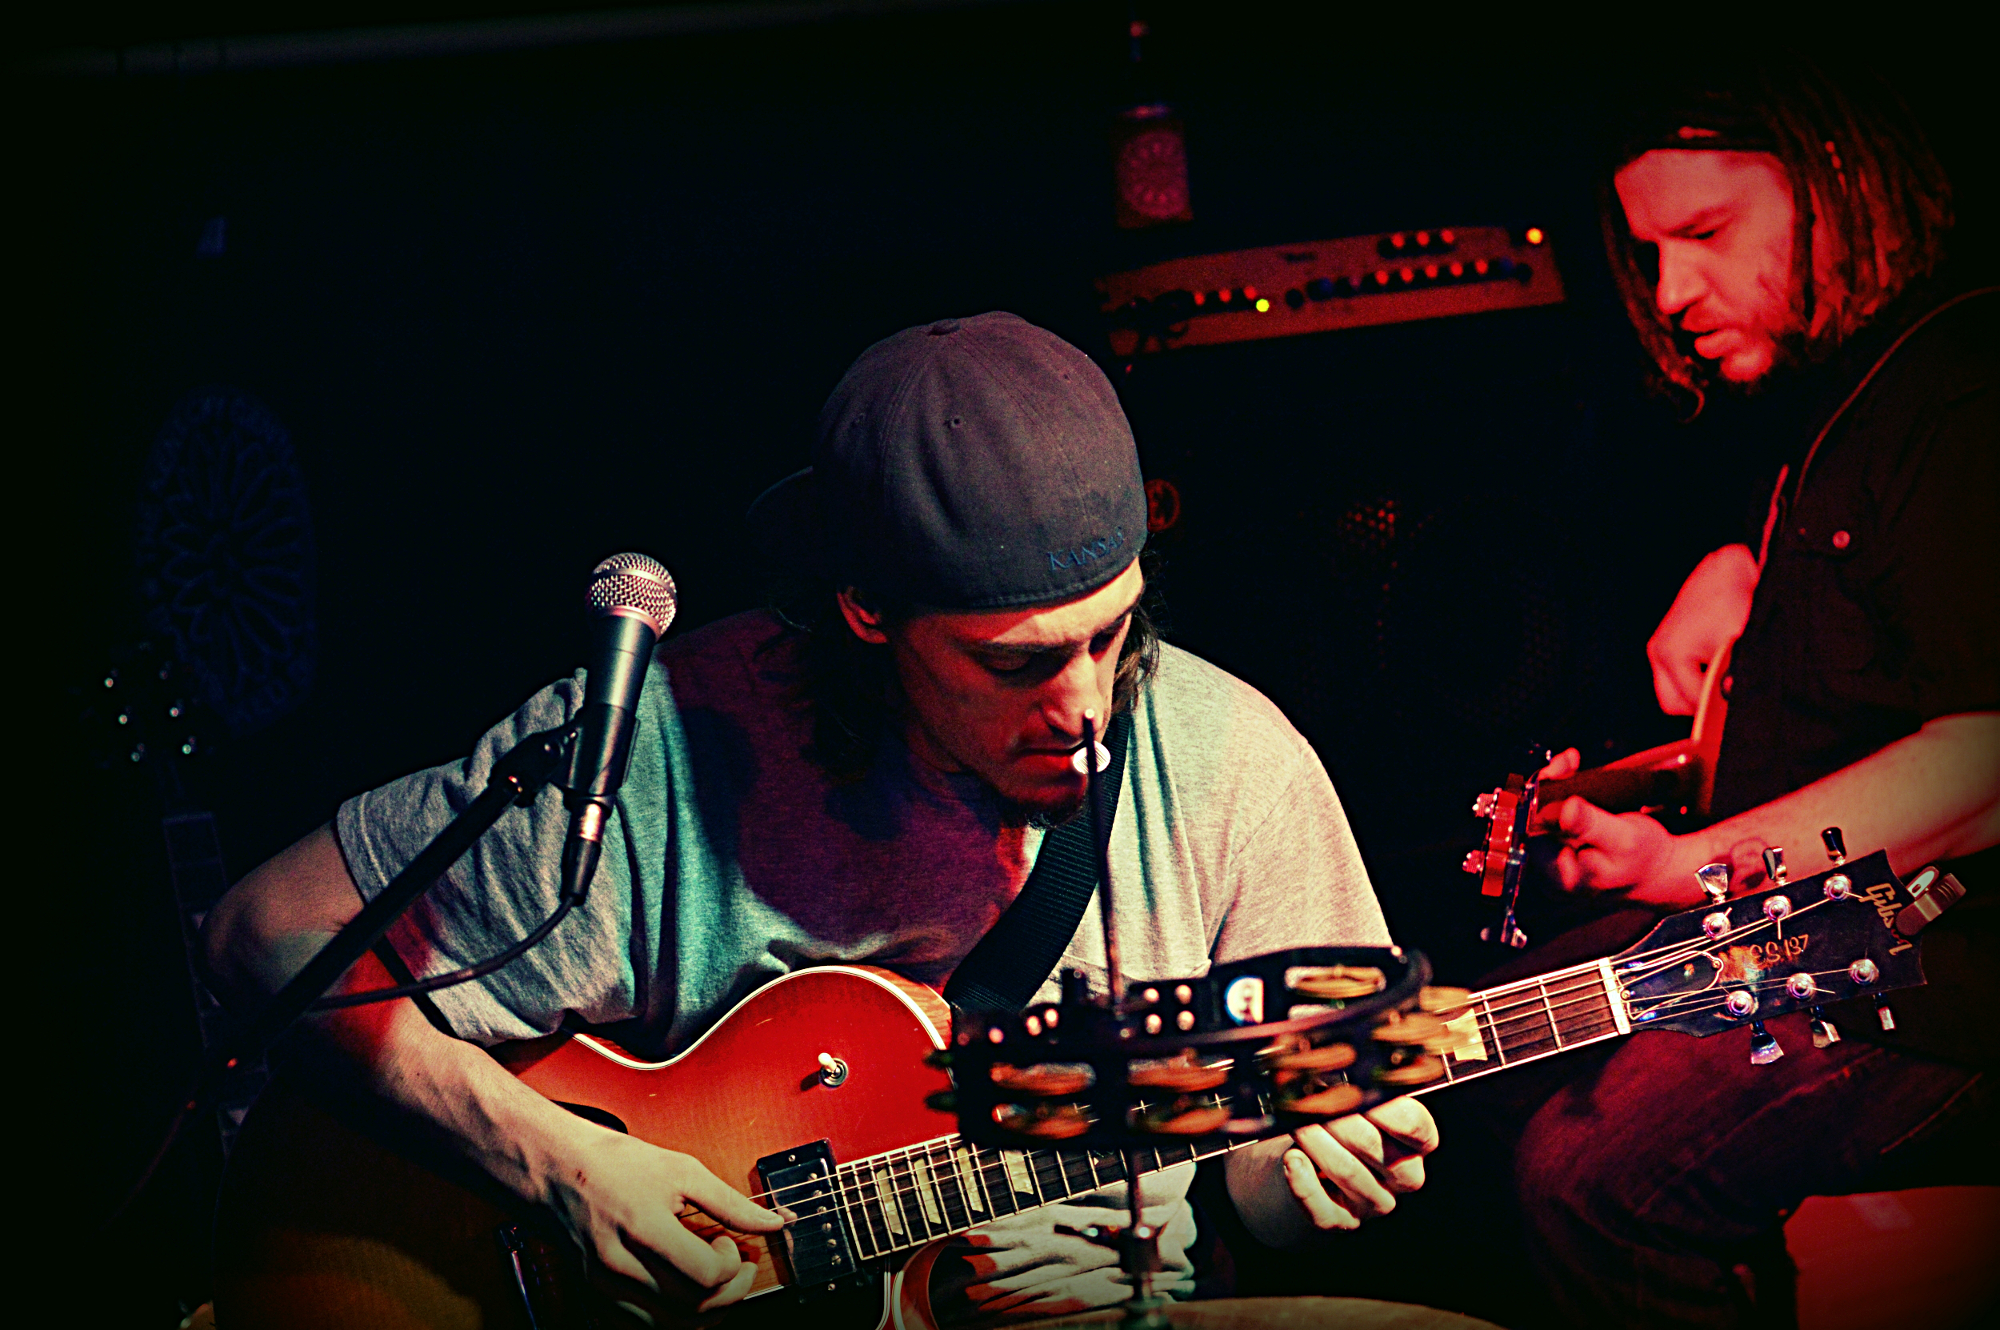
 Rick Hendry of JD and the Mudhounds
So how do you handle these less than favorable lighting conditions? You might think “No prob, I’ll just use my flash.” Don’t do it, I can speak from experience when I say that it sucks when you’re in the middle of a ripping solo, you glance up, and someone fires off a flash right in your eyes! Kinda takes you out of the moment. Unless you want a bunch of photos of grumpy looking musicians, leave the flash at home. If you get the chance to shoot bigger named acts, most of them ban flash photography anyway, so it’s best to learn to go without now. And finally, it just looks bad. When you use flash at a show, especially in a smaller venue, you end up with a washed out picture and lose all of the cool ambiance of the stage lighting you’d really like to be capturing.
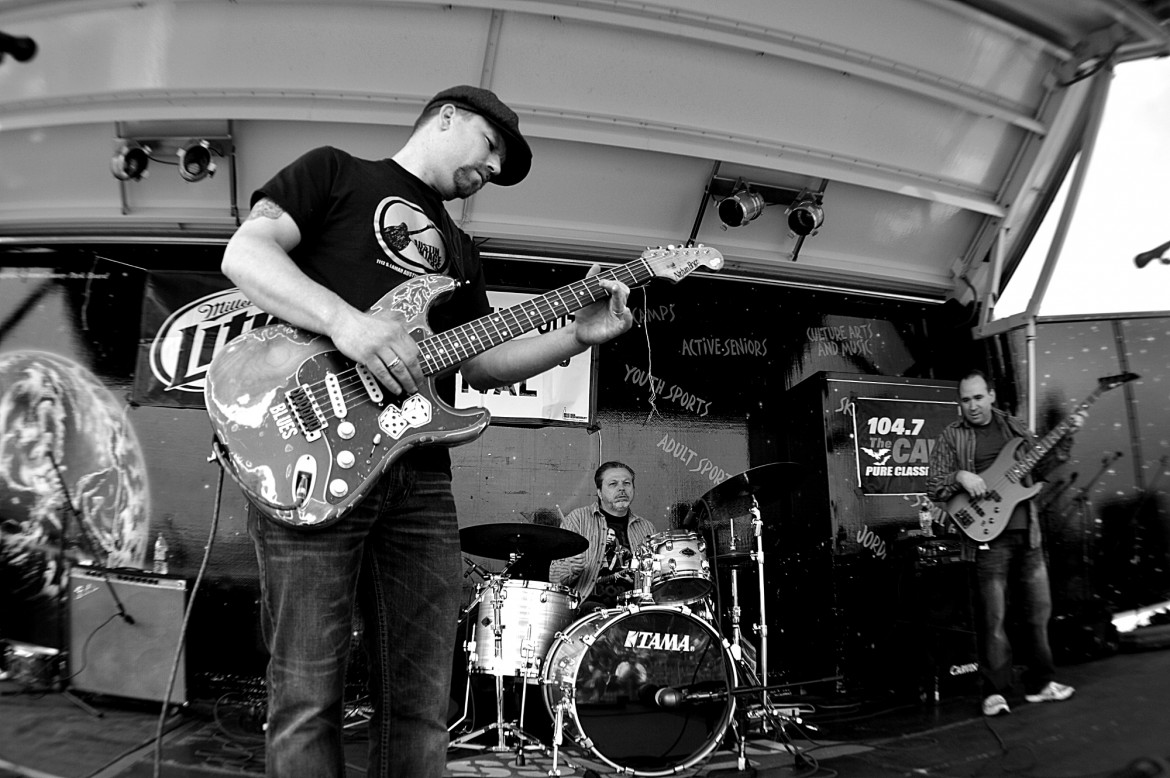
 Funky lighting is one of the coolest parts of shooting live music. Jamie Holdren of Sister Lucille.
“So, what do I do”? Well, you need to figure out how to get as much of what little light there is into your camera. The first thing you should be looking at is your aperture, the lower the better for shooting in low light. As I stated in my last article, I shoot with the 18-55 and 55-200 kit lenses that came with my D3200 (Hey, times are tough, don’t judge me!), as well as a 50mm f/1.8. Now in an idea world I’d be using some thing like the Nikon 24-70mm 2.8 and 70-200mm 2.8, but then again I’d also be shooting with a D800 and driving an Aston-Martin to the show! The point is to work with what you have, get that aperture as low as it will go, and you’ll be on your way.
 Lowering your aperture also lets you play with Depth Of Field, focusing on your subject and blurring whats around them.
If you’re still not getting enough light once you’ve got your aperture wide open it’s time to check your shutter speed. Again, the lower you take it the more light you will get because the shutter is staying open longer. You have to be careful here though, the longer the shutter is open the more movement from your subject, and from you yourself, the sensor will see. This can be a cool effect when used properly, such as catching the blur of a drummers sticks, or a guitarists hands, but can also result in just plain blurry photos if you’re not careful. I’ve shot photos as low as 1/50s, hand-held, (obviously you’re not gonna want to use a tripod when shooting bands, you need to be able to move around) but 1/100 is probably the safest bet to start with.
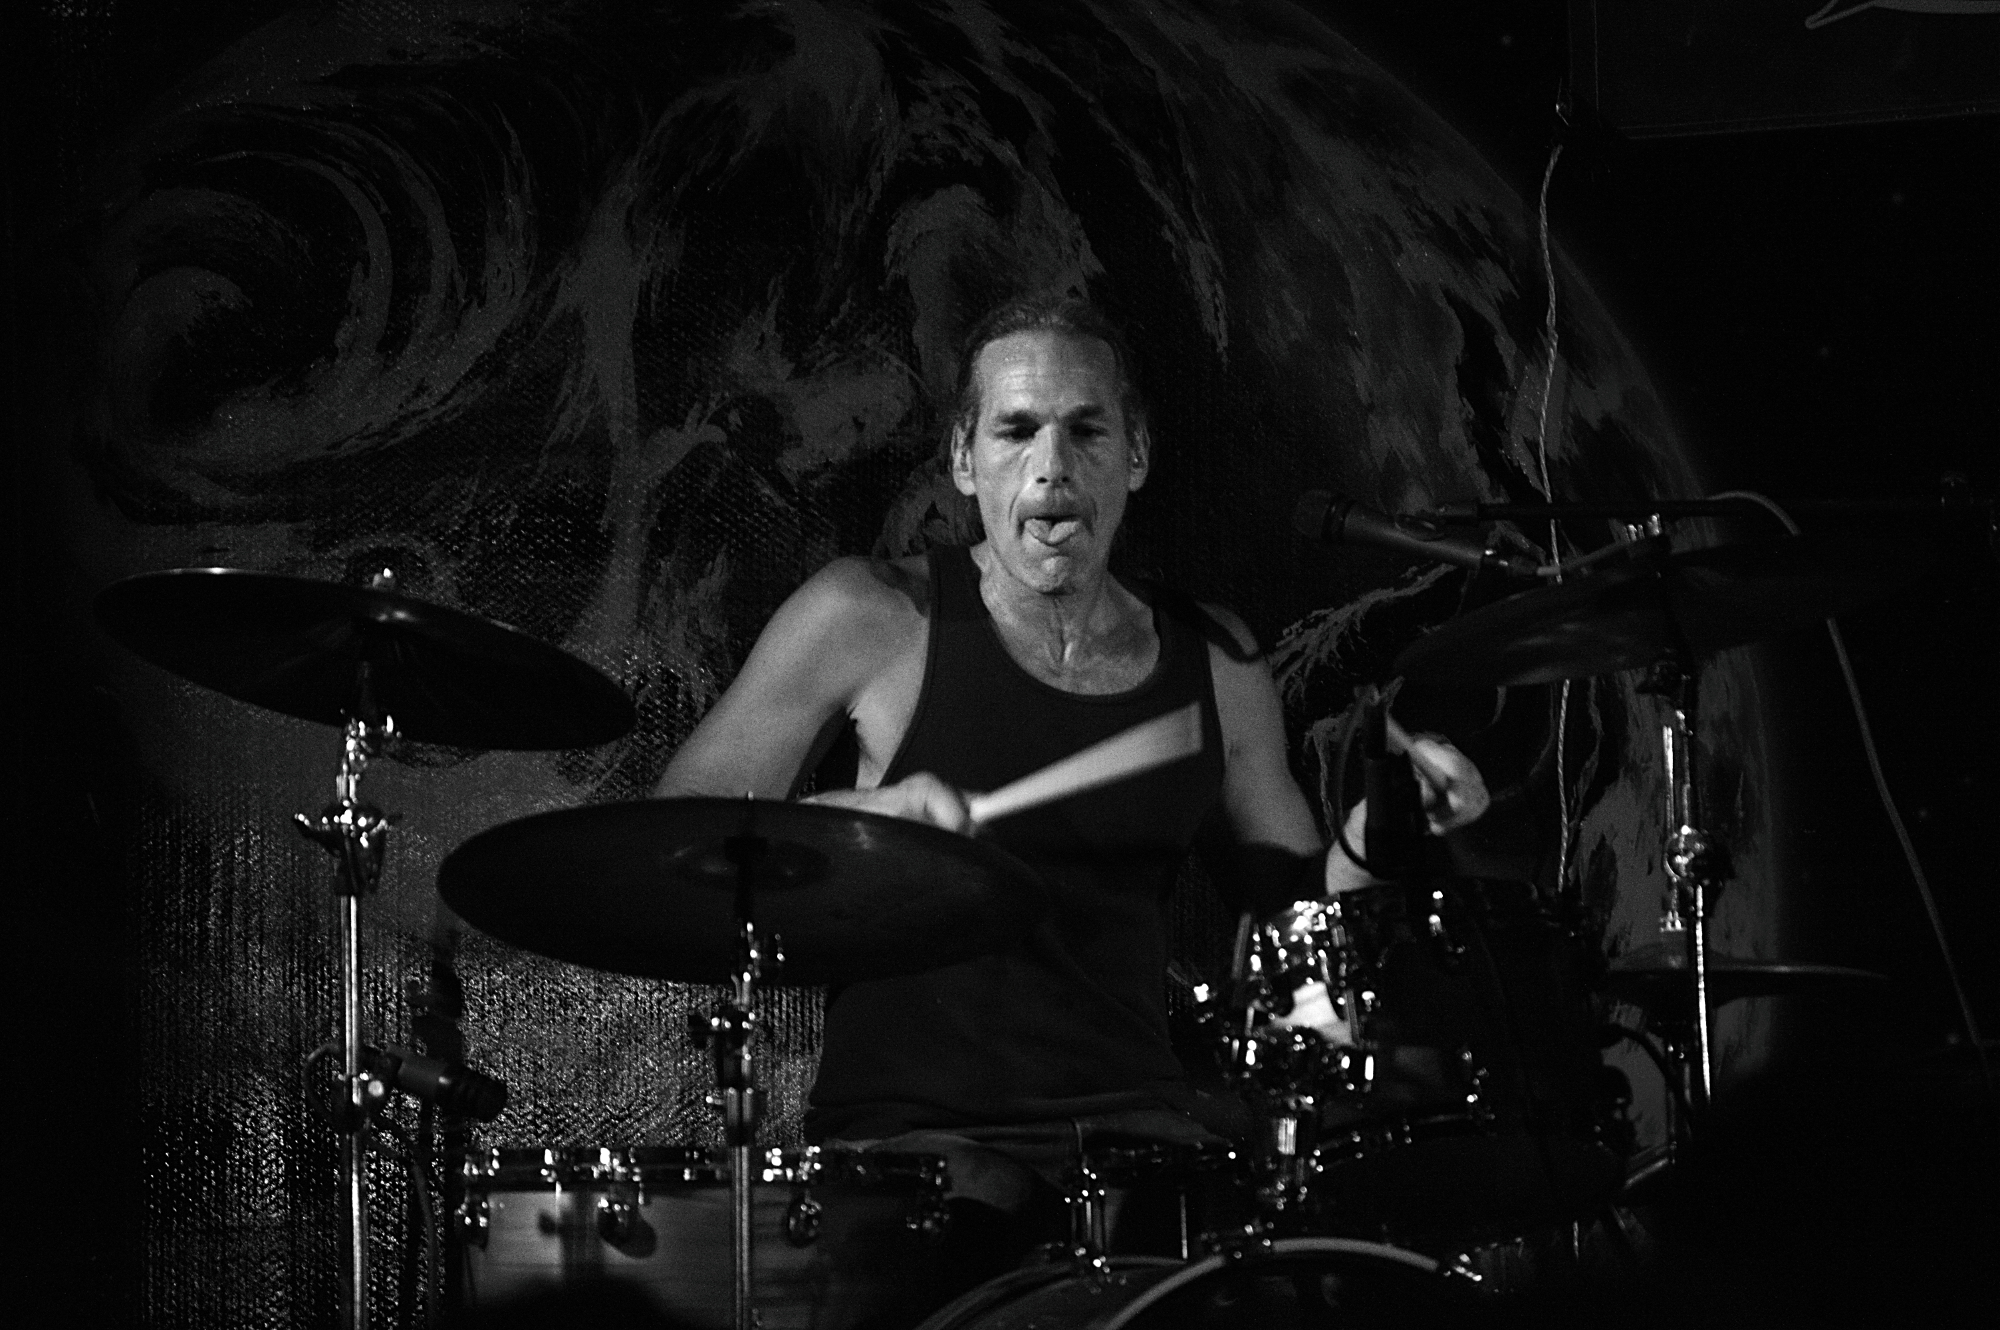 Slow shutter speeds can let in more light and give a cool motion blur to moving subjects. Just don’t go too far!
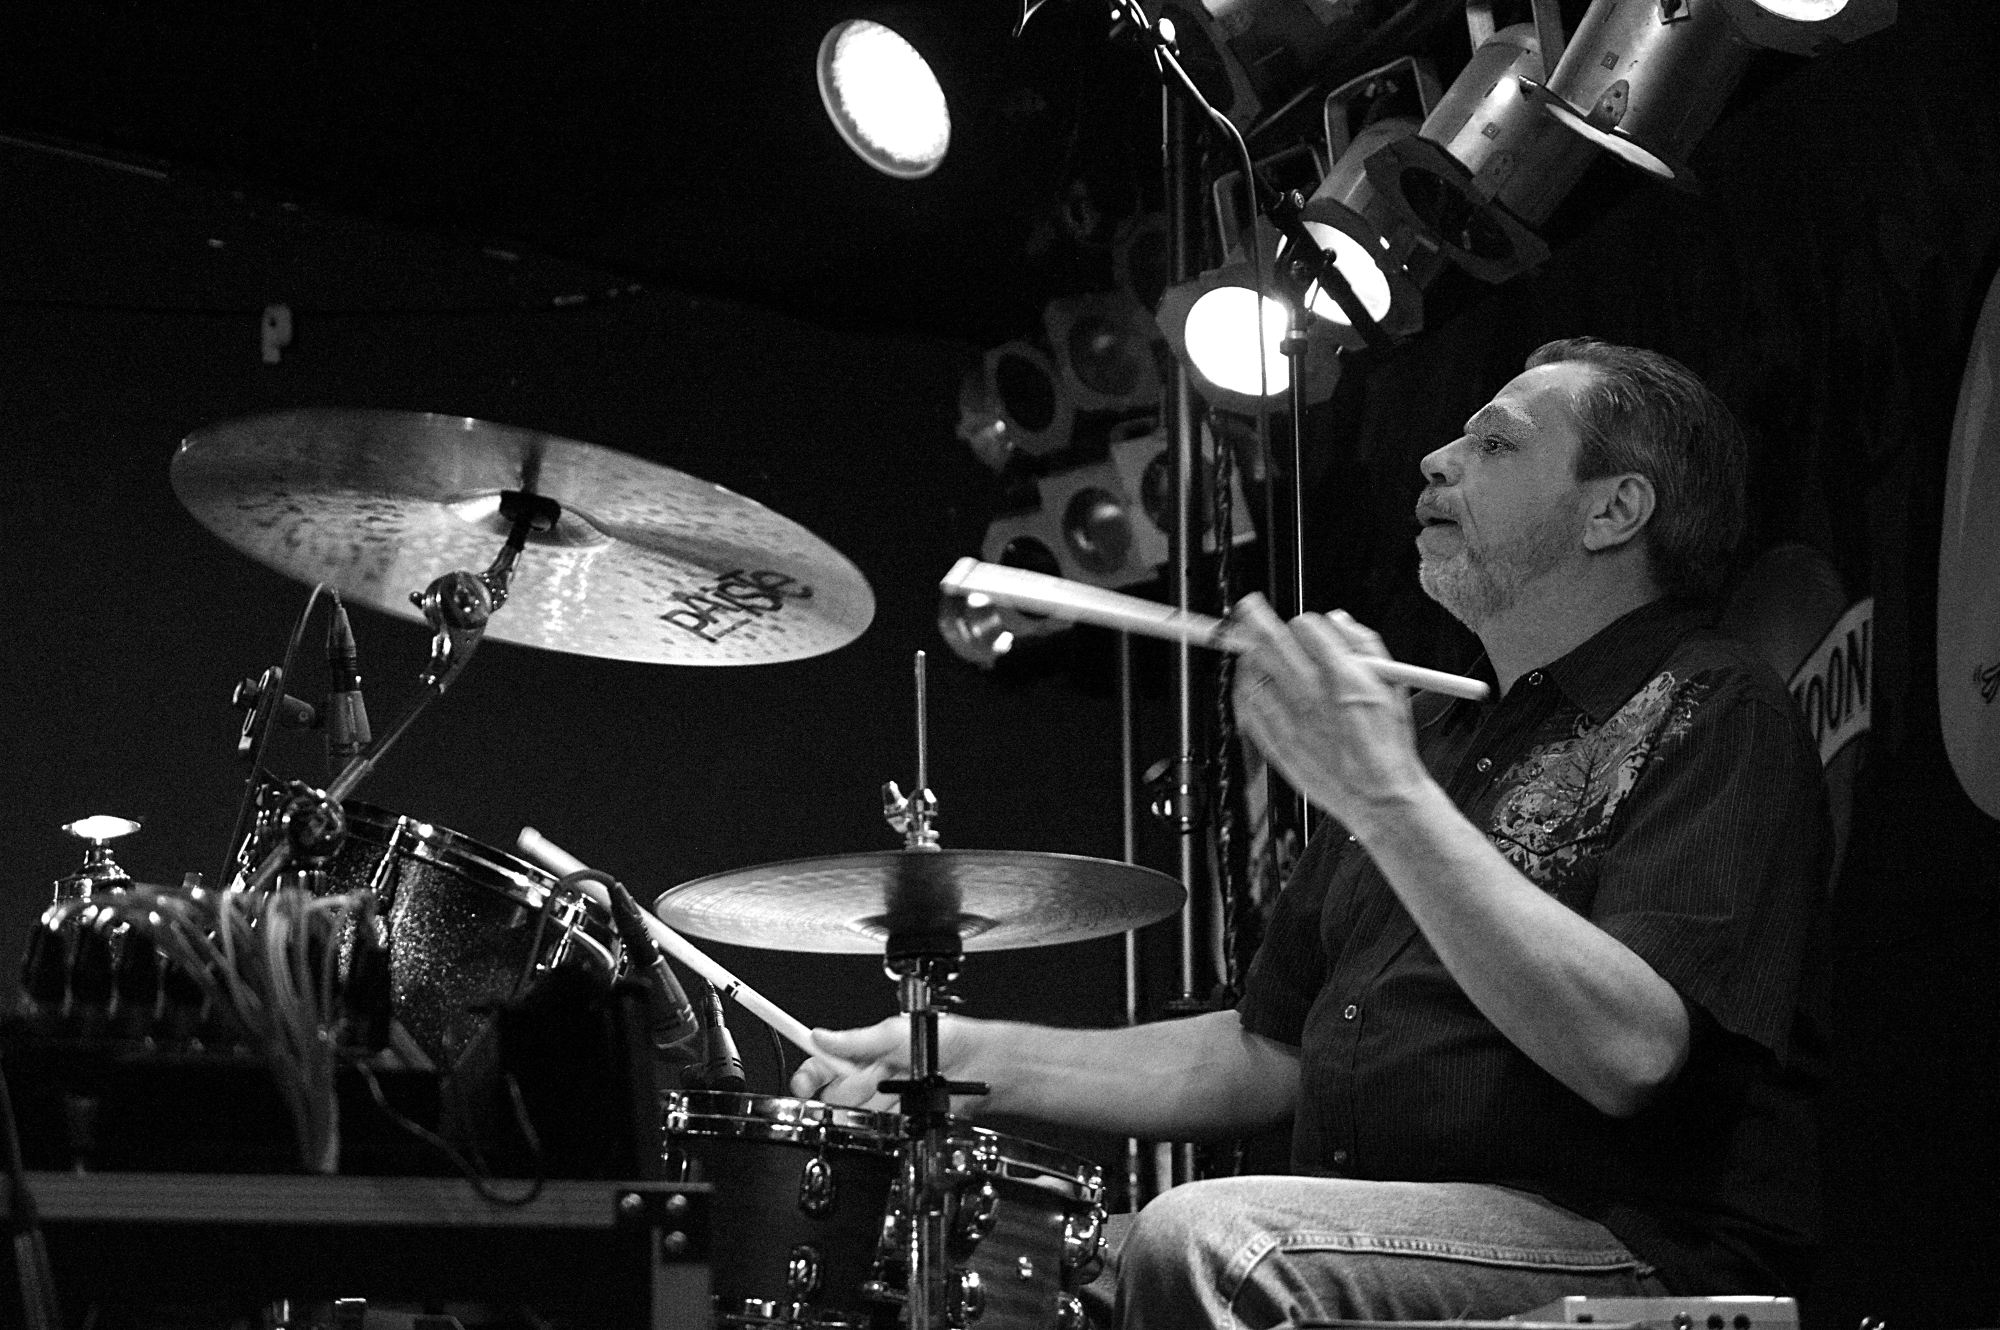
Alright, your aperture is open wide, you’ve got your shutter speed as low as you can without getting motion blur, and the shots still aren’t bright enough. Time to bump up your ISO. This is my “last resort” move as it increases the likelihood of adding “noise” to your photo. If you don’t know what noise is, it’s that ugly, grainy, look that photos can get that detracts from the crisp, sharp image you are looking for. And, if you’re shooting with a lower end camera like mine, you must accept the fact that you are going to get noise. Luckily, there are ways to minimize it which I will talk about in a moment, but it’s going to happen and is another reason to get the lowest aperture (what photographers refer to as “fast”) lenses your budget will allow. You might as well figure on shooting at least an ISO 800-1600 in most venues and you may even have to travel further up than that. Just remember, the higher the ISO the more noise you are going to get. It’s a delicate balance between aperture, shutter speed, and ISO to get the best exposure with the least amount of noise and it will take practice, but you’ll get it!
“What were you saying about ways to reduce noise?” Well, there are a few ways I’ve found to deal with noisy photos. The first, and most obvious, is to use a program that has noise reduction. There are many programs that offer just that such as Topaz DeNoise and Neat Image. Also, most of your common photo editing software (Photoshop, Lightroom, Corel, etc) will offer some kind of noise reduction feature. In addition to noise reduction, I’ve found a couple of easy ways to “cheat” my way to a better looking picture. One is to desaturate the photo to black and white, while this doesn’t remove the noise it will make for a better looking photo. In black and white photos the noise will more closely resemble old film grain which can be a cool look, as opposed to ugly discoloration in your color photo. Another way I have found to cheat the noise is to adjust my colors in my post editing to achieve a “cross processed” look. Again, this leaves you with a photo that might not look as you had intended, but is better than the alternative.
 Example of a photo the was “saved” by converting it to black and white.
 Example of a noisy image salvaged through cross processing.
Another thing to consider about the lighting at concerts is the color. Most of the time you will be dealing with colored lights. I, personally, really like the effect of the lighting in my pictures, it really makes the viewer feel like they are at the show. Some photographers might try to change the saturation and adjust the colors in post to give a more “human” look to the skin tones but I pretty much leave mine alone, as I want my photos to reflect what I was actually seeing at the show. I do recommend shooting in RAW, if you’re not already. Shooting in RAW will give you much more control of your image should you decide that you do need to change the colors, exposure, etc. It doesn’t make a lot of sense to go through all this trouble learning how to shoot manually, only to give your camera the final say on how the image comes out, which is essentially what happens when you shoot in JPEG.
Also, let me add, watch out for lasers! I’ve never had to deal with this, but I’ve heard stories about lasers really doing a number on a cameras sensor. Try to keep an eye on where the light is hitting and avoid shooting where it might go directly into your lens.
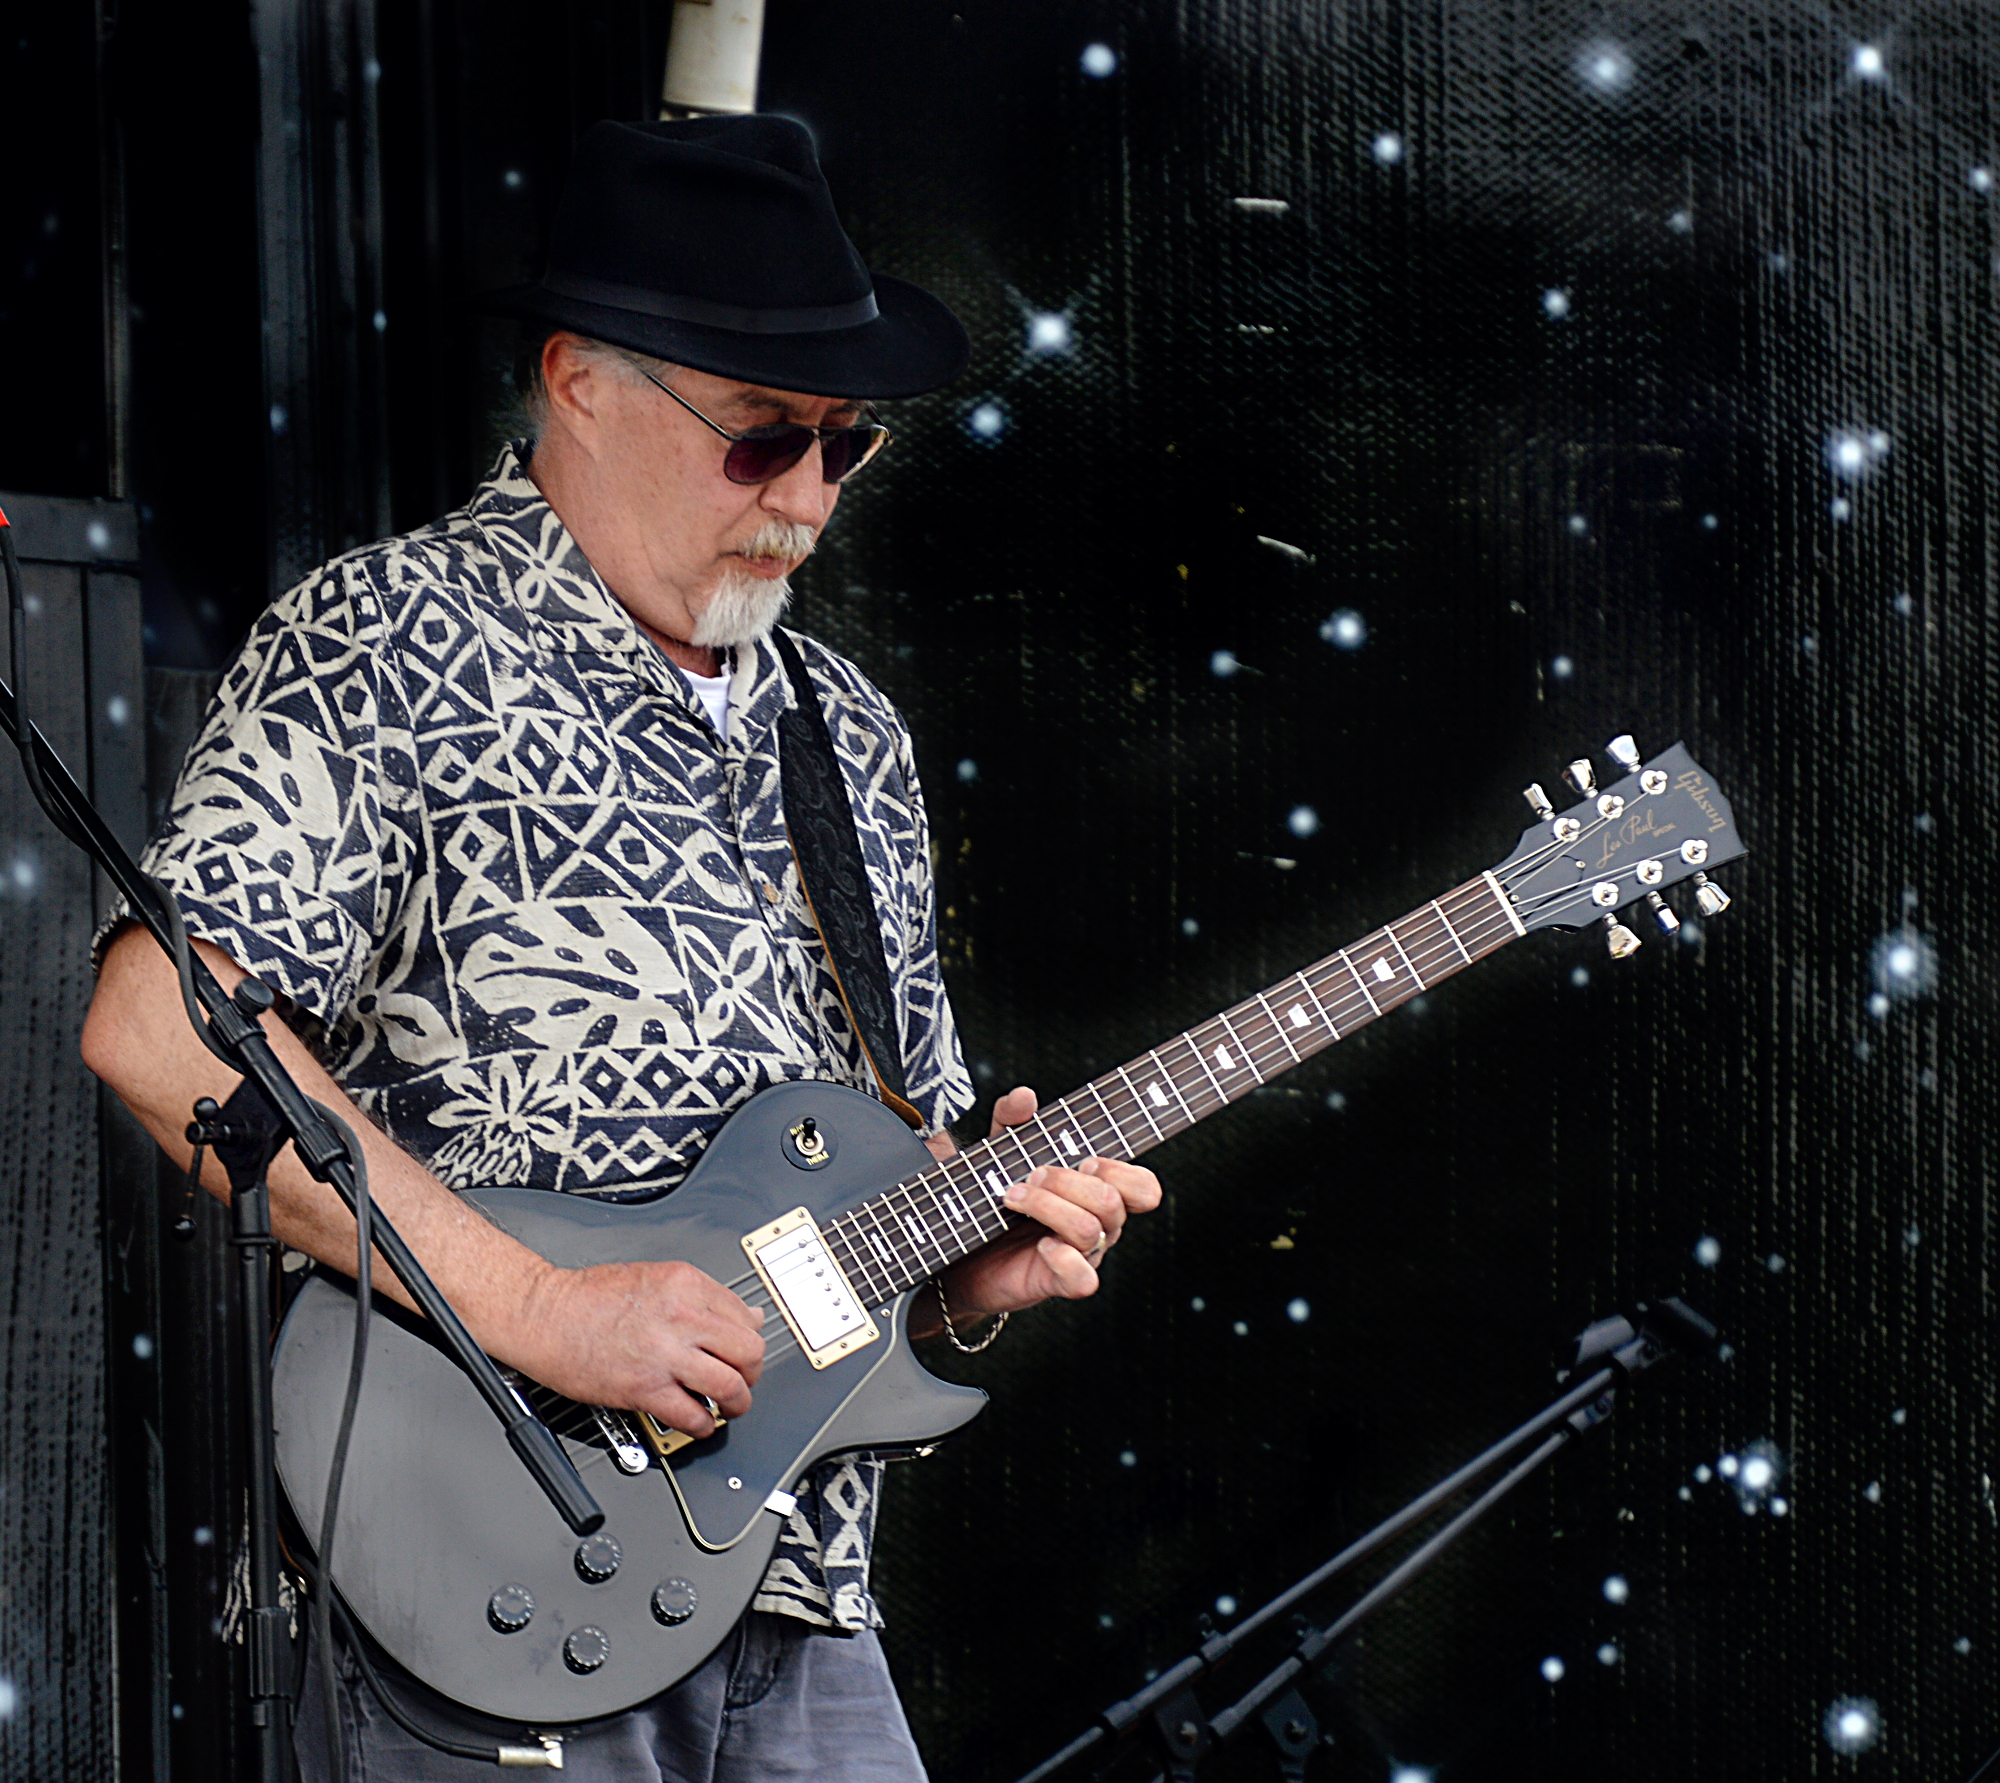
 Don’t be afraid of the big, red(or blue or green)monsters!
Two things that I rarely change in my settings are white balance and my focusing mode. As far as white balance goes, I almost always shoot in auto. It’s one of the few areas where I feel the camera knows, if not better than me, at least as well what is needed. There are exceptions to this rule, like any other, but for the purposes of concert photos you should be just fine on auto white balance. For focusing, I started off thinking AF-C (auto focus-continuous, on Canons, I believe it’s called AI Servo) would be best. This mode will follow your subject after you’ve depressed the shutter button halfway, and keep them in focus (in theory) until you fire the shutter. Maybe it’s just my camera but I didn’t find that it did that great of a job of tracking the subject. Add that to the fact that, with the exception of a few acrobatic musicians, front-men (or women) musicians don’t tend to move as much as say, a basketball player. I find that I get by just fine on AF-S (auto focus-single, one shot-AF on Canons) where once the focus is locked it stays locked on that location. Feel free to experiment with your camera and see what works best for you!
Well, that wraps up the technical portion of “Shooting Live Bands”. I feel like I’ve just scratched the surface but hopefully this will get you on the right path. The film is free in digital cameras so there’s no excuse not to practice! Go out and shoot and next week I’ll be back here to talk about the artistic side of photographing musicians, interacting with said musos, as well as how to keep your eyes (and ears!) open at a show!