A large part of developing your style in photography involves how you develop your photography. There are photographers who can take the exact same shot as you in the exact same conditions and you’d never know it after they finish editing it. I’ve had the pleasure of seeing some of our readers photography and there are a few of you that would make Picasso jealous. With that being said, I was asked if there was a way to develop a photograph in Lightroom where you could make it look as if it were foggy out when you took the shot and the quick answer is yes but don’t stop there, read on…
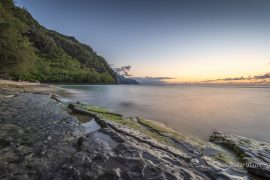
Here is the photograph I will be starting with:
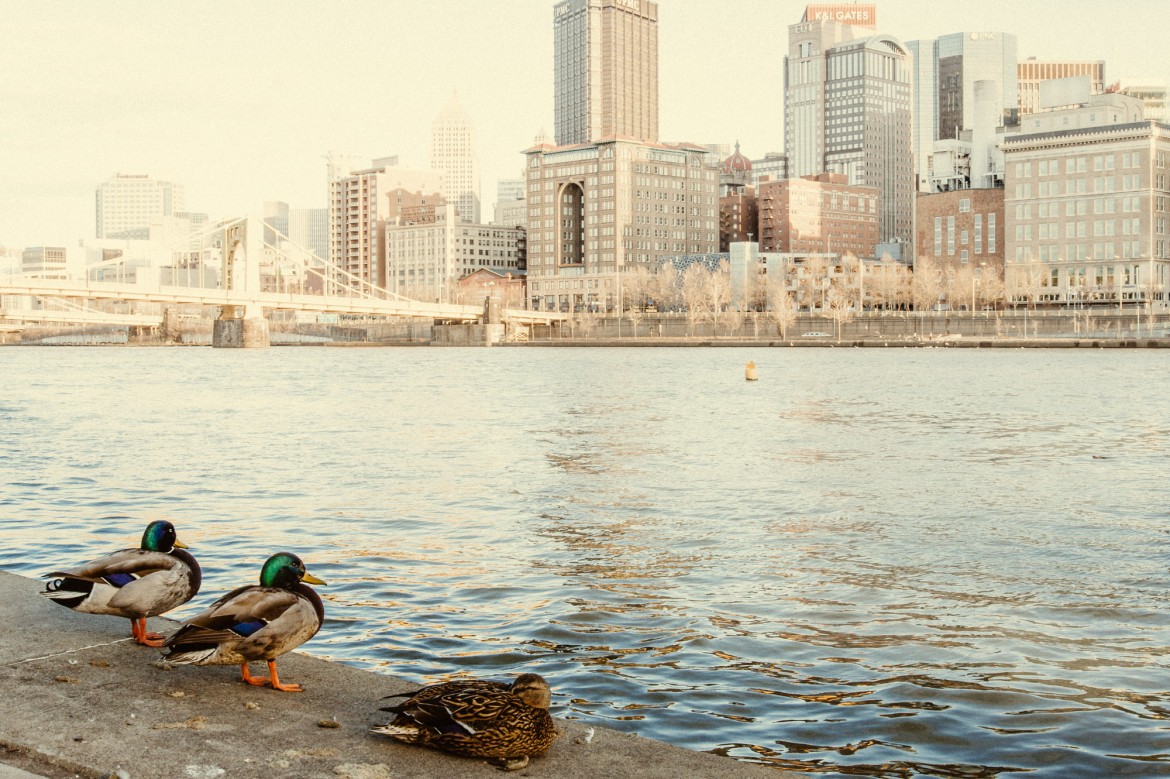
You’ll notice the photograph is rather underexposed, when I plan on aggressively editing a photograph (not often) in Lightroom I like to under-expose because I feel like I retain more detail in the shadows. Also, in order to create the illusion of fog I’ll be increasing the exposure in areas and I don’t like to clip my highlights if possible.
Step One:
Use the right photograph. Landscape photography is generally the ideal type of photography when it comes to the inclusion or creation of fog. When you take the photograph you’ll want to under-expose by a stop or two (you can split the difference by under-exposing by 1.5 EV). The reason you want to under-expose is because in order to create the illusion of fog we’ll be increasing the exposure in certain areas of the image.
Step Two:
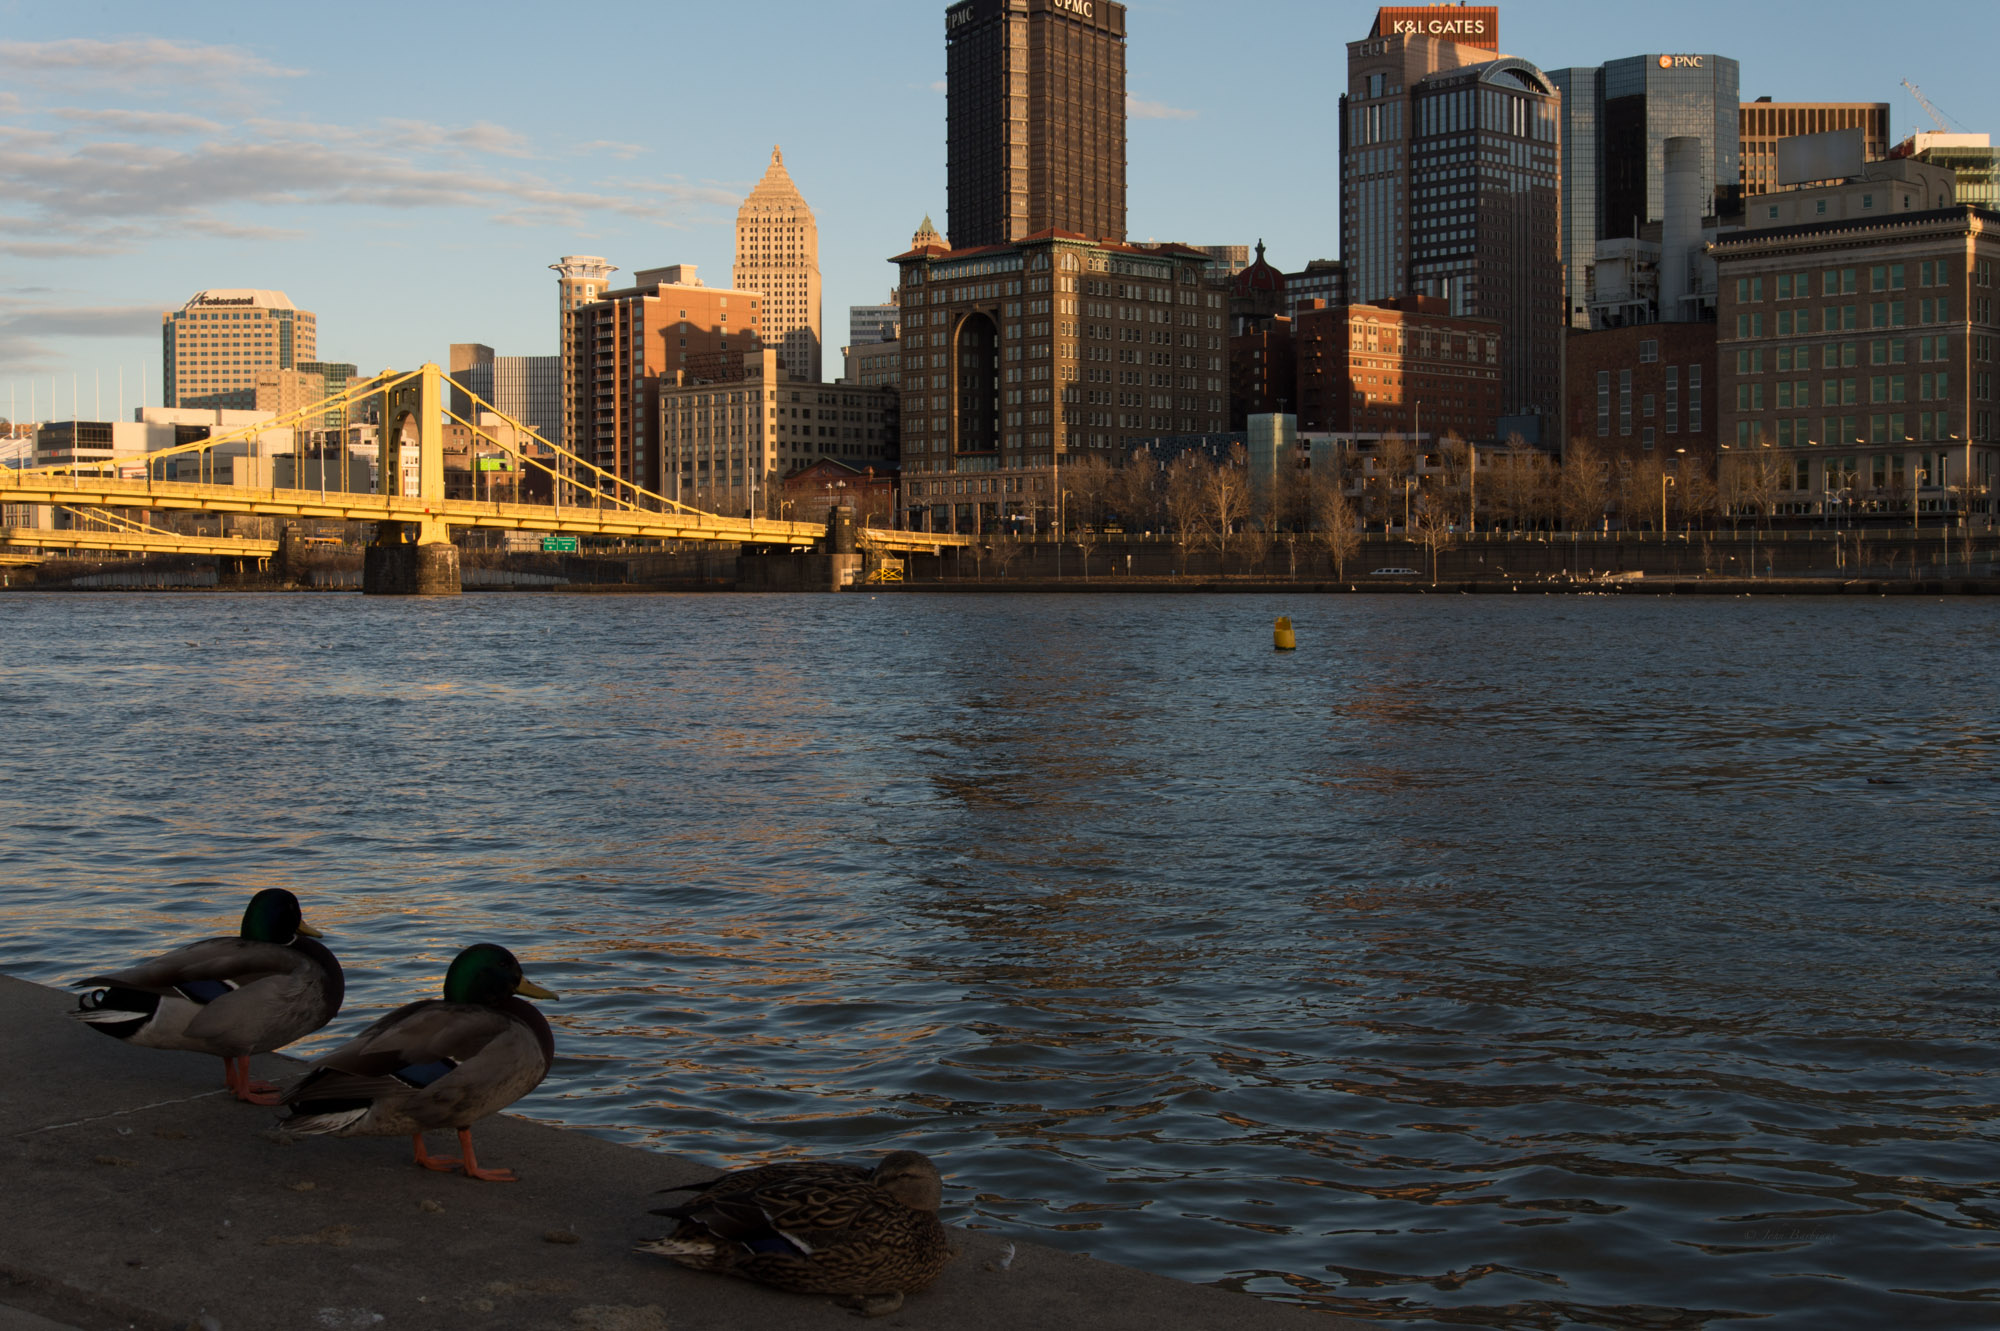
Edit the photograph as you normally would, increase the exposure to get the desired tone, adjust your contrast, clarity, white balance, etc..
Step Three:
Take your mouse and click on the Adjustment Brush located right above your Basic panel on the right hand side in the develop module.
Step Four:
Adjust your exposure slider to the right to +1.50 (you can play around with this to see what you prefer). Next you will want to adjust your Saturation down to -40 or so. After that you can adjust your Clarity down to -90. Now you’ll want to adjust your Contrast to -35. Then move your Highlights up to +45. Finally, adjust your Noise up to +57 to give it that misty look.
Step Five:
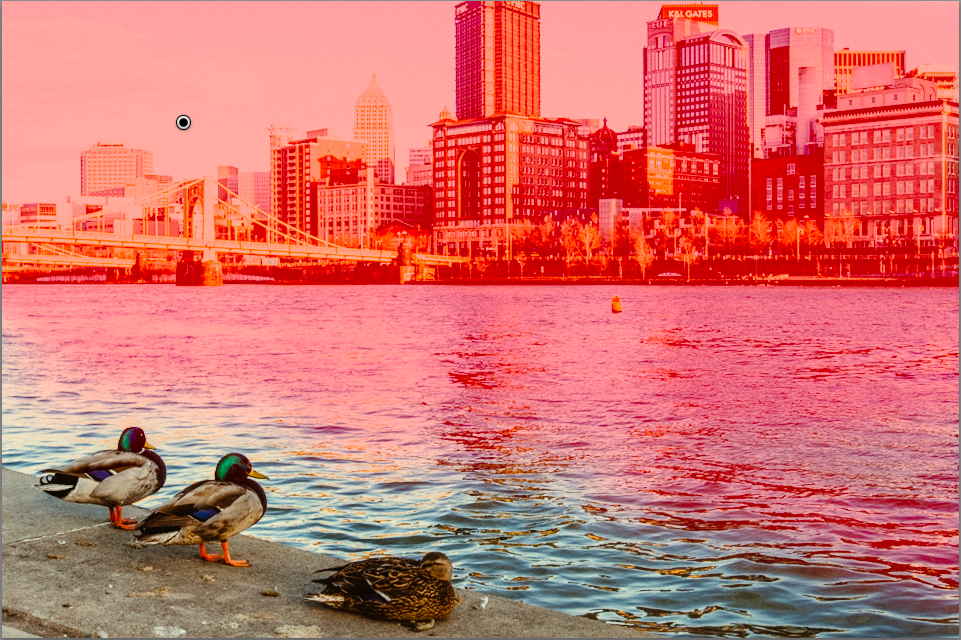 The red shows where I brushed… probably a little over three-quarters of the scene but you can mess with it and see what you like.
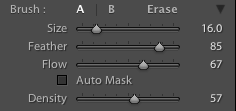
Envision what the scene would have looked like with fog, typically you can see fairly clearly up to about 5 or ten feet in front of you so you’ll want to brush (starting at the top) down about two-thirds of the entire scene. In the image below you can see my brush settings.
That’s it! Not to hard, and you should be able to replicate something similar to that in under 10 minutes. Does it look perfect? Nope, but it’s not meant to be your answer to creating dynamic landscapes with fog… I’d recommend finding actual foggy scenes (generally really early in the morning or later in the evening) if you want the best quality. Photoshop is also a better program for replicating something like fog but that’s another article for another day. This is a great exercise to familiarize yourself with the capabilities of Lightroom and get the creative juices flowing.
Give this a try and submit your success through our Submit an Article page. Good luck!