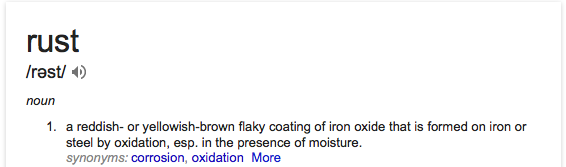
Rust is inevitable, something you own has rust on it or will have rust on it in the near future. It just happens. Case in point, I spent lots of money on new knifes, forks, spoons, etc. and after one run through the dishwasher these dishwasher “safe” utensils had specks of rust on them, much to my dismay. But rust isn’t always our enemy, if you search the webernet for rust photography you’ll likely come across dozens of websites and thousands of photographs all devoted to photographing rust.
Why is rust, something most people despise, such a popular photography subject? How do you make what’s usually an eye sore into something someone would hang on their wall? Lighting? Point of view? Magic Harry Potter like spells? The real trick to turning rust into art is you as the artist being able to see it, you’ve got to train your eye to recognize beauty where others don’t see it.
The Why
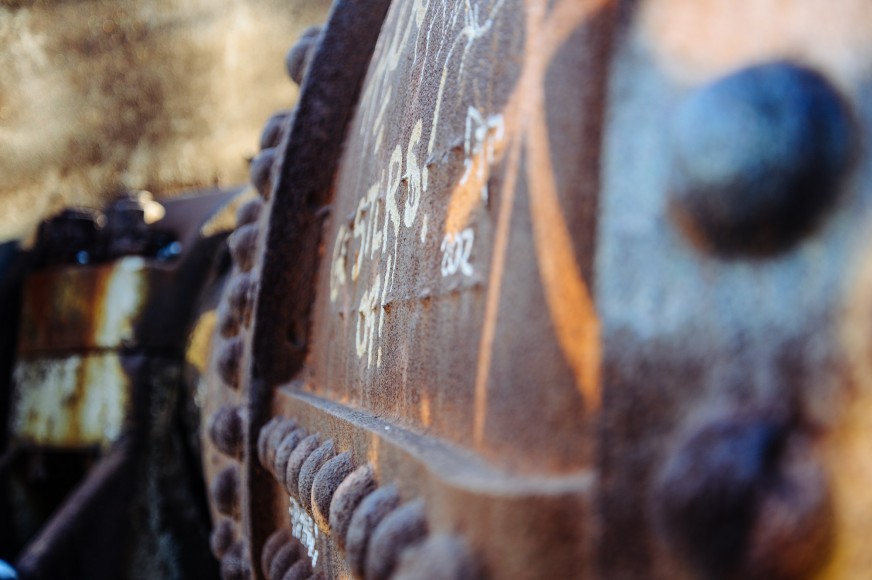
Rust initially interested me during that phase that every photographer goes through, the one where you run out of subjects to photograph outside of the 10 mile radius that surrounds your house. Rust can transform everyday objects into dynamic photo subjects with rich colors and pleasant textures. You can find rusty subjects anywhere there is iron, steel, and moisture (that’s everywhere).
Using rust you can create a number of different types of photographs, abstract/artistic, urban/industrial, documentary, etc.. When working with rust you can transform everyday subjects into works of art limited only by your creative abilities. Rust gives subjects depth and, done right, can give your photograph a sense of depth.
The How
Photography is great because of the flexibility one has when it comes to “how” to do things. Getting creative is a great excuse for doing things however the heck you want to. Art, photography is an art after all, is one of those things that once you think you’ve figured out just how to do something someone comes along and does it completely different flipping your ideas on their head. I preface with this because before I tell you how to do it I want you to realize that this can be done more than one way and I encourage you to try it using your own style too.
Lens
I’d recommend something around 50mm all the way up to 200mm, something that you can zoom in with a large aperture and turn backgrounds into buttery bokeh. Be careful when photographing rusty subjects that are small with a large aperture (small f/number), people have a tendency to underestimate how little of the frame will actually be in focus causing the focal point to be behind or in front of the area where that was actually desired.
You can use a focal length less than 50mm but be aware that there could be noticeable distortion, especially if what you’re photographing has a pattern similar to that of a brick wall (think lines that are supposed to be straight). Whichever lens you decide to use be sure it’s a very sharp lens, when photographing things up close you’ll notice the photos detail even more so than if you were looking at a vast landscape photograph.
*Macro lenses are great for this type of photography but certainly not a must, if you want to get the most magnification out of a non-macro lens then zoom all the way in with it and compose that way (on a 70-200mm lens the greatest magnification could be had at the 200mm end).
Reflector
I’m a fan of natural light photography, it’s no secret. For those of you that enjoy using a flash or forgot your tripod in the closet because you hate sharp photographs then use a deflector. If you don’t own a deflector then do a quick Google search for a DIY Flash Deflector or buy one off of Amazon. Using a reflector is ideal because you’ll be able to see the exact amount of light you’ll be using before you hit the shutter release. Flashes give off ugly, harsh light that will create small shadows in the texture of the rust or peeling paint.
Tripod
I’m not even going to say it…
Technique
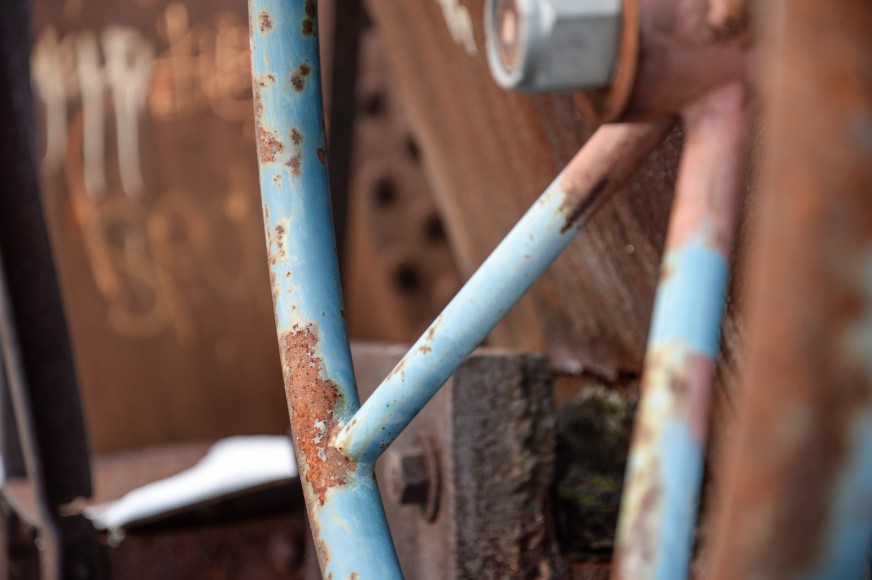
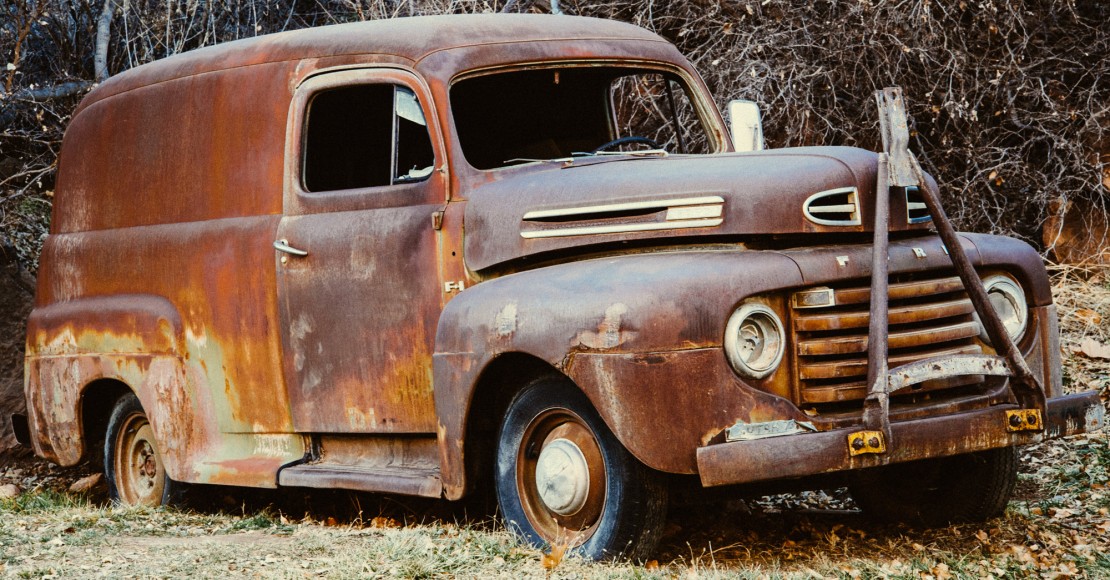
There are a couple different ways I could see this going. Way number one has you zooming into rusty spots creating surreal photographs that make fun designs much like clouds floating in the sky looking like snoopy, your dead relative, or a spaceship. The other, my favorite, is maintaining reality and capturing “things” that have different shades of rust or even peeling remnants of colorful paint that evokes the mind to think of what might have been in the past. I prefer the second way because I find that the photographs tell more of a story but it’s certainly a personal preference thing.
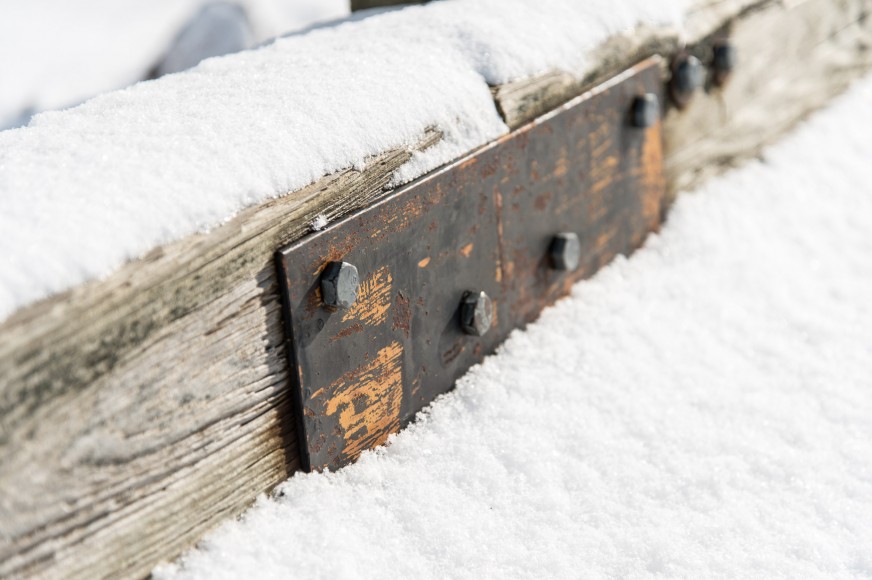
Whether you choose the first or second method above, or make an entirely new method, you’ll want to practice looking at objects as shapes opposed to the object they are. When you break a subject down to its basic shapes, lines, and angles you enable yourself to better visualize the best composition. Look for leading lines, symmetry, and a bunch of other compositional elements that make images more appealing.
Texture and color are your friends. The more texture and color, think old paint or different shades of rust, the better. When steel rusts beneath colorful paint it causes it to peel and bubble which can really add character to ordinary objects. Practice, practice, practice.
If you get some great shots of rust feel free to share them with us here at Photolisticlife by visiting the Submit an Article page. Enjoy!