My MacBook Air finally ran out of space… about three months ago. This is a problem, the MBA has traveled around the world with me and I consider it the best photography/blogging computer money can buy. Aside from that, I don’t hate my money and I want to squeeze at least another year out of it (or however long until Apple comes up with a MacBook Air Retina).
Archiving your files from Lightroom involves physically moving them off of your computer hard drive and onto an external hard drive. I’m using the WD My Passport Wireless 1 TB Wi-Fi, my favorite external drive primarily because it has an SD Card reader built right in (read my review here).
Step 1:
Plug in your external hard drive.
Step 2:
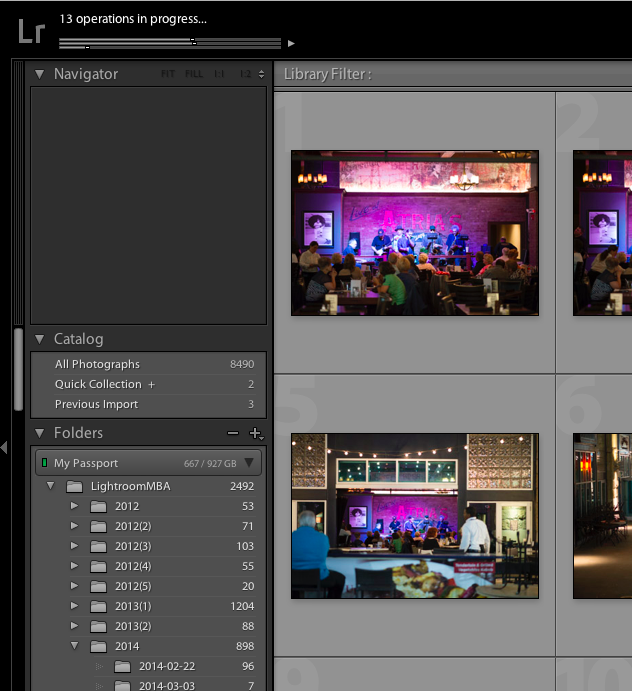
Open Lightroom and navigate to the Library module.
Step 3:
Create the archive folder you want on the external hard drive through Lightroom by hitting the little + symbol above where your computer hard drive is listed on the left side of the library module. (Directly across from the Folders title in the image above)
 Choose “Create Folder”
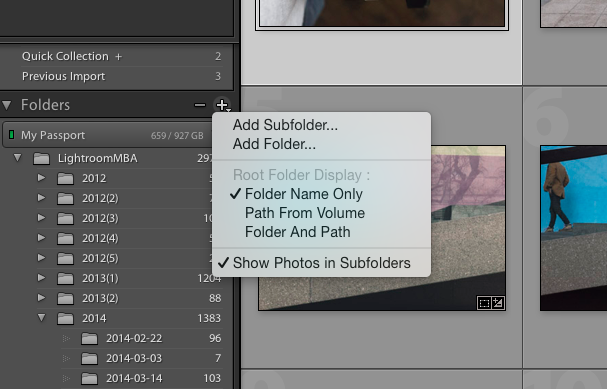 Find your external hard drive and create/title your folder (I called mine LightroomMBA).
Now it will show up above where your computer hard drive is located.
Step 4:
Drag and drop your image folders from your hard drive folder to the newly created archive folder.
That’s it! Easy peasy. Now I’ve got lots of free space… for now. Feel free to leave your thoughts in the comments section below.