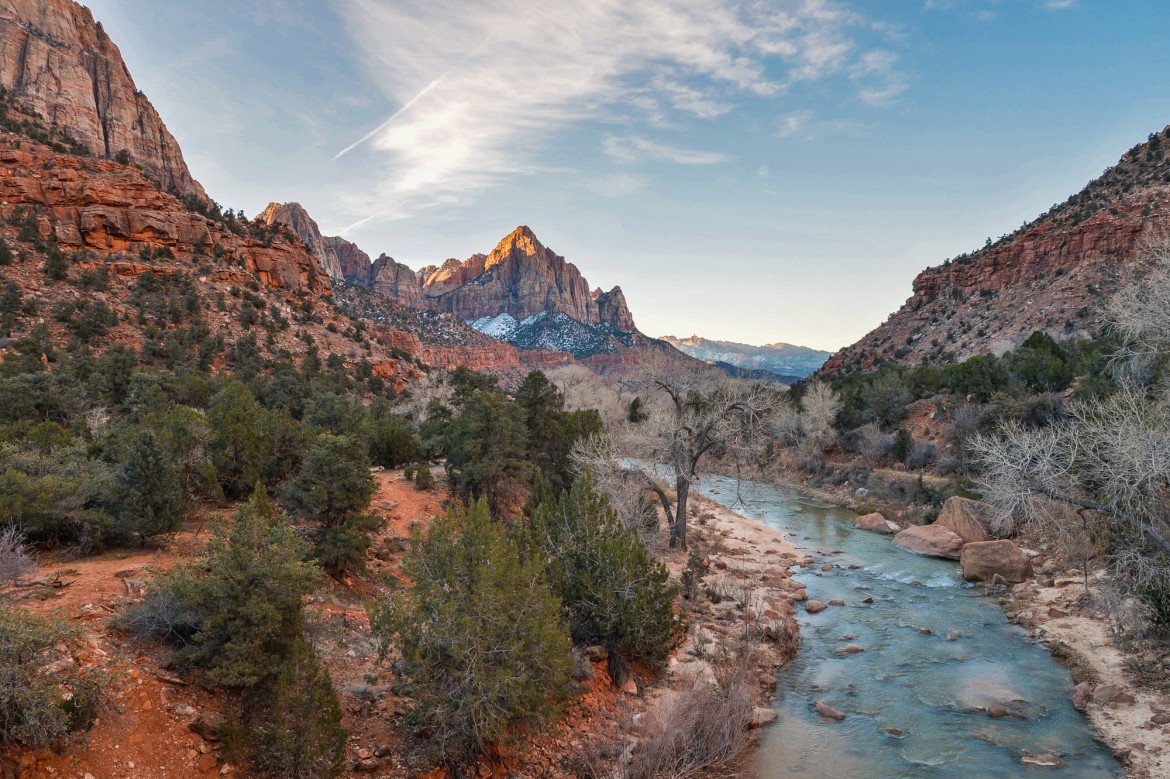
There are some places in the world where lighting is almost never ideal, Zion National Park may be one of them. Zion National Park made the Grand Canyon look like a cake walk when it comes to ideal lighting. Because of the towering walls of the canyon and the clear skies one can expect lots of harsh light and shadows for the better park of the day. You either have to get up super early or stay on the trail until after the sun sets, either way you will be hiking in the dark which is very dangerous on the trails with stunning views. Luckily there are ways to battle the harsh highlights and stubborn shadows if you know what to do, it’s important you know your options so you don’t ruin your vacation with washed out skies and shadows with no detail.
High Dynamic Range Photography (HDR)
 Straight out of the camera, HDR processed in camera, taken with the Nikon Df. I don’t recommend in camera HDR processing even if you are using a camera with one of the best sensors on the market. Notice the sky… Looks like crap right? I agree.
I think HDR is a viable option however it’s my least favorite in the entire world, you’ve got to have professional quality software ($100+) for extremely difficult lighting and be prepared to process your photograph for ten times the amount of time it took you to take it in the first place. Sure, there are loads of cameras with HDR settings built-in where the camera will bake it for you but 9 out of 10 times you’ll be restricted to shooting in JPEG which will severely limit your post processing latitude when working with harsh light. Can it be done? Sure, you could paint your house with a toothbrush too but that doesn’t mean you should.
If HDR interests you but you’d like to give it a try before committing hours of your life learning the processing skills you can process your multiple images without thinking too hard by checking out easyHDR, it’s free to sample but you’ve got to pay if you want to get rid of the ugly watermarks plastered on it like pimples on a teen.
 Sample image taken with easyHDR, one of the best non-professional programs I’ve found for HDR photography.
* Before you blow up the comments defending the superiority of HDR you should know that I think HDR photography looks great, I’m just saying it’s time-consuming and is an art in and of itself.
Underexpose or Overexpose
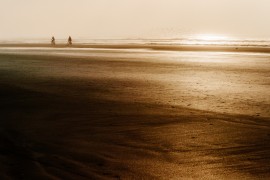
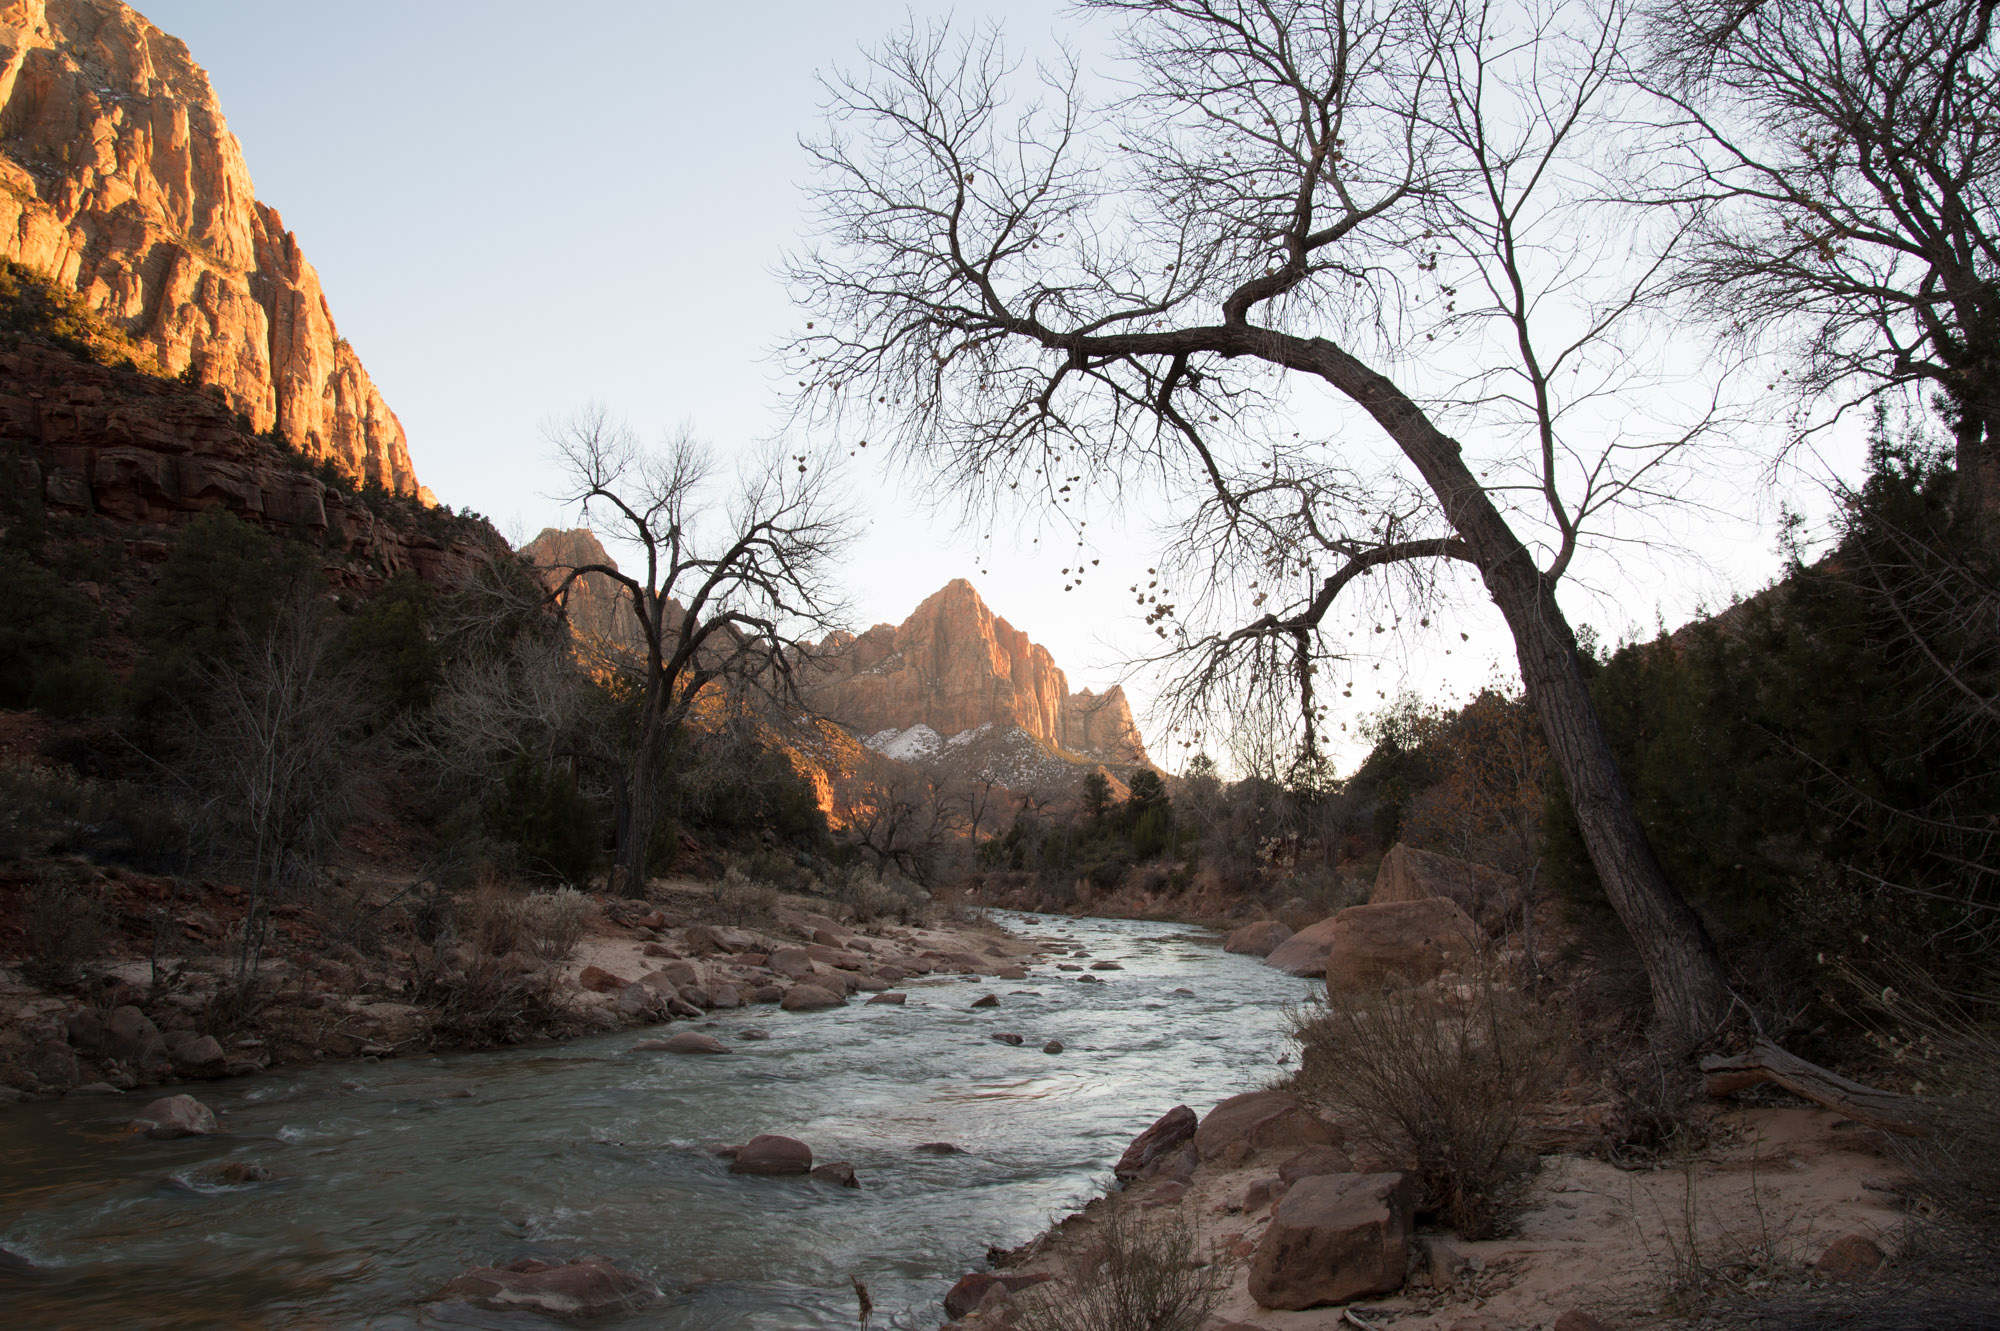 Image slightly underexposed to preserve the highlights in the sky
It’s impossible to get perfect exposure when shooting in difficult lighting, you’ll have to choose either the shadows or the highlights. There are plenty of photographers in both the “over expose” and the “under expose” for the best results camp. The answer is… It depends on how far you go either way. Either will work well so long as it’s only over or under by a stop or two, any more than that and you can kiss the details goodbye.
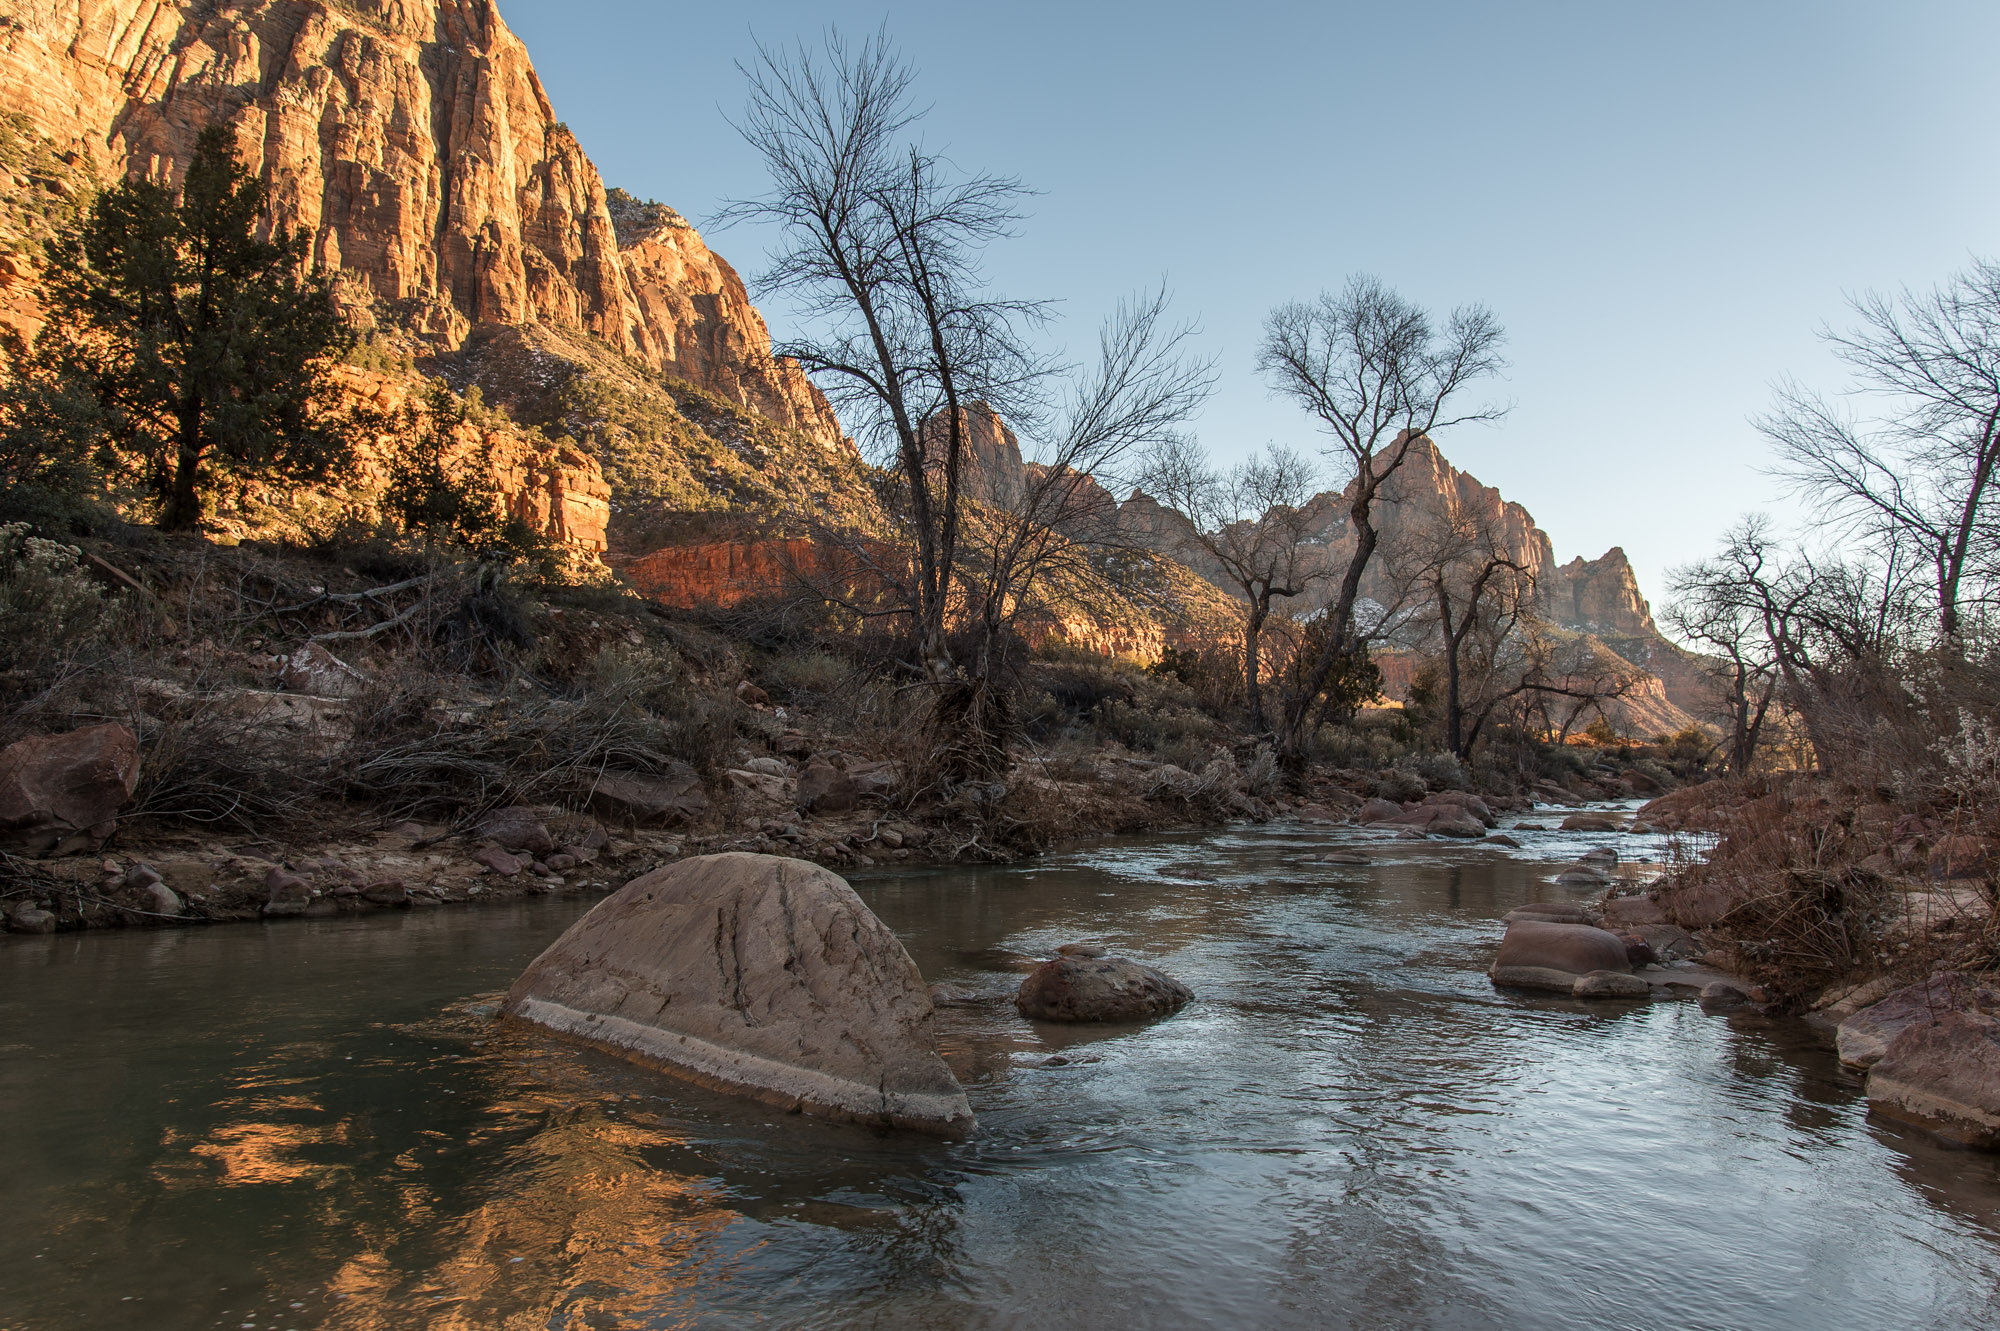
 The same image as above but processed to recover the shadows and retain the details. The photo was taken as a RAW file in order to retain the amount of detail needed to make the aforementioned adjustments.
Showing you an overexposed photograph adjusted to look great seems like the next logical step but I’m going to forgo it because I don’t recommend it. Scientific or not, when I’ve overexposed in the past, I’ve found that the highlights don’t retain as much detail as the shadows do and folks tend to clip highlights more often when shooting in difficult lighting.
JPEG OR RAW?
RAW. Just RAW. If you’re determined to shoot in JPEG in crazy difficult lighting then just cut out the middle man and toss your SD card into the trash. Trust me.
Graduated ND Filter
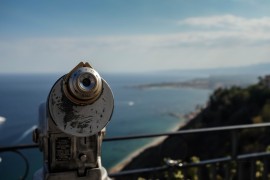
 Using a Graduated ND filter I was able to retain some of the blue in the sky rather than having it be completely white due to the brightness factor of the sky when this shot was taken.
There are many different filters you can use to battle different types of light issues. Graduated ND filters (neutral density) work great when you’re photographing sun sets or sunrises. A graduated ND filter is generally dark on one half and then fades to clear on the other half (there are also hard transitions where they don’t fade but go directly from dark to clear). There are also different colors you can get when shopping for grad ND filters that are supposed to enhance different types of photography (orange for sunsets, etc.). Lastly, you can also choose the intensity of the color you are choosing just as you’d choose the darkness of a straight ND filter.
The benefit of using the graduated ND filter is that you can expose for the foreground without blowing out the highlights of the sky during sunsets and sunrises. As you may know, or will find out, camera sensors are not advanced enough to expose for both the sky and the ground during sunsets and sunrises (as well as shadow area to highlight areas in extreme lighting like you see in the photo above) so the use of a filter like this is a great option.
Graduated ND filters also work during the day if you’d like to retain some blueness in the sky while shooting in difficult lighting. I used a Tiffen graduated ND filter for the shot above, they cost lots of money ($130+) but your image quality will be directly impacted by the quality of filters you put in front of your lens so I’d recommend you try to buy the best. If you’d like to know more about the different types of filters you can use on your camera and the effects they will have you can check out my Camera Lens Filter Guide here.
Conclusion
That seems simple enough right? Either learn HDR and spend some $$$ on professional software that will properly merge your bracketed photographs together, align them, and give you latitude to adjust the HDR effect, under expose while shooting in RAW format, or use a graduated neutral density filter. I’d recommend the underexposed in RAW format approach with a graduated neutral density filter (if appropriate) myself because I don’t like to spend hours processing photographs as opposed to taking new ones. Remember to only under expose by about a stop or you’ll lose detail in the shadows the same as you would if you overexposed more than a stop or two.
Obtaining the ideal exposure can be difficult and can be open to interpretation. Some photographs look stunning with the shadows completely dark while others look as if it was an accident. At the end of the day you may never please everyone but so long as you please yourself… wait… I mean so long as you’re happy that is all that matters.