
Visiting the Grand Canyon can be a life altering trip, your perspective will forever be changed. Standing next to the edge of the canyon and looking out over the vast expanse before you will set the butterflies a fluttering in your stomach. John Wesley Powell may have said it best:
The wonders of the Grand Canyon cannot be adequately represented in symbols of speech, nor by speech itself. The resources of the graphic art are taxed beyond their powers in attempting to portray its features. Language and illustration combined must fail.
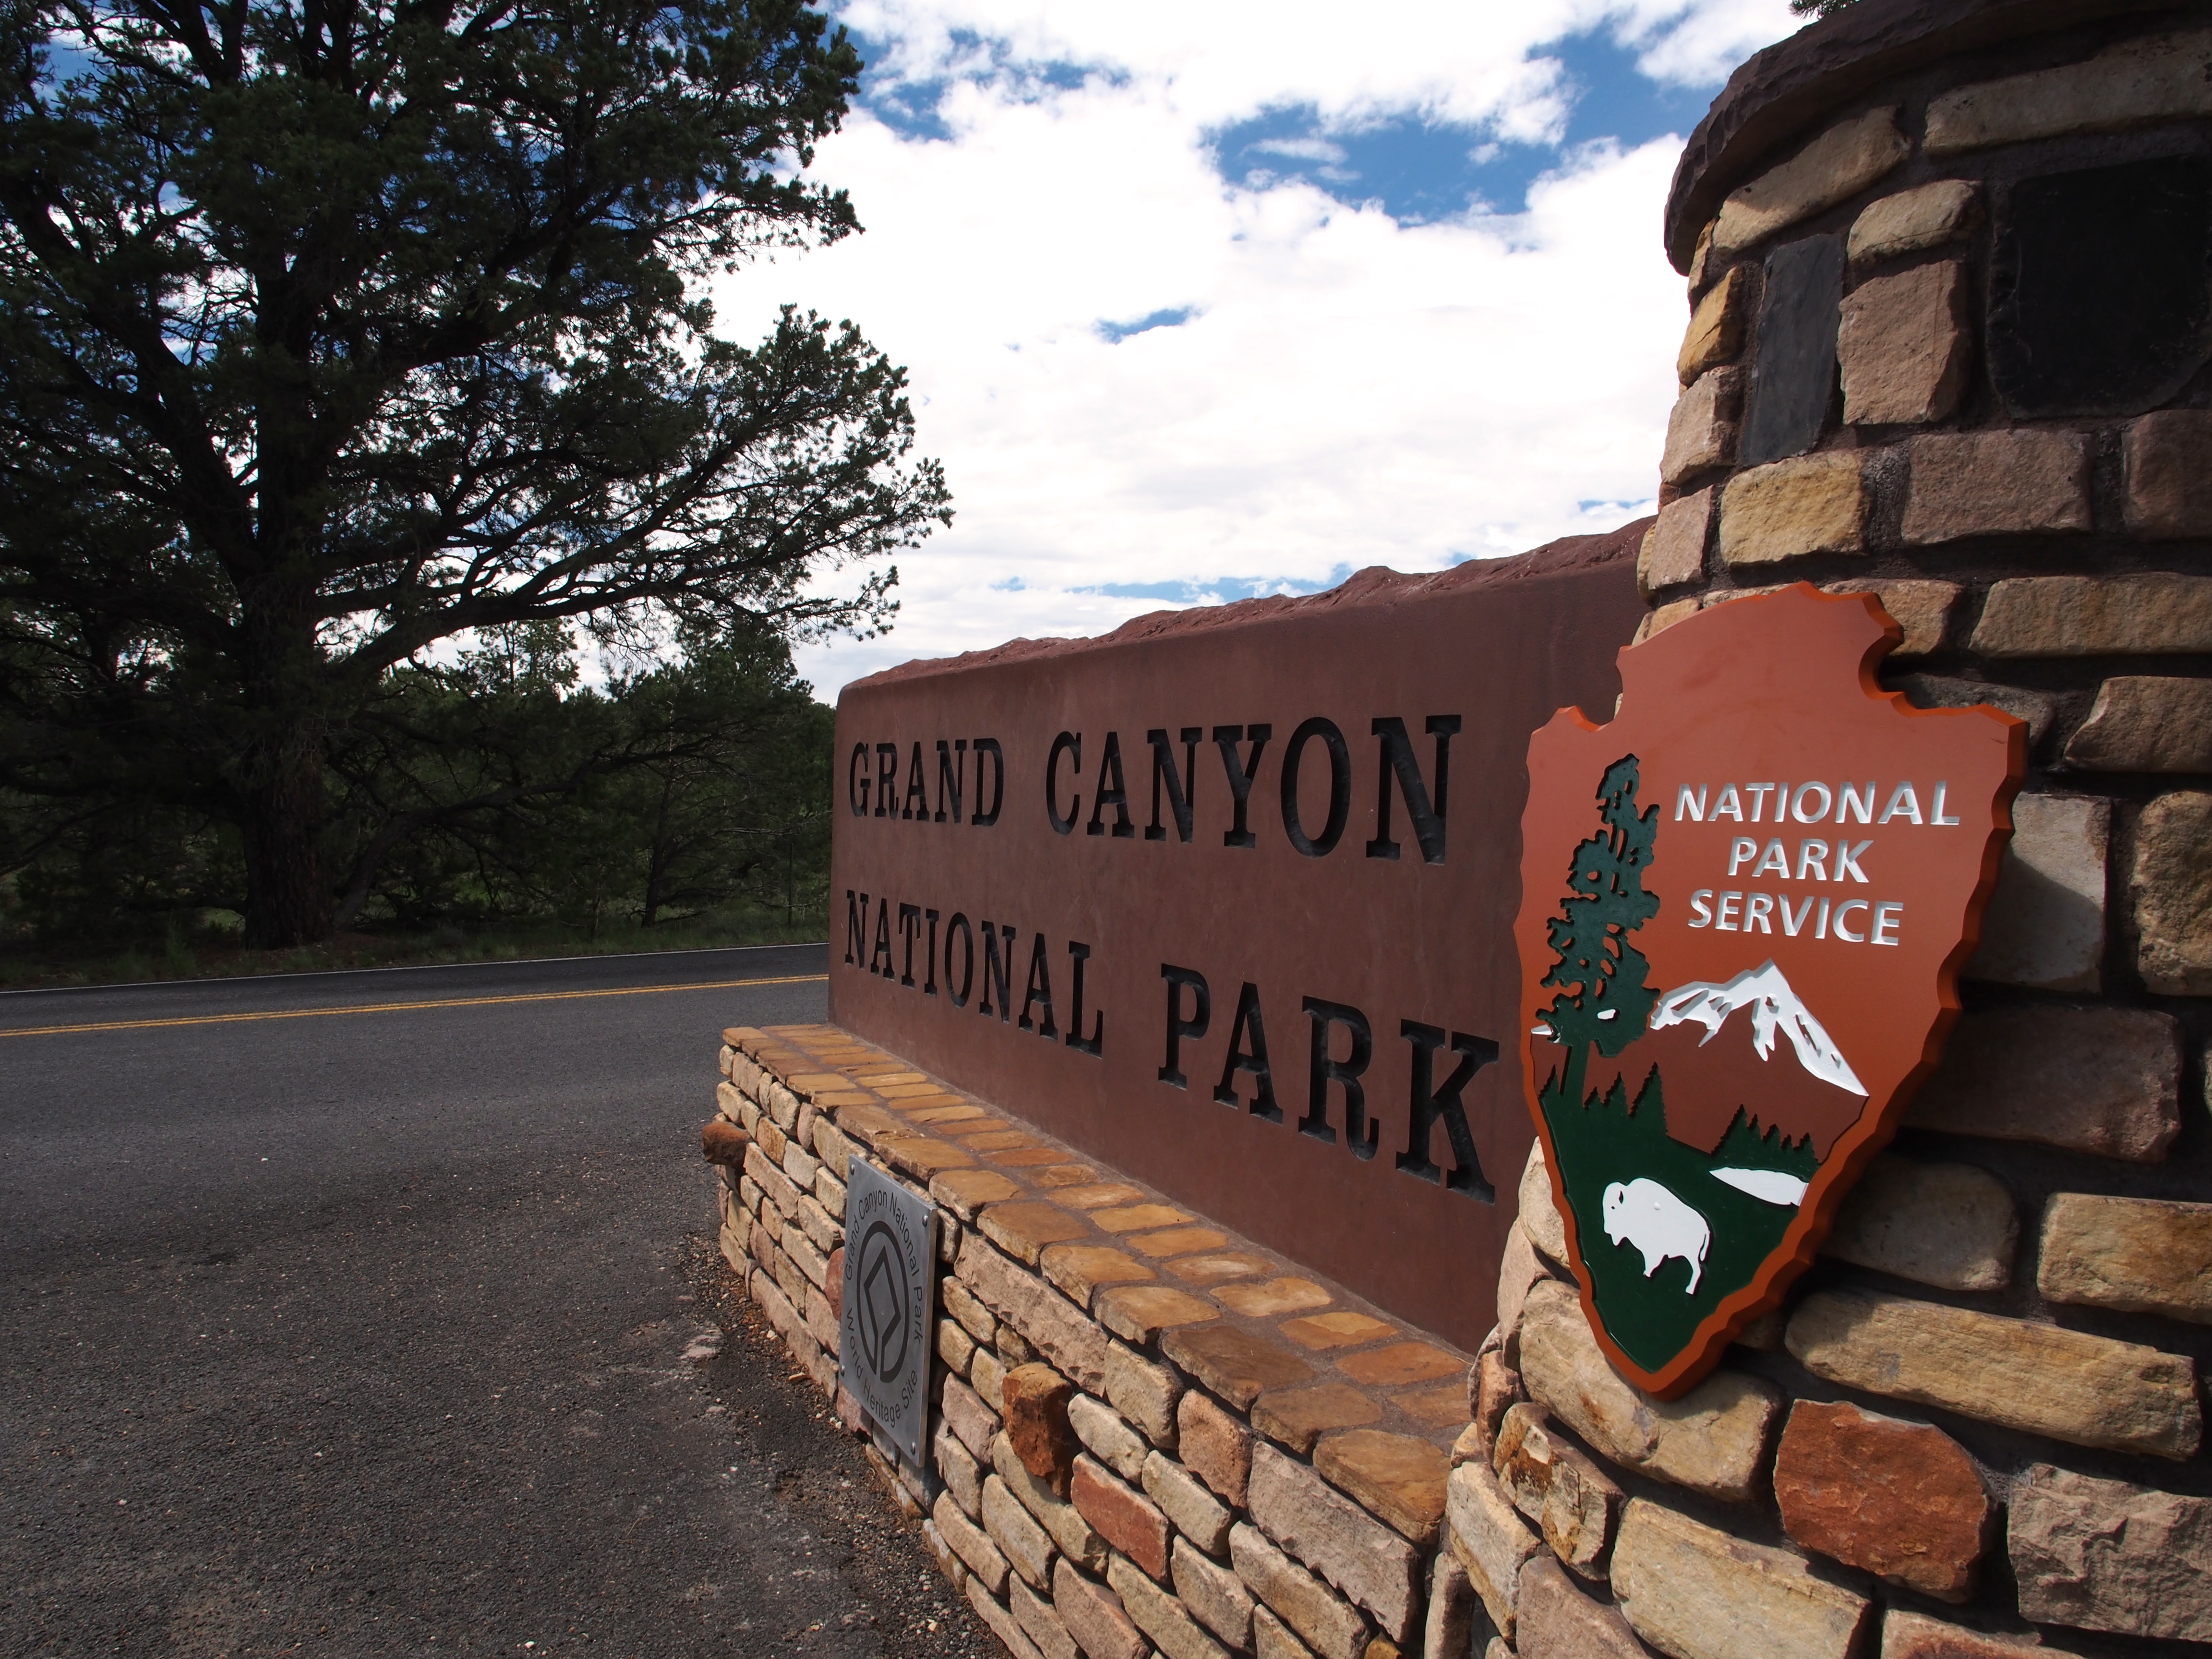
If you’ve never visited the Grand Canyon then you’ll be surprised to find the diverse scenery leading up to the canyon itself. You will drive through deserts with giant cactus, mountains with spectacular views, iconic Route 66 towns, and finally forests with enormous Elk that threaten to jump in front of your car. It’s about a 4 hour drive from the Phoenix airport with an extra hour if you decide to stop in Flagstaff for dinner (the half way point). There are plenty of opportunities to stop along the way to grab some outstanding photographs.
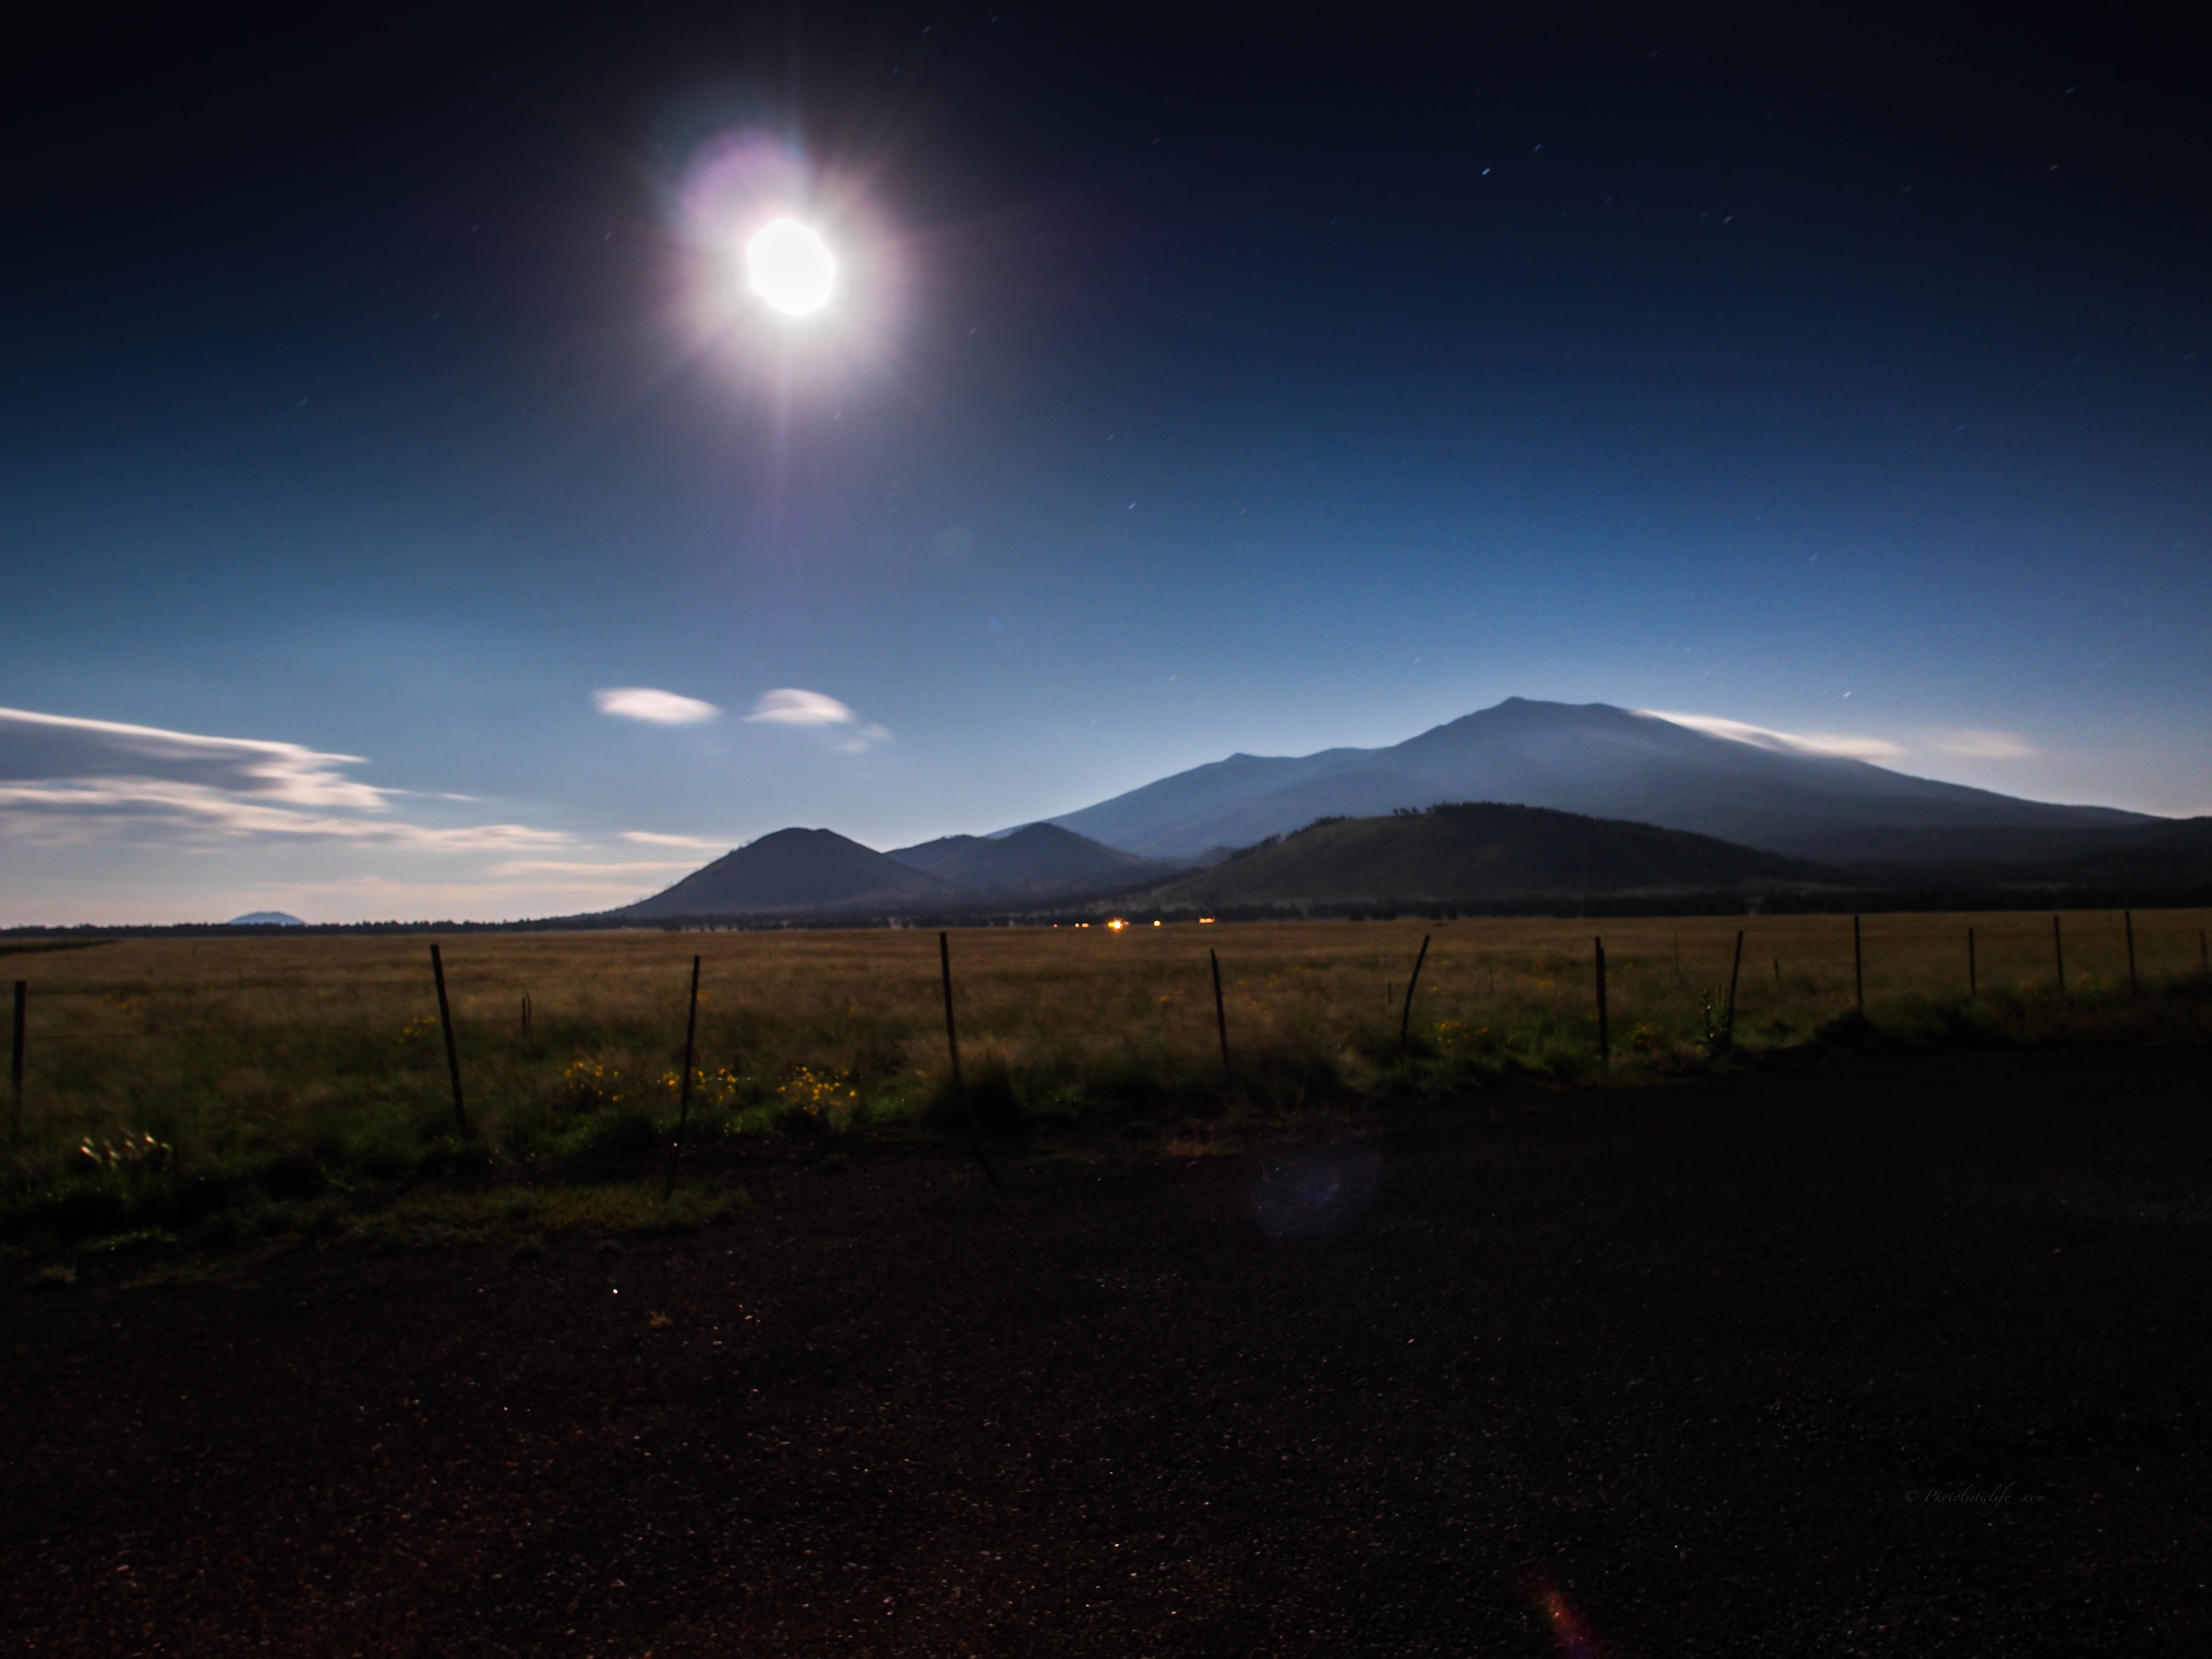
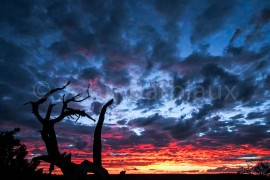
Light painting with the moon outside of Flagstaff, Arizona. About an hour and 20 minutes from the Grand Canyon.
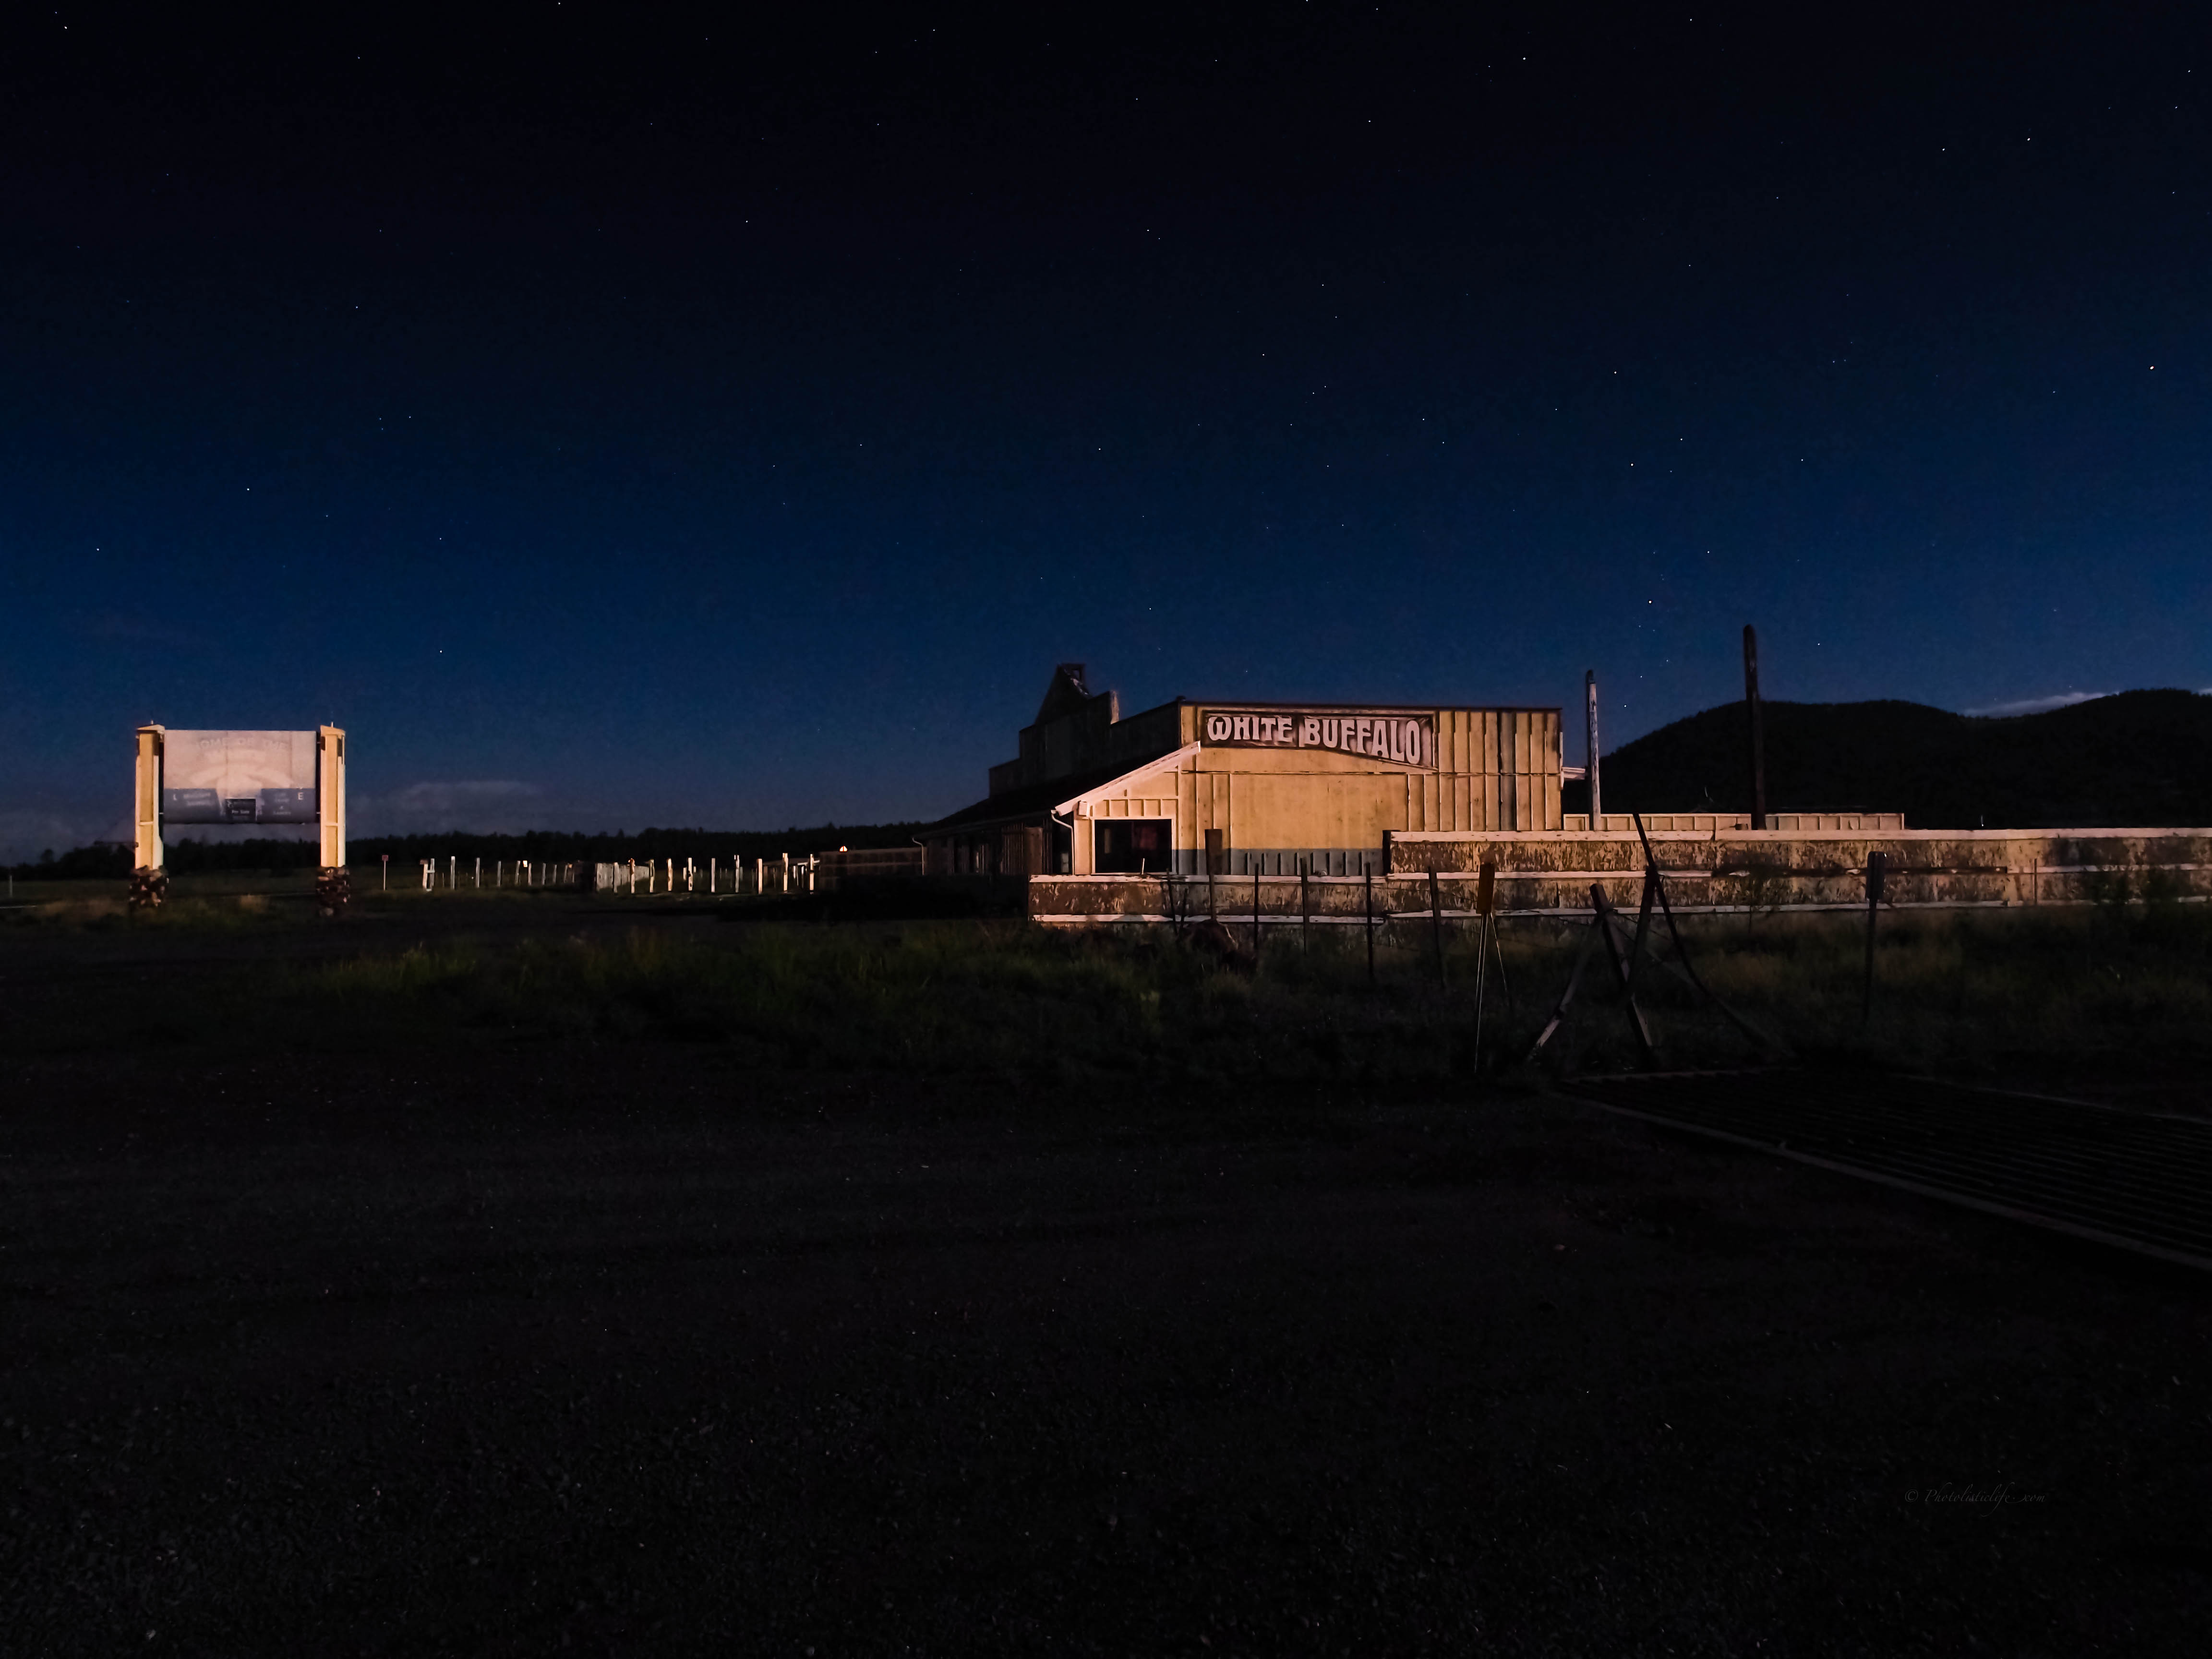
More light painting (using the moon’s light), if you keep your eyes open (and you should if you’re driving) you’ll find plenty of old buildings that give you that warm Route 66 fuzzy feeling that beg to be photographed.
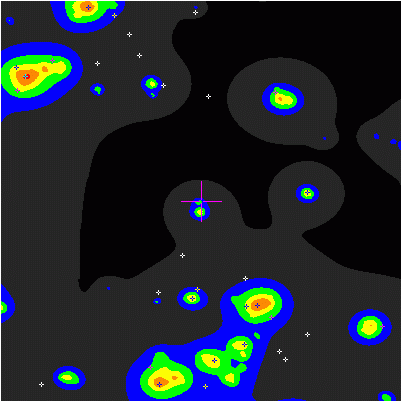 If you’re a fan of photographing the night sky then you’ll have a field day at the Grand Canyon, the area is far enough away from large cities that the light pollution is at a minimum. Cleardarksky.com is a great resource for you if you’d like to know if the area you are about to visit is ideal for viewing the night sky, it uses a numbered scale to inform you how high or low the light pollution is and what you are likely to be able to see. The South Rim of the Grand Canyon is rated as a three on a scale of 1 – 9 (9 being the brightest, more light pollution, and 1 being the darkest most ideal for star-gazing).
Landscape Astrophotography is worth looking up on Flickr or Google images, if that doesn’t entice you to give it a try at least some of the photos will inspire you. If you do decide to try your hand at landscape astrophotography try to look for interesting rock formations or old buildings to put in your foreground. You can even take a flashlight with you to “paint” the foreground subject of interest to make it stand out (if there is a newish moon out you may not need to).
Location
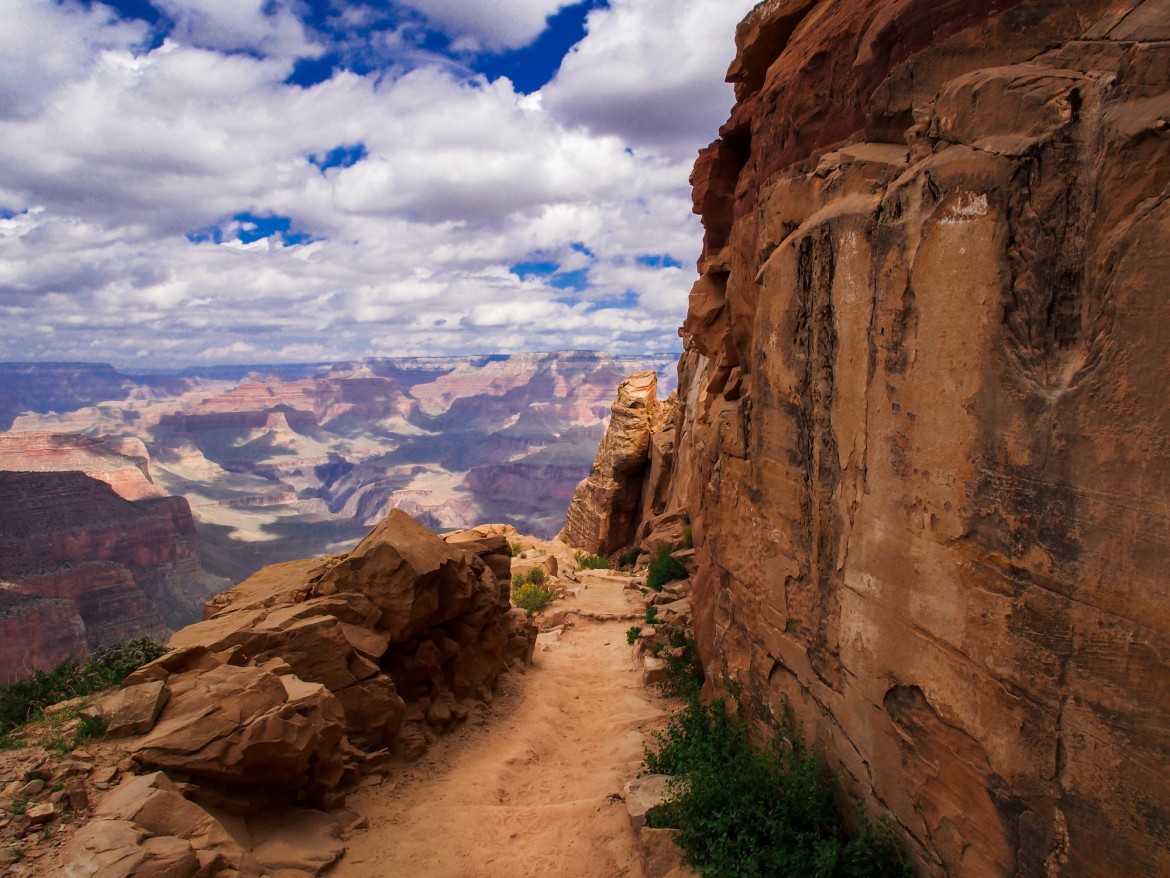
If you’ve been reading PhotolisticLife for a while now you’re probably pretty familiar with my disdain for creating photographs just like the ones you see all over the internet. You’ll never find me in a cluster of photographers shooting the same exact scene at the same time, what is the point? Instead, get creative and find often overlooked areas while being careful not to plummet to your death off the side of the canyon.
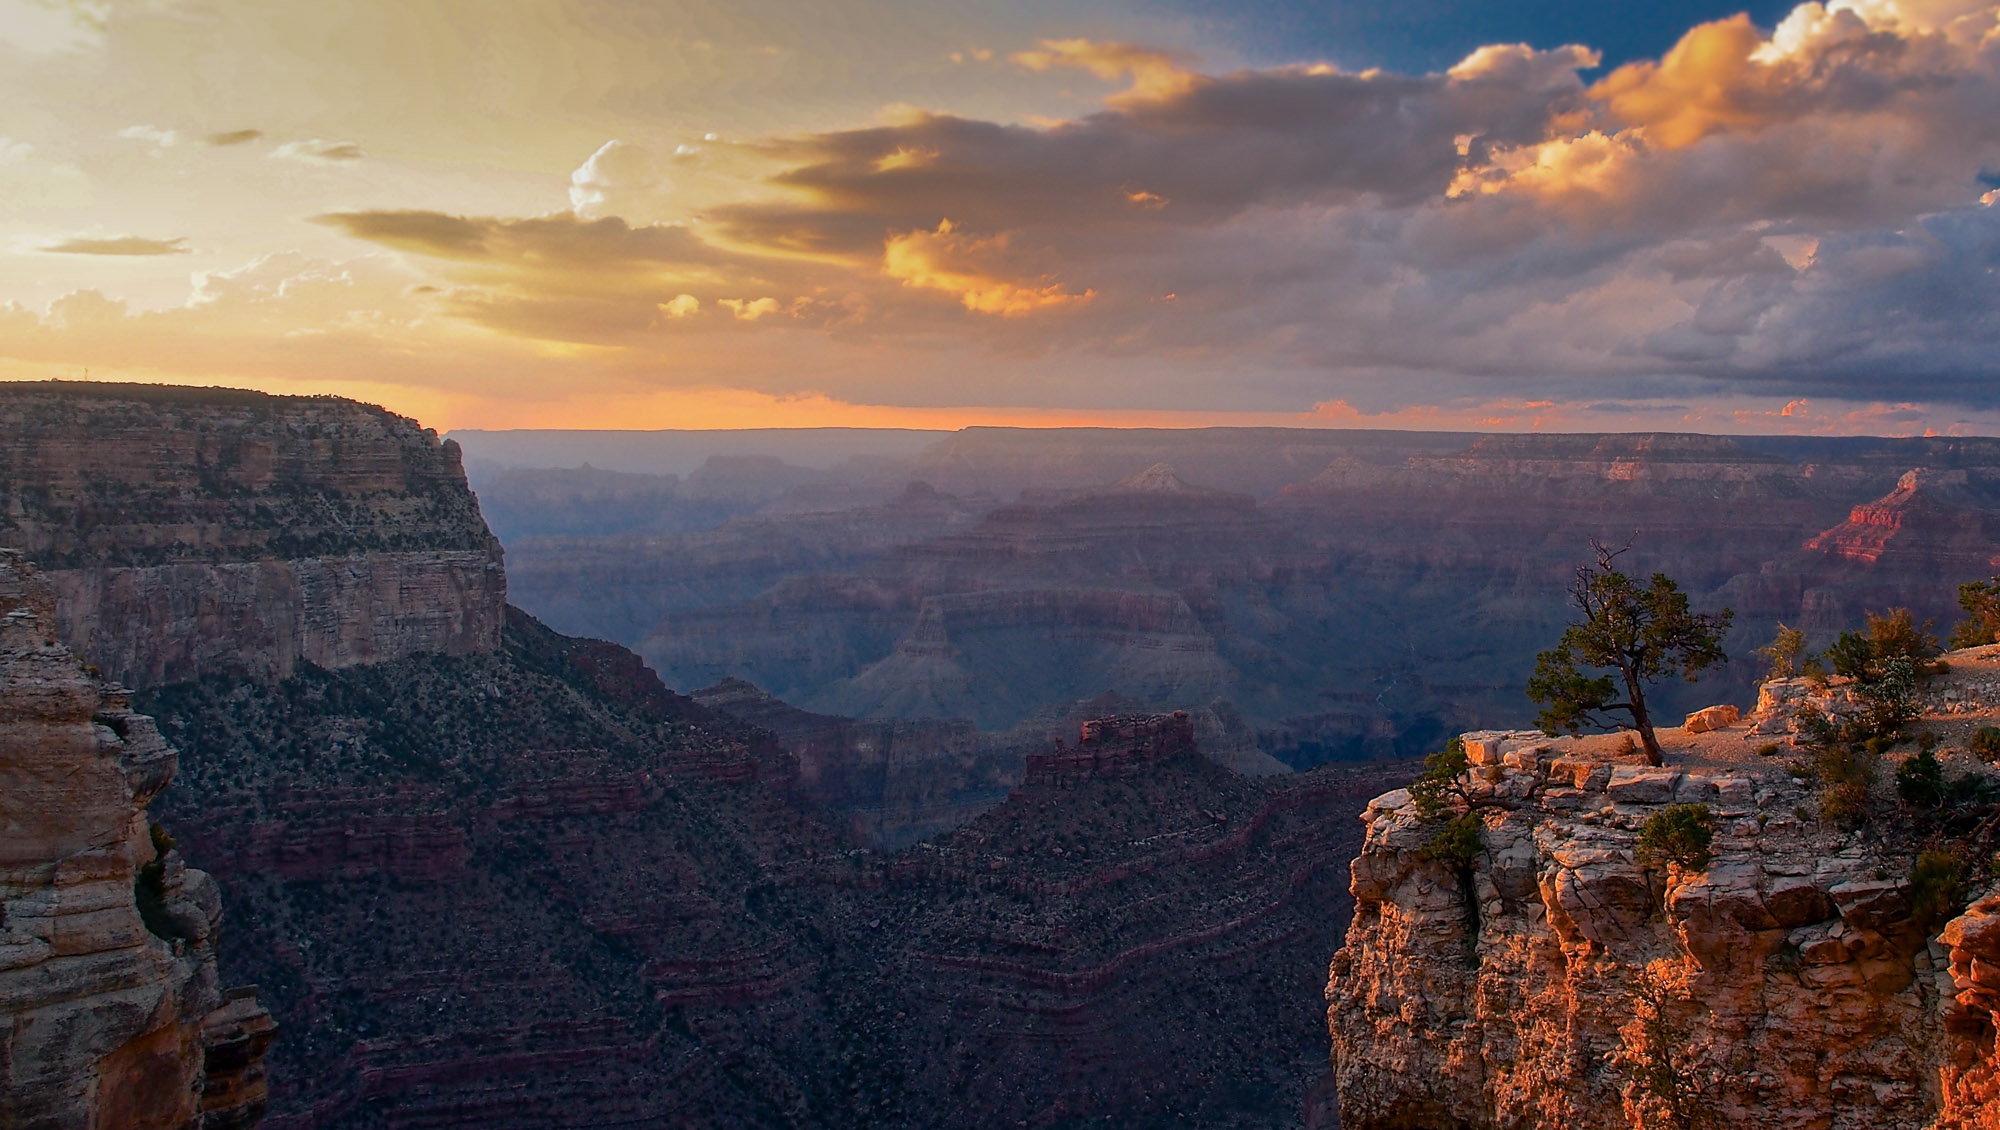 Getting completely off of the paved trail that travels along the south rim of the Grand Canyon I spotted this lone tree on the edge of the canyon wall.
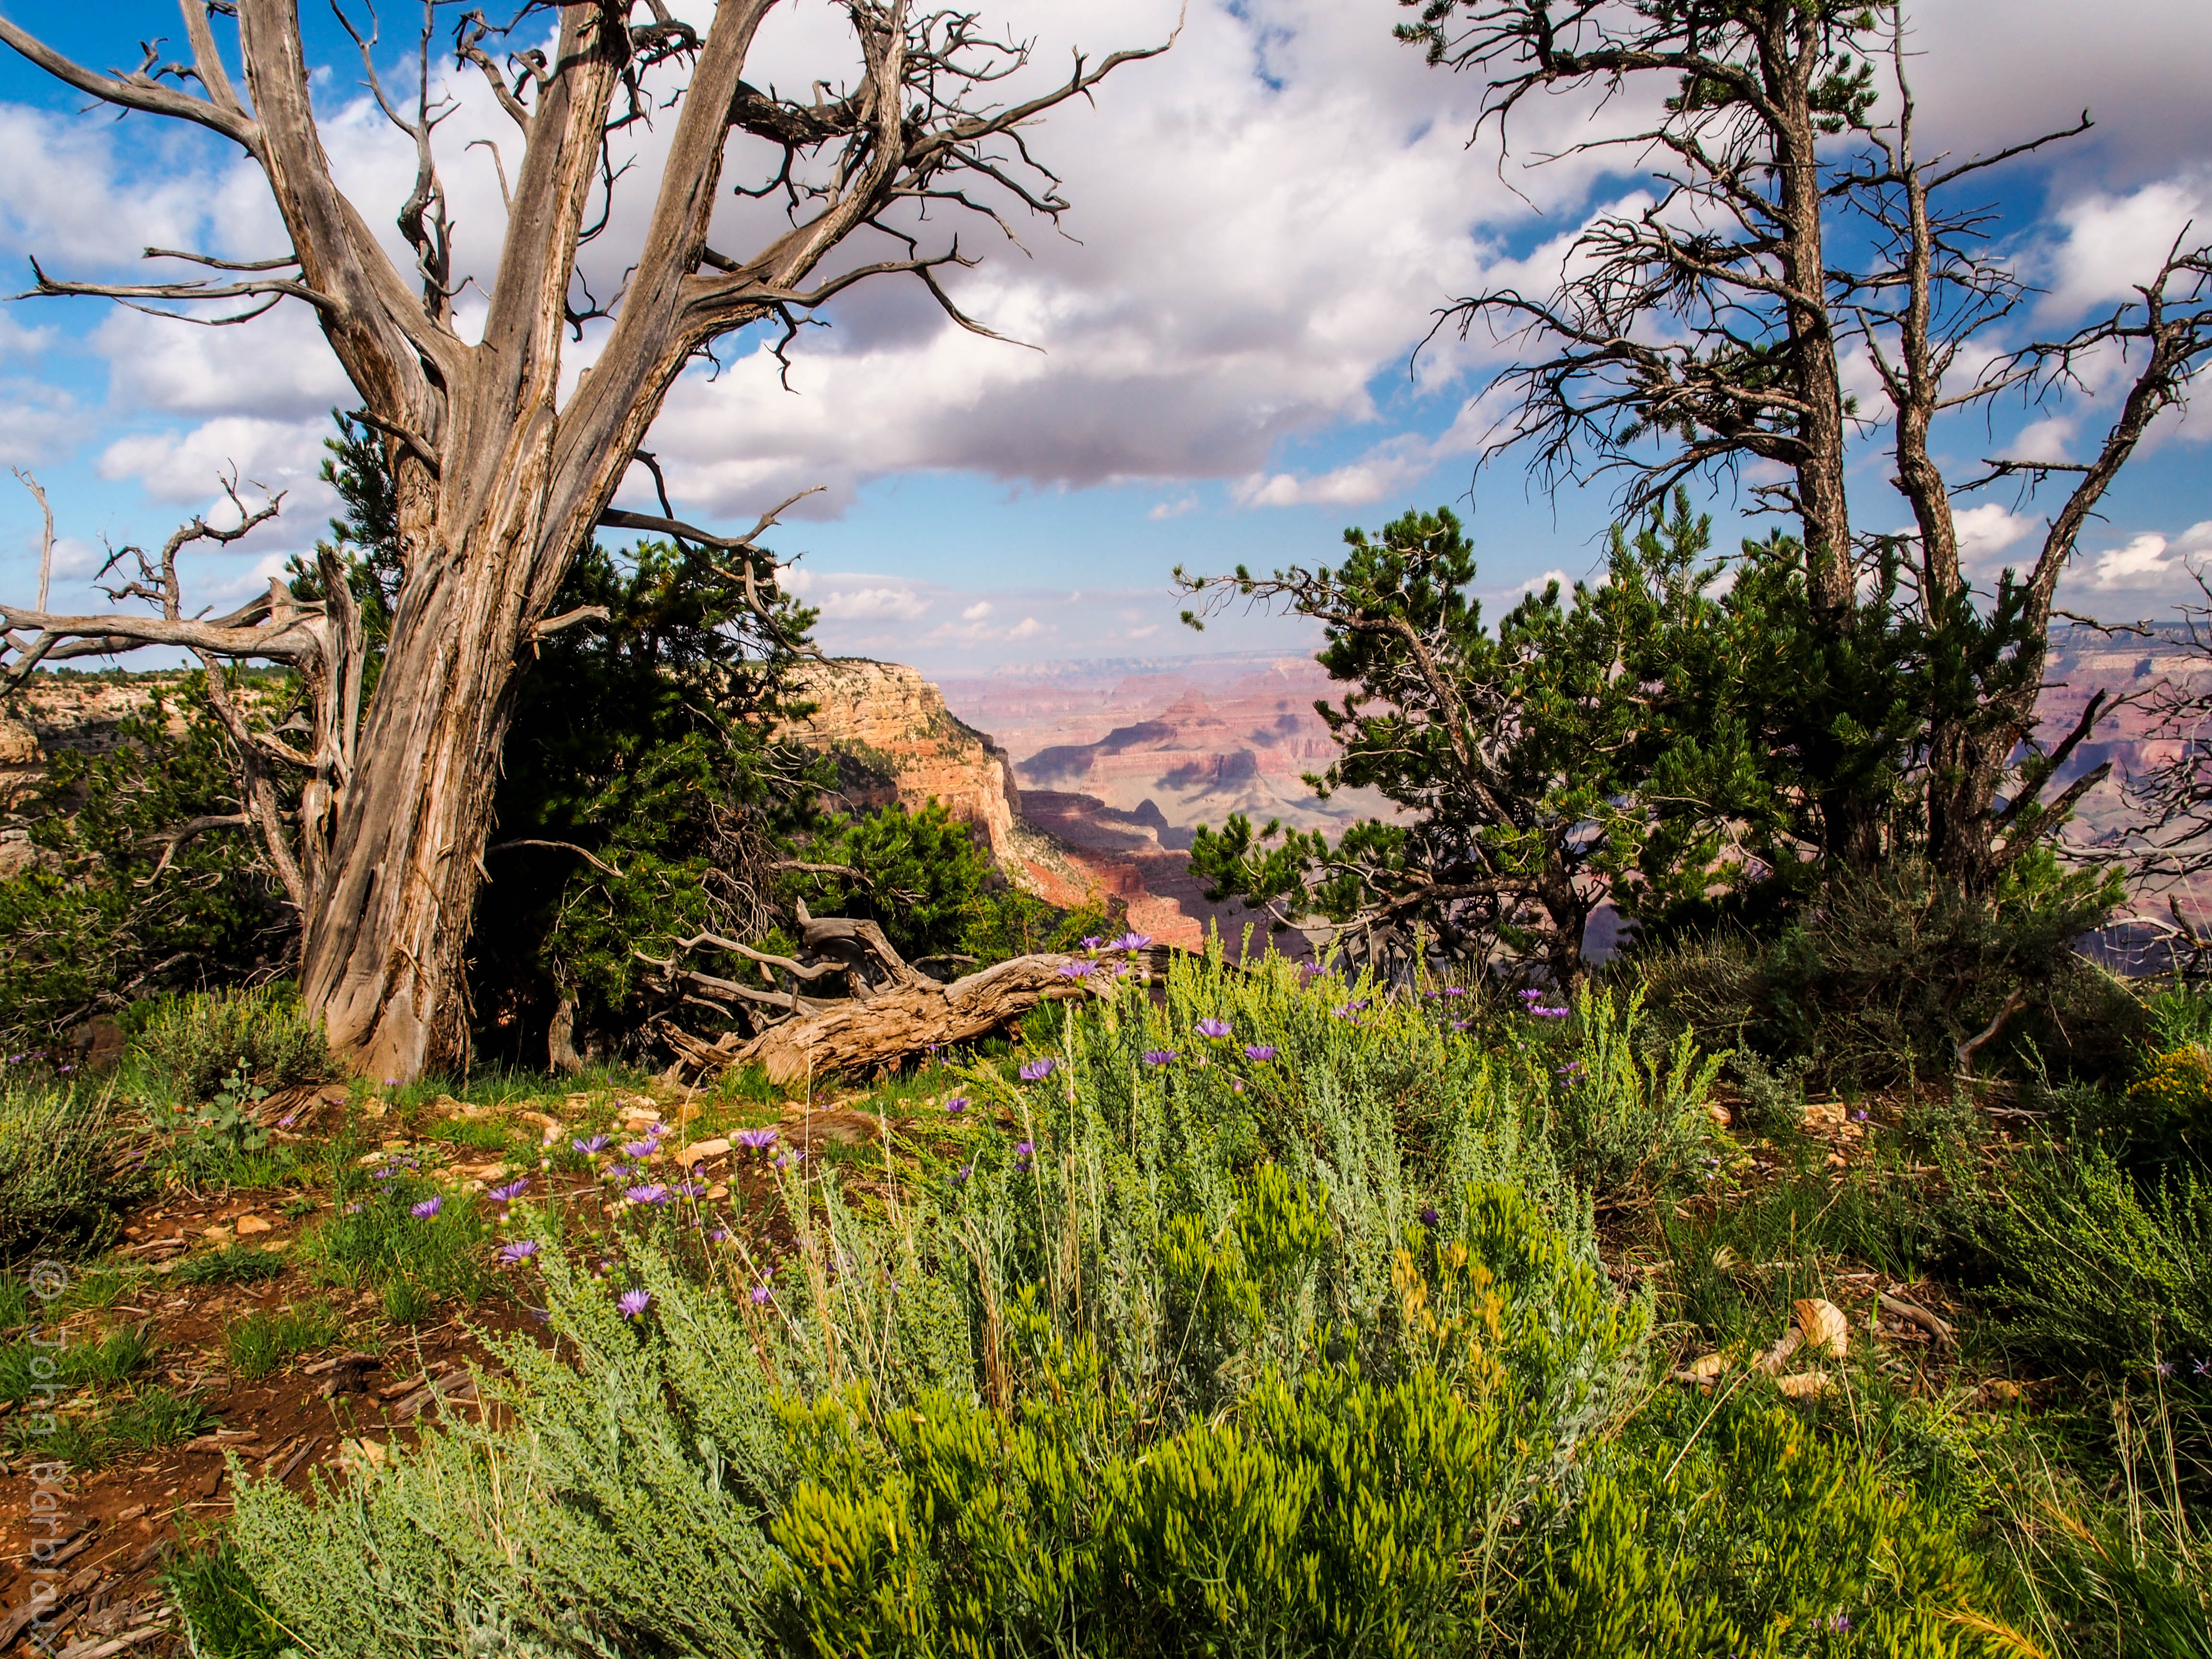
Don’t be discouraged if you are not one to venture off the beaten path, there are plenty of beautiful shots to be had right on the most traveled, paved, trail at the Grand Canyon. The shot below was taken from the paved trail near the South Kaibab Trail head.
Timing
The best time to visit the Grand Canyon is between August and October. August is a tad busy but if you’re a hiker you will leave the plethora of tourists in your dust (literally) as you get further and further away from the paved trails at the top of the canyon.
The weather can get fairly brisk in the evening and morning so you’ll want to take a nice fleece or other means of heating your torso as you scurry about looking for great shots in the morning or evening. Where layers when hiking in the morning, you may start out when it’s 40 degrees outside and find that you’re sweating bullets in 70 degree weather by noon.
The weather while visiting the Grand Canyon was ideal for photography, there always seemed to be enough clouds (even in the middle of the afternoon) to create dynamic skies as well as diffuse the light to create softer shadows and highlights. If you visit the canyon and don’t get up early to photograph the sunrise and then stay to photograph the sunset you might as well toss your camera in the canyon… The sunrises and sunsets at the Grand Canyon are breathtaking, I’ve been all around the world and have not found sunsets that beat the ones I have seen at the Grand Canyon.

Gear
There are a few different directions you can go while in the Grand Canyon, you can pack super light and focus on hiking with photography as your secondary objective or you can make photography your primary goal (though hiking will be a huge part of getting quality photographs of the Canyon) and still pack light.
If photography is your secondary goal then there are a couple of different ways you can pack light for a day of hiking and near brushes with death on the sides of trails. You could pack a small DSLR with an even smaller fixed prime lens or you could take with you an advanced point and shoot camera with a larger sensor for increased dynamic range and higher quality images. There are three cameras that I’d highly recommend from a quality standpoint.
DSLR
The first two cameras are going to be interchangeable lens cameras that are small, light, and create professional quality images (the images you see in this article are all taken with one of them, the EM5). The Olympus EM5 and the EM1, the EM1 actually came after the EM5 and is the more advanced camera but also cost a bit more as well. Both cameras are mirror-less cameras and this is one of the primary factors that allows them to be made so small. There is a large array of lenses you can choose for either camera but the best lens for landscape photography is the 12mm f/2.0 Olympus prime lens.
You can read my reviews on the EM5 (here), the EM1 (here), and the Olympus 12mm f/2.0 (here) if you’d like a more details on each of them.
Note: There is a new camera from Nikon that is absolutely amazing but it will cost you more than your trip to the Grand Canyon. If you’ve got extra cash to blow or perhaps you’re already entrenched in the Nikon camp with Nikon lenses scattered around your house like dirty underwear then this is worth a serious look. The Nikon Df is the smallest full frame DSLR that Nikon has made and is the best camera in the world when it comes to low light (think landscape astrophotography) which is nice considering the Grand Canyon is such a dark place at night. You can read my full review here.
Advanced Point and Shoot
I don’t normally talk about point and shoot cameras, or fixed focal length cameras, because they aren’t normally considered professional tools. The Fujifilm X100S is a professional camera, you can make money with the images that it produces (I have) and you’ll leave your friends with sub $1,000 DSLR’s wondering how you got such great image quality. The X100S can drop into the back of your backpack or a pocket on your cargo shorts and you’ll hardly know you even have it. It’s light, it’s tough, and it’s convenient… What more could you ask?
Great article! I was down the South Rim last Summer with carrying two Rolleiflexes and plenty of water.
Awesome. Thanks for the feedback. It’s a beautiful place and on my short list to revisit. Next time I’d like to spend more time at the bottom.
Great Article! Leaving for the South Kaibab Trail soon and then rafting the Colorado for about two weeks. I have a Rebel T5 that I was planning to bring with a 35mm lens. Do you recommend any kind of lens filter for those sunny days out on the river?
Thanks
Can’t go wrong with a circular polarizer to get those plush looking clouds and bluer (is that a word?) sky. Also, if you have room for a tripod you can grab a 10 stop ND filter to create long exposure images of the fast moving water to make it look silky smooth. Enjoy your trip!!