
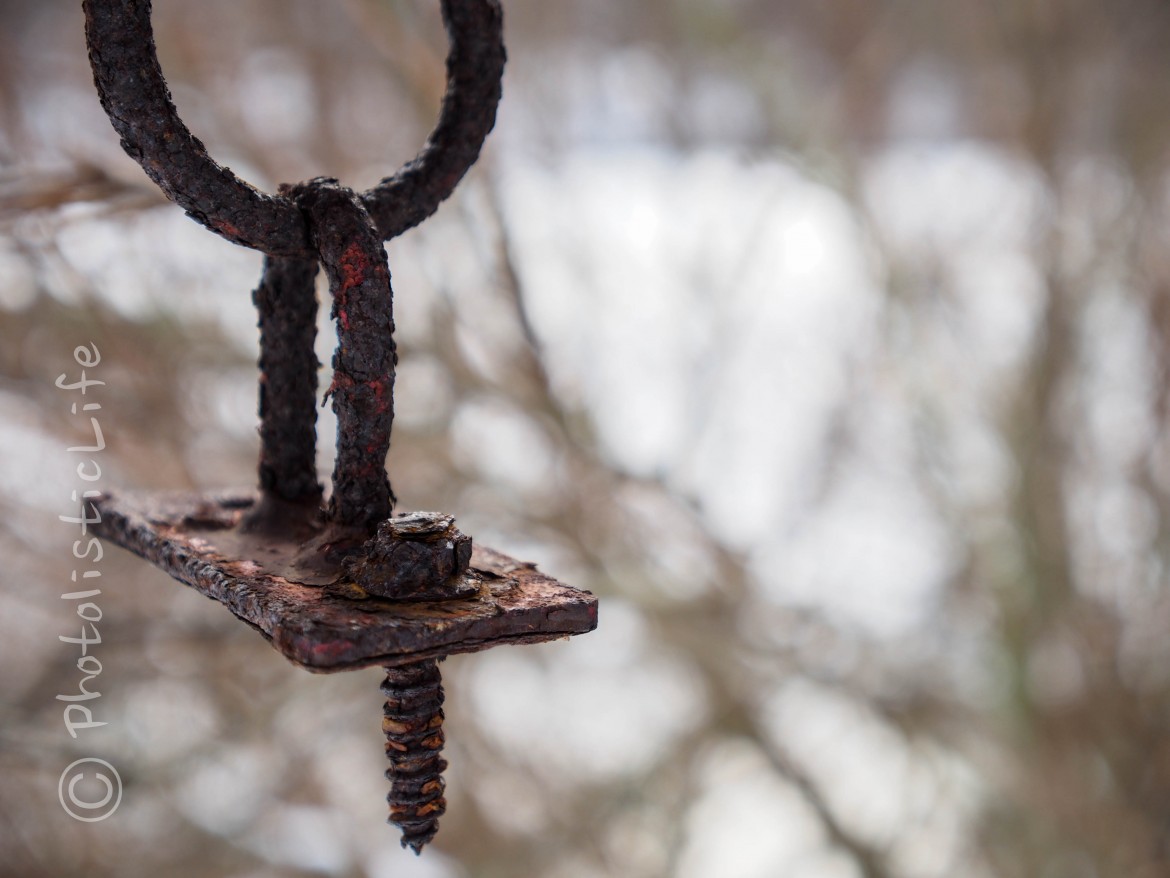
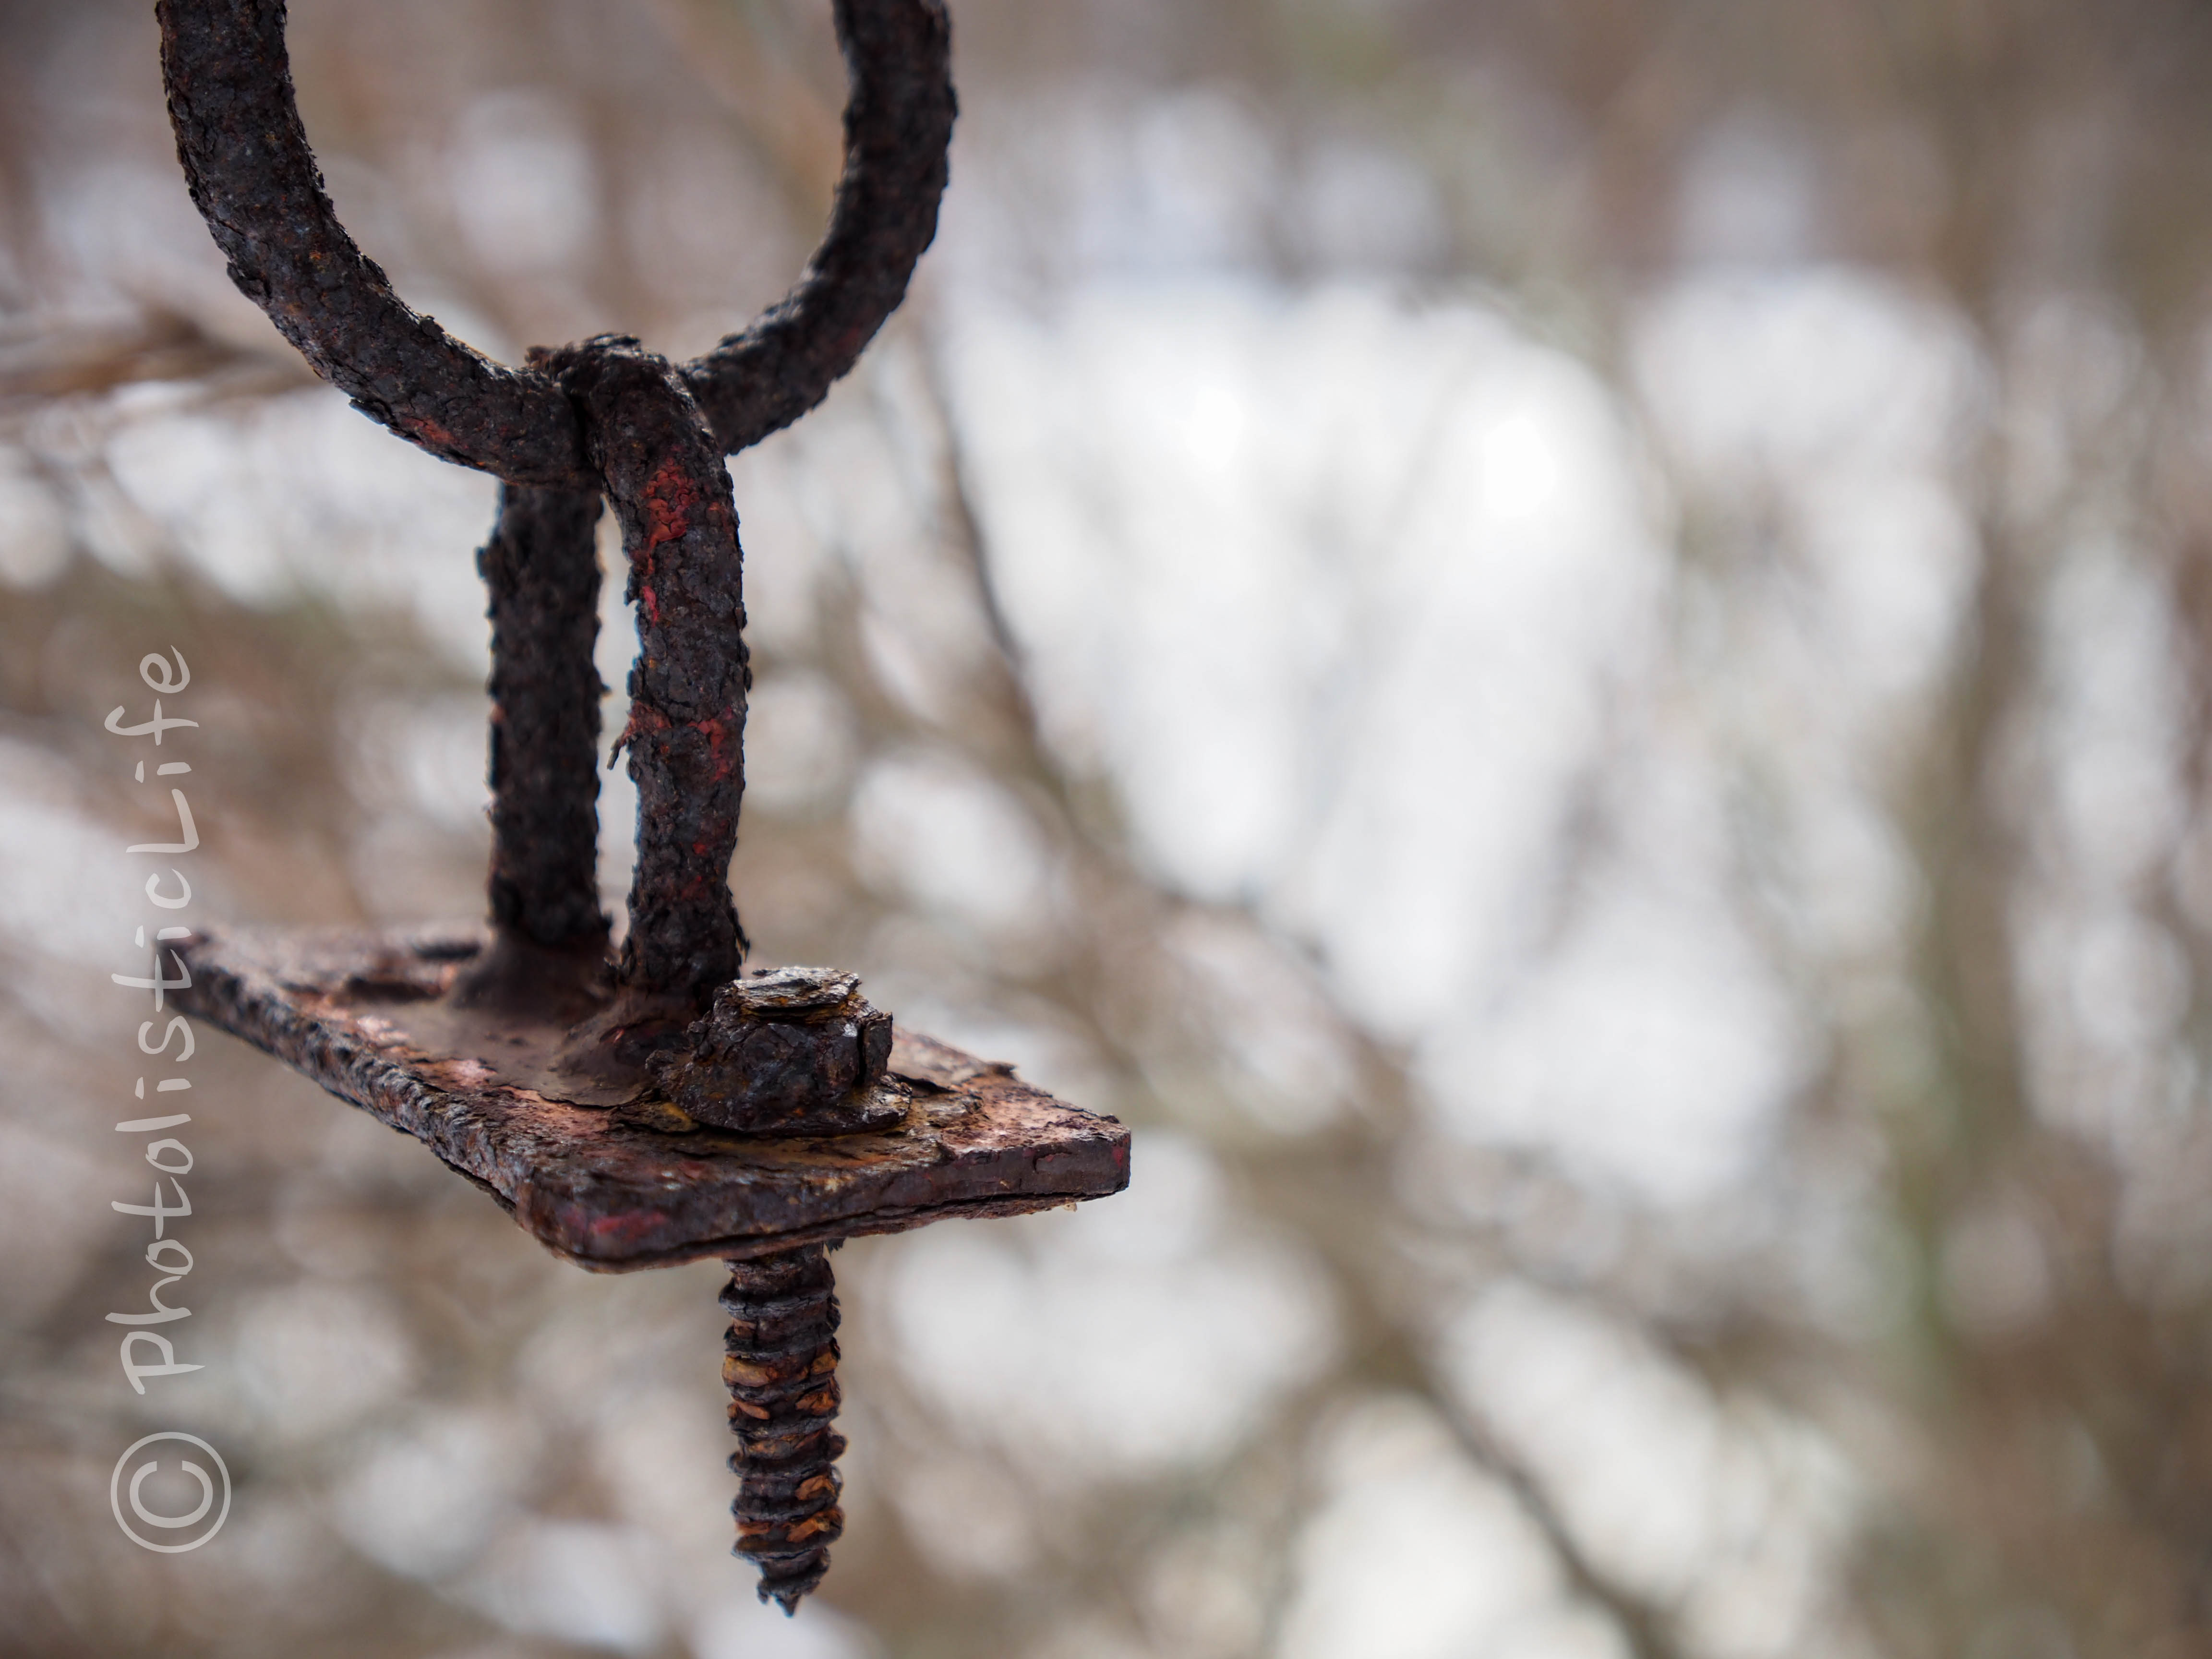
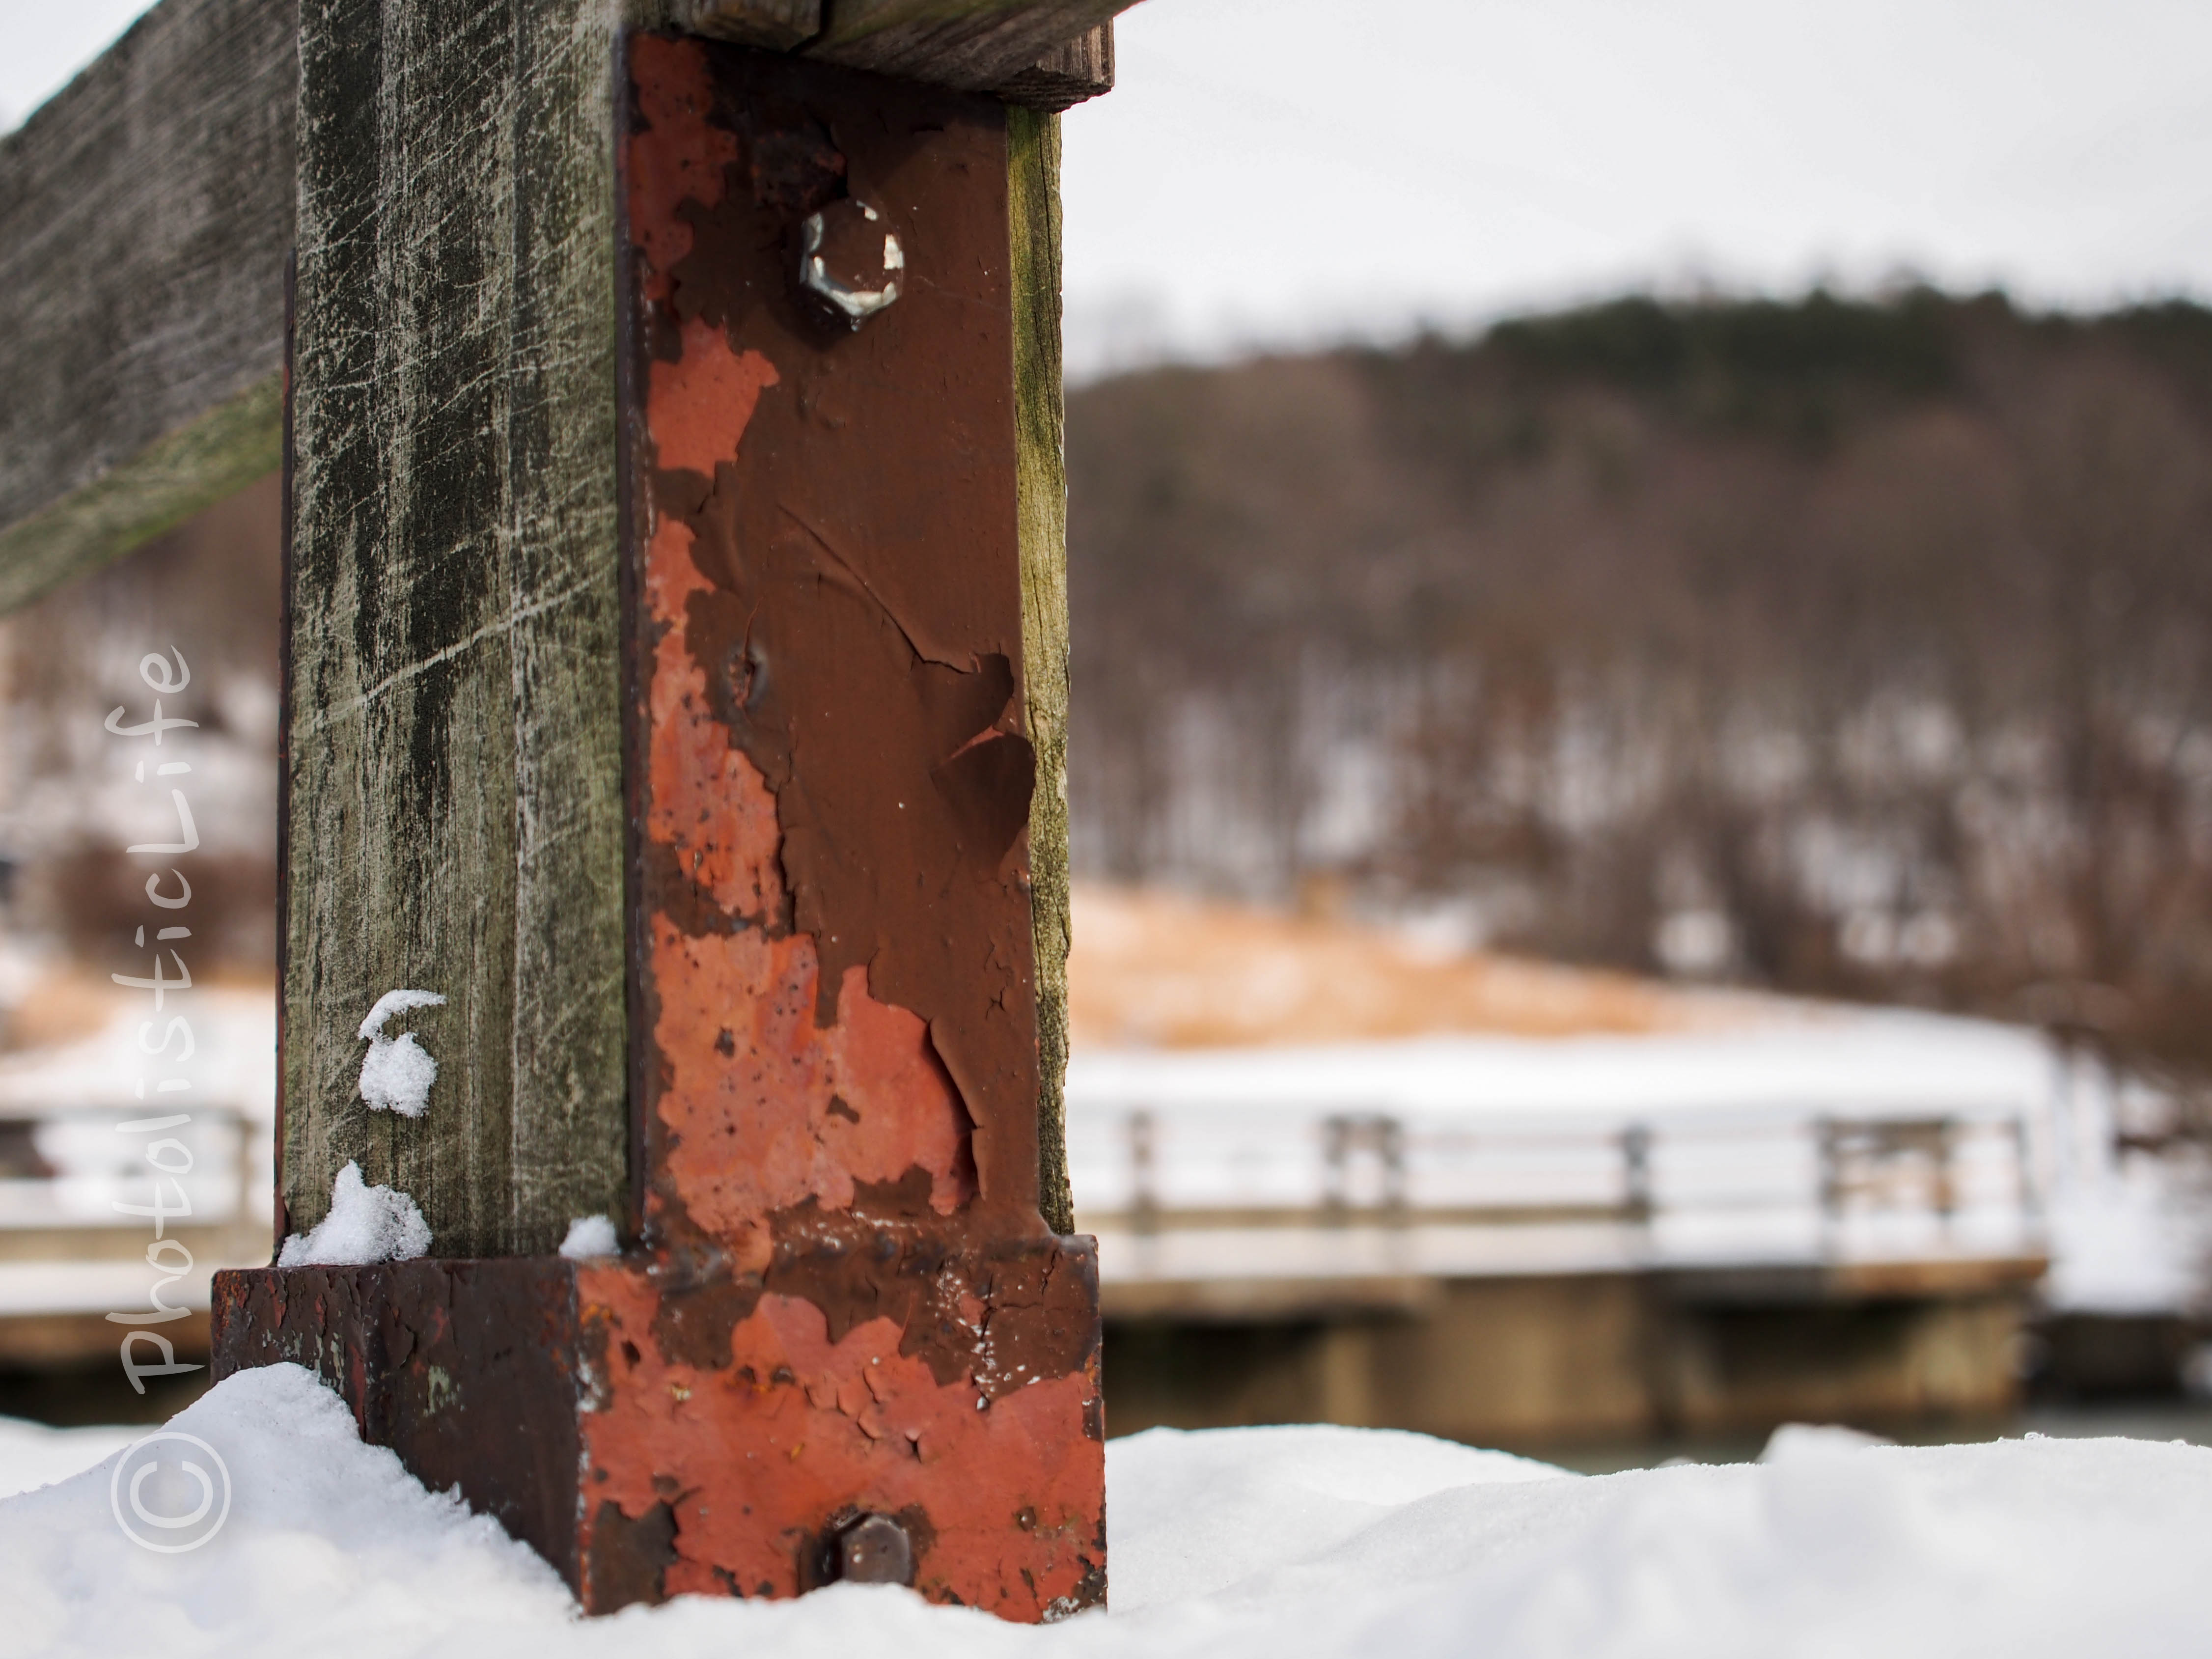
I have an affinity for rusty, old, broken down things… when it comes to photography (I had my fair share of rusty, broken down cars when I was younger). I like the texture, the colors, and the stories they tell. Old metal brackets, bolts, hinges, nails, and any other hardware of that sort make great photography subjects. Best part is, you probably don’t even have to move them to photograph them. In fact, photographing them in their element is probably the best course of action.
Where?
Everywhere! Chances are you have this kind of stuff out on your porch or at the local park (hopefully not on the playground). State parks are great places to find this kind of stuff because of their lack of funding and/or manpower to update every sign and gazebos in the park. You know that old broken down eye sore of a building down the street? Take a walk around it with your camera and get some close ups of the old door handles and hinges, you’ll be surprised at how good they look when they are up close and personal on your computer screen.
What Gear?
A decent camera and lens is all that you need. You can even squeak some pretty good photographs out of a smart phone these days. The photographs on this page were taken with the Olympus OM-D E-M5 and the Panasonic 12-35mm/F2.8
lens. I like to use a fast lens (one with a low f-number a.k.a. large aperture) so I can blur the background slightly.
What Settings?
The settings I used for the photograph at the top of the page are listed right below the photograph. I typically zoom out to the furthest my lens will allow and open my aperture to somewhere between f/2.8 and 4 (zooming all the way out helps to blur the background). If you have a super fast lens that allows you to open it all the way up to f/1 something, don’t. It will render a large portion of what you’re photographing blurry and the background will be blurred beyond recognition (some people like a lot of bokeh, the blurred background, but I found it eliminates the context of the subject in this case).
If you’re newer to photography you can throw your camera into “A” (aperture priority mode) and choose the aperture you want while your camera will adjust all other settings for you. I shoot in manual because I like to get my exposure right the first time and avoid having to adjust in Lightroom or Photoshop, to each his own though.
Your ISO should be somewhere around 100 to 200 unless your shooting handheld. If you are shooting handheld and need more exposure you can push your ISO up to somewhere around 1600 or higher if you’ve go a great camera. The higher your ISO the more noise (little dots all over your picture) your photograph will have.
Related Links
Photography Contest Entry Form
More Quick Tips
Weekly Photo Journal Challenge
Great tip on maxing out the zoom. I have been guilty of too much blurr, but that should give me a nice blur while maintaining context.
Thanks, it’s an easily overlooked technique. Really helps create bokeh, especially if you have a slower lens like f/4 or higher.